The Windows Server 2016 is the cloud-ready operating system that delivers new layers of security and Azure-inspired innovation for the applications and infrastructure. Please see the following guides on how to perform Post OS Installation configuration of Windows Server 2019 Properties, how to install Windows Server 2019 Operating System. Also, you may be interested in my YouTube video on how to setup Windows Server 2019 on a VMware Workstation. If you would like to try this out in a lab environment, download it here. Also, see this guide on how to perform an in-place upgrade from Windows Server 2016 to Windows Server 2019.
Below are the features of Windows Server 2016: See this guide for how to install Windows Server 2022 on VMware Workstation.

- Built-in Security: Windows Server 2016 gives you the power to prevent attacks and detect suspicious activity with new features to control privileged access, protect virtual machines, and harden the platform against emerging threats.
- Software-defined Infrastructure: Windows Server 2016 delivers a more flexible and cost-efficient operating system for your data center, using software-defined compute, storage, and network virtualization features inspired by Azure.
- Cloud-ready Application Platform: Windows Server 2016 delivers new ways to deploy and run both existing and cloud-native applications – whether on-premises or in Microsoft Azure – using new capabilities such as Windows containers and the lightweight Nano Server installation option.
The steps are similar to installing Windows Server on a dedicated appliance. see this guide for how to install Windows Server 2019. Load the ISO image in a VM or DVD onto a physical server and boot the VM or Server from it.

In the setup window, select your desired language, time format and language to install.

Click on install in the next Window as shown below

This will continue the setup process as shown below

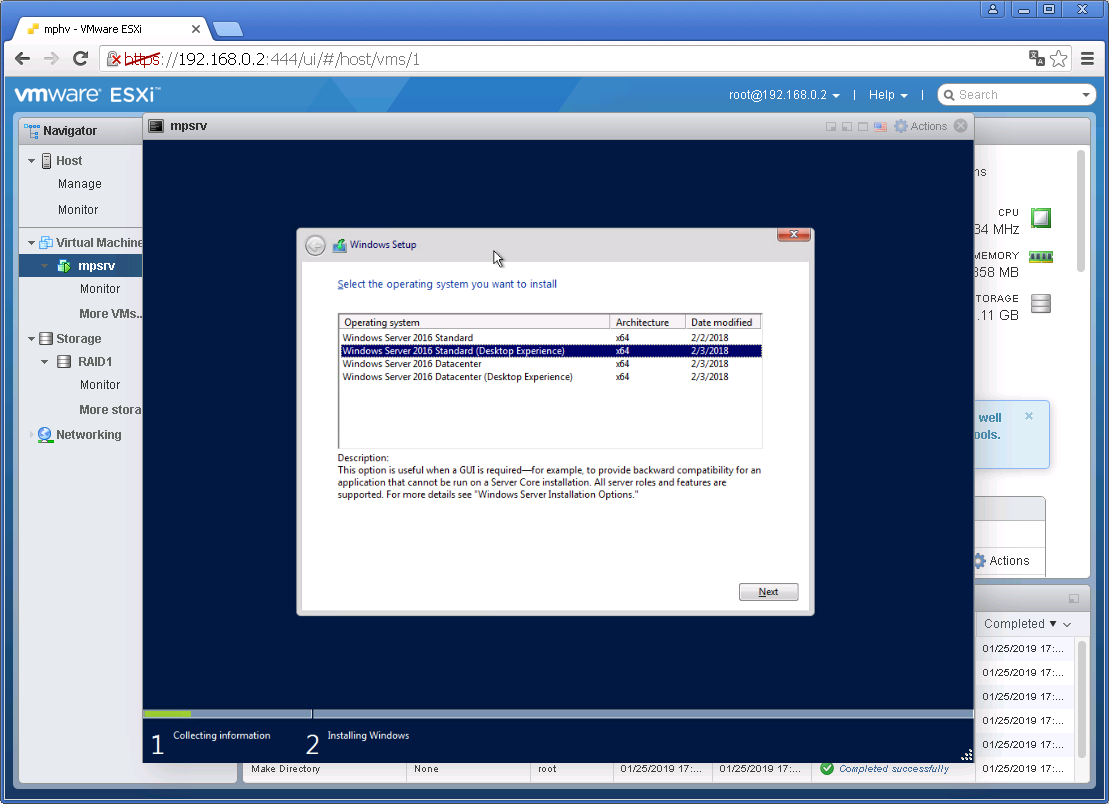
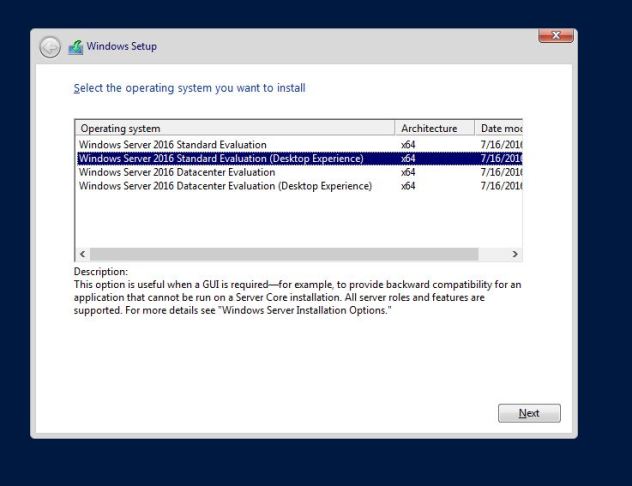
Select the Operating System you wish to install. This ISO evaluation is for the Datacenter and Standard editions. The Datacenter edition is a complete edition and includes the new datacenter-specific features (Shielded Virtual Machines, Storage Spaces Direct, Storage Replica, and Software-Defined Networking) in addition to unlimited server virtualization.
I will be choosing Windows Server 2016 Datacenter Evaluation (Desktop Experience)
– Click on Next
Note: A Server with Desktop Experience is a complete installation and includes a full graphical user interface (GUI).

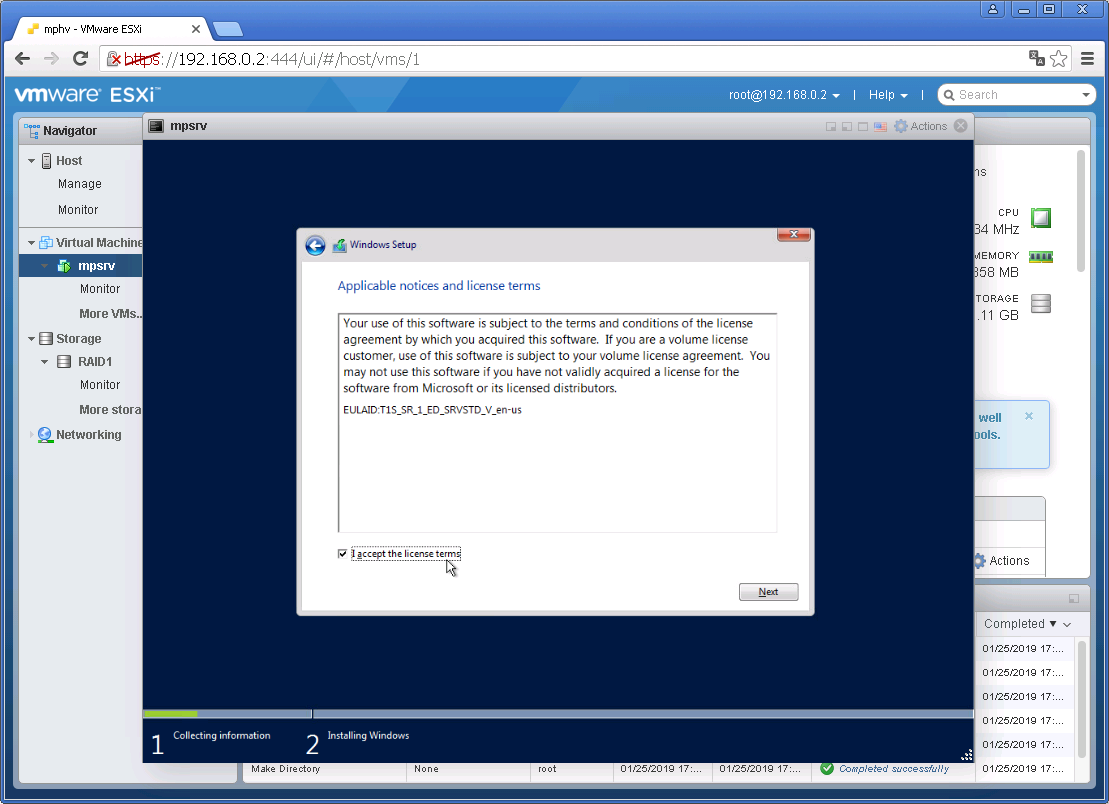
Accept the license and click on Next as show below
– If you do not tick the checkbox, you cannot proceed. As you can see it is grayed out.

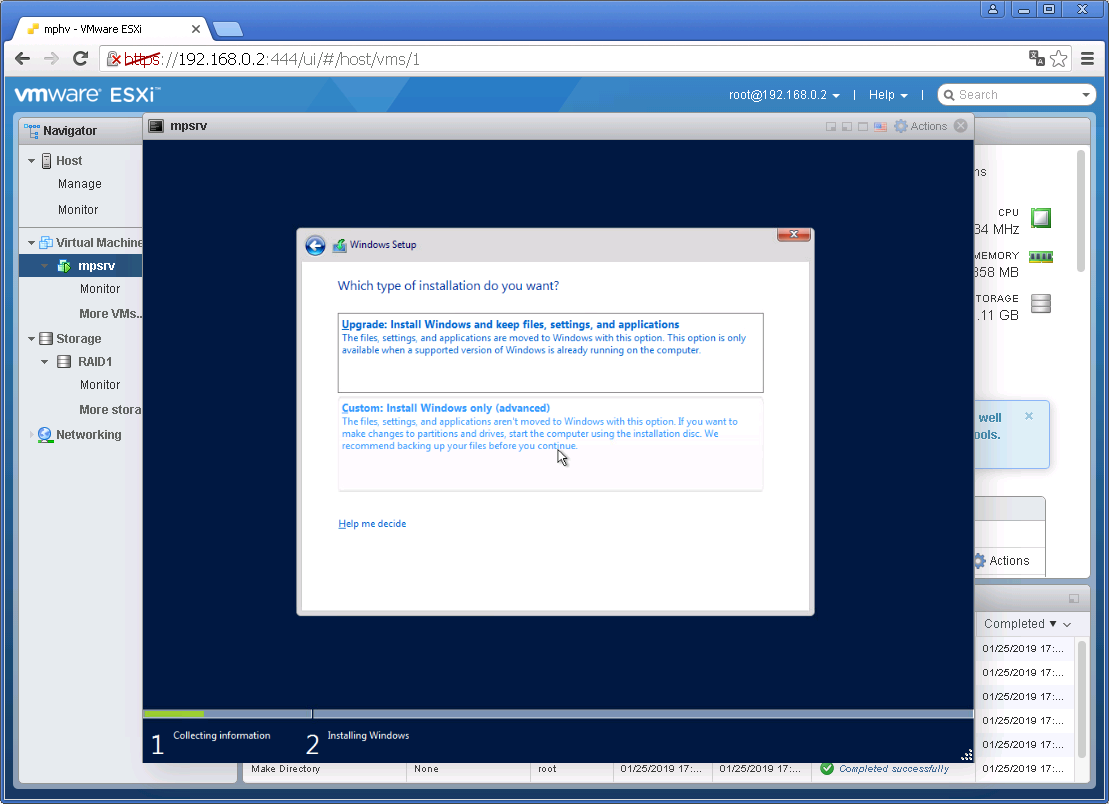
Since we are not performing an upgrade, I will be selecting the second option
– Custom: Install Windows only (advanced). Just click on it to proceed

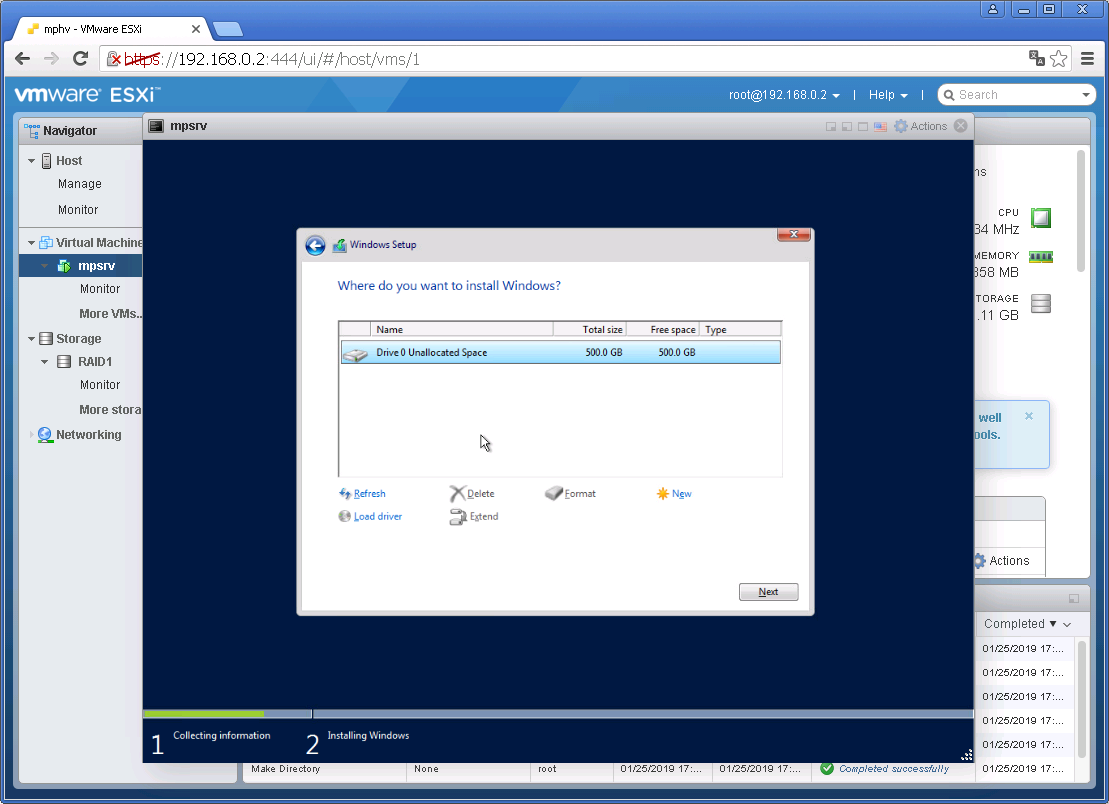
In this Window below, you will select where to install Window. I am okay installing it on Drive 0.
– Note: You can create a new Drive as shown below if you want to have Windows installed to it.
– Because I do not want to create a new drive, I will click on Cancel 🙂
– Then click on Next
This will now start the process of installing Windows Server 2016 on your server or VM. This can take a while but seat back with and enjoy your glass of Palm wine 😉

Note: Your server will restart multiple times as Windows is being installed.

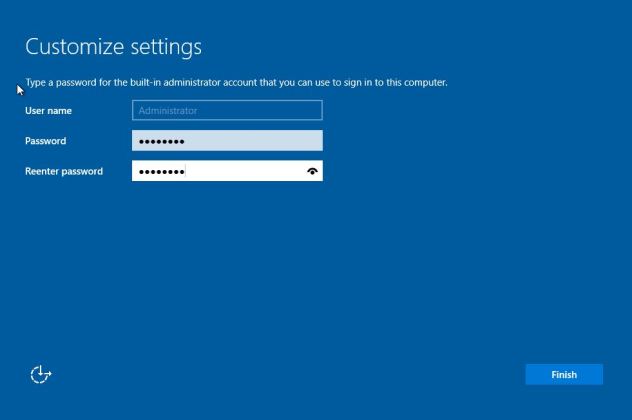
Now it is time to customise your your Server Settings

This completes and finalize the entire Windows Server 2016 installation process. As you can see below, you can now log on to your server.

Log on to the device with the local administrators account and password as created above.

That is all. You can start installing applications etc on your server. Since I have a DHCP server running in my Network, the server automatically received a DHCP IP Address. See the guide “How to configure a Windows client to obtain IP Address automatically from a DHCP Server“.

If you would like to configure your server statically, see the guide on Post installation of Windows Server 2019 Properties.
– You can configure all settings from the Server Manager on the fly as shown below.

I hope you found this blog post helpful. If you have any questions, please let me know in the comment session.
Инструкция в картинках по установке операционной системы Windows Server 2016 на виртуальную машину, которая находится на гипервизоре ESXi 6.7.
Для начала создадим саму виртуальную машину, если её у нас ещё нет:
ESXi 6.7 — создаём виртуальную машину
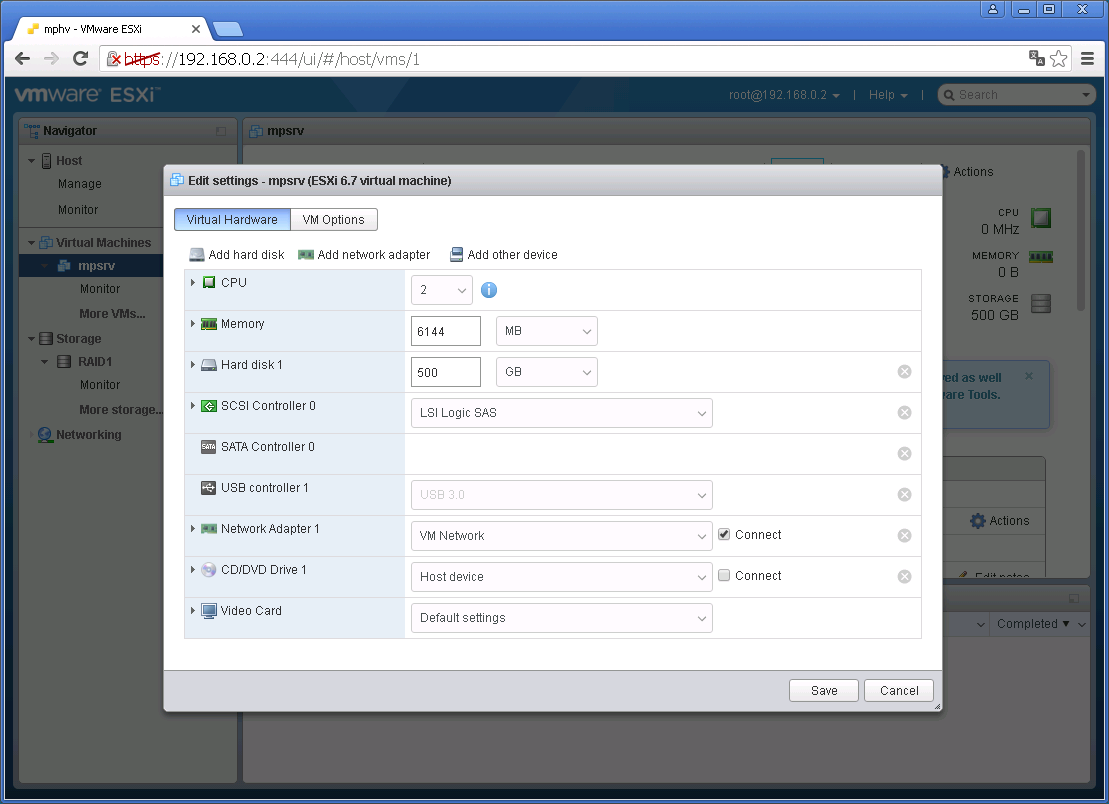
В UI гипервизора ESXi 6.7 кликаем на нашу виртуалку. Edit:
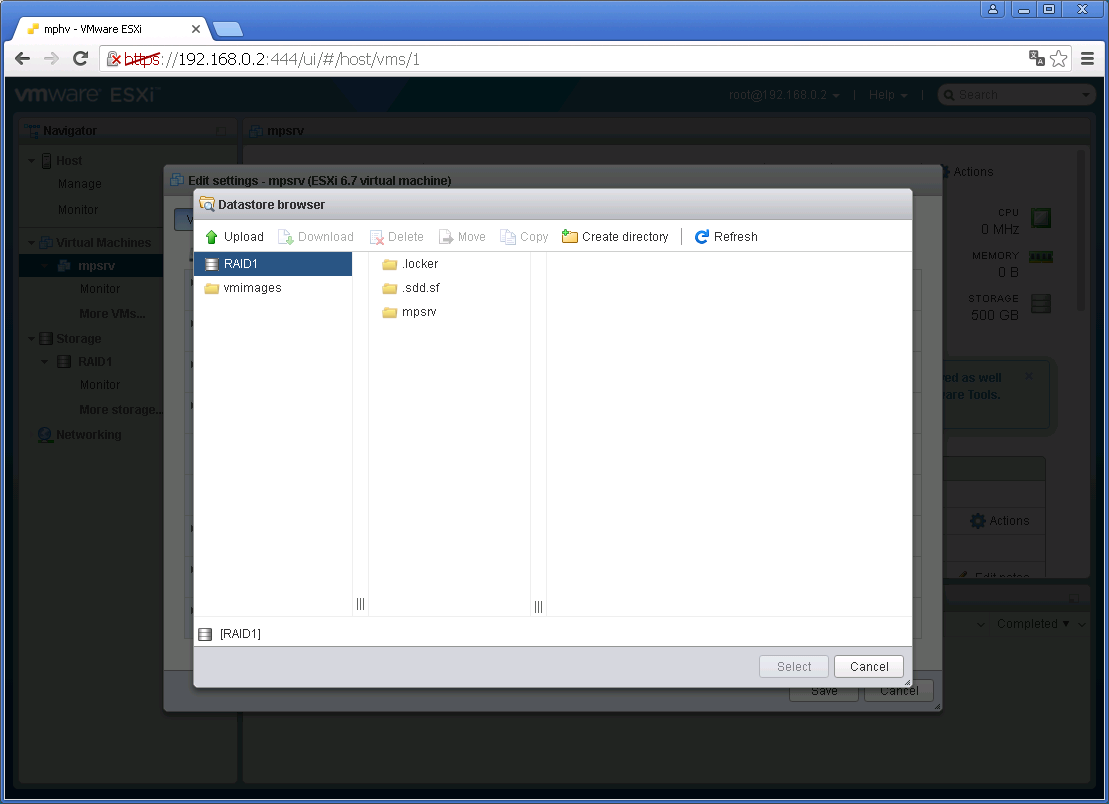
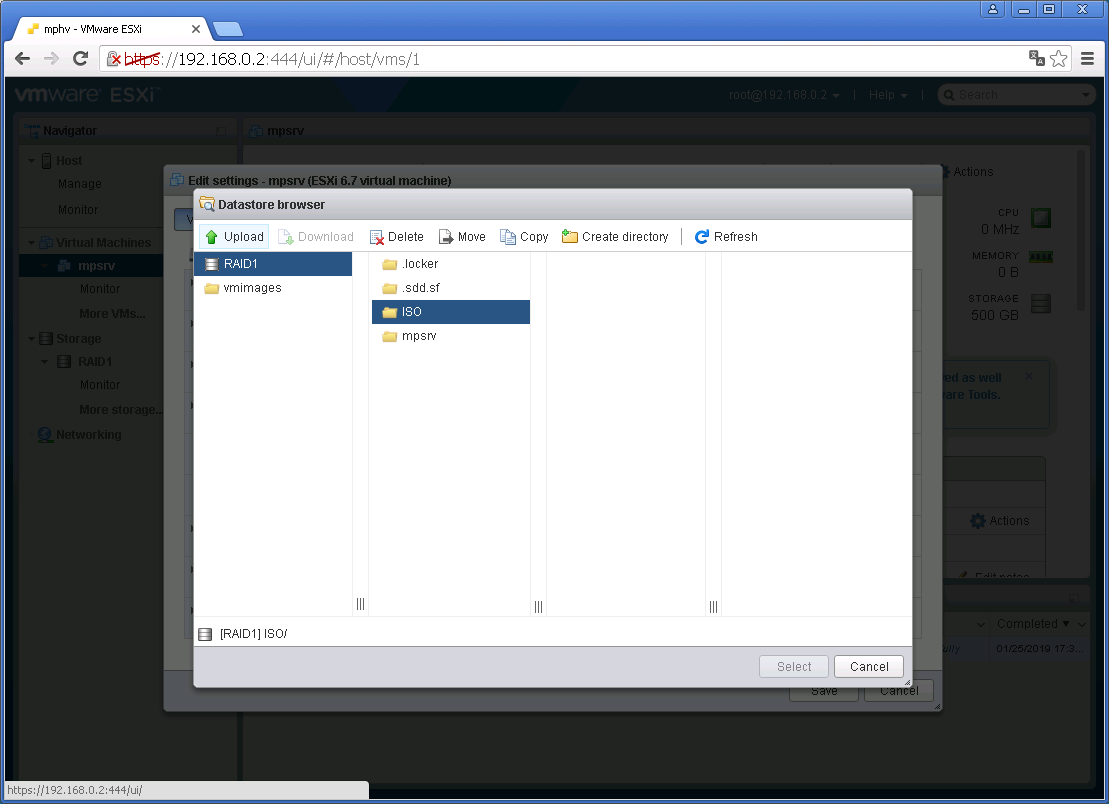
Наша задача, воткнуть ISO образ инсталлятора Windows в дисковод. В CD/DVD Drive 1 выбираем Datastore ISO file, откроется Datastore browser:
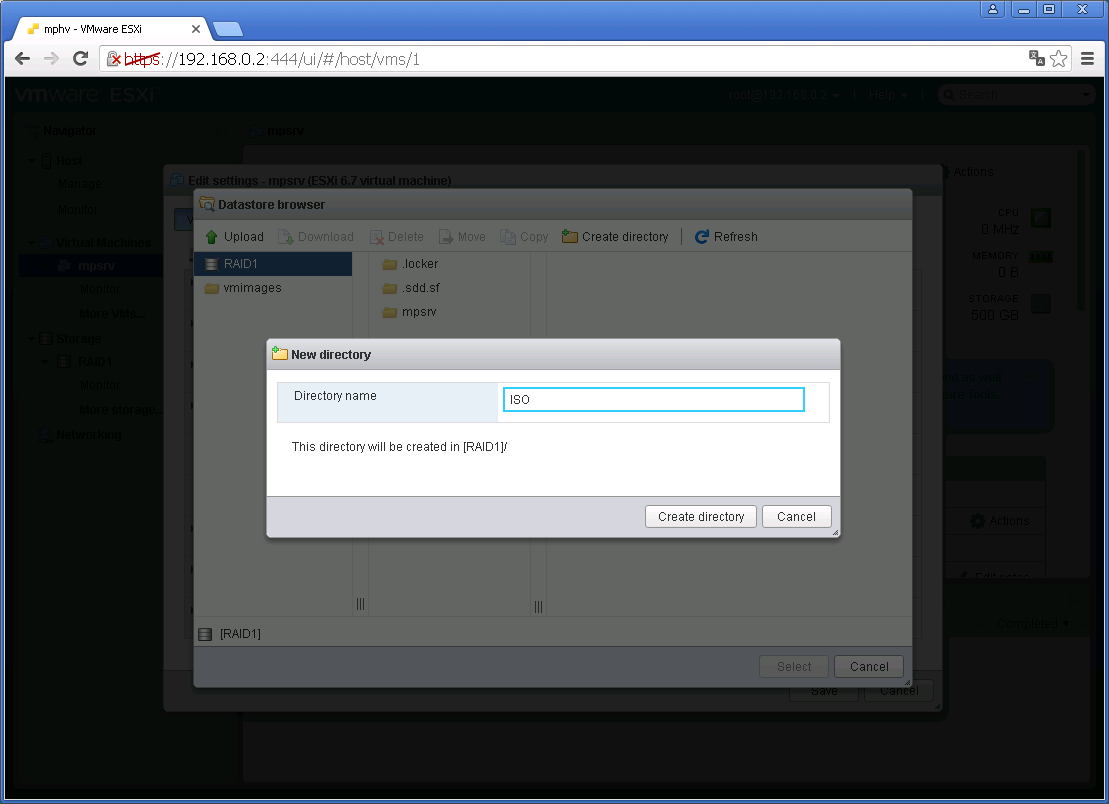
Образ у меня не загружен в хранилище, создам папочку для ISO файлов. Create directory:
Указываем название директории, у меня будет ISO, Create directory:
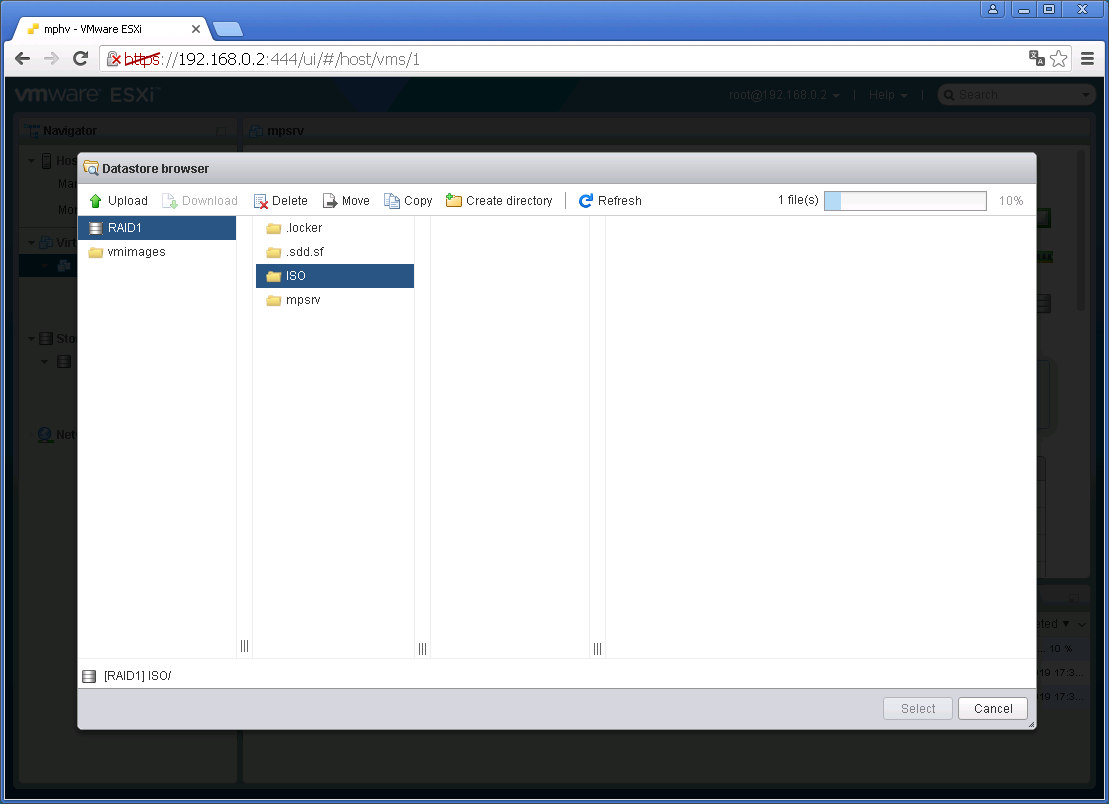
Папочка создалась. Кликаем на неё, потом Upload, выбираем ISO образ инсталлятора Windows Server 2016:
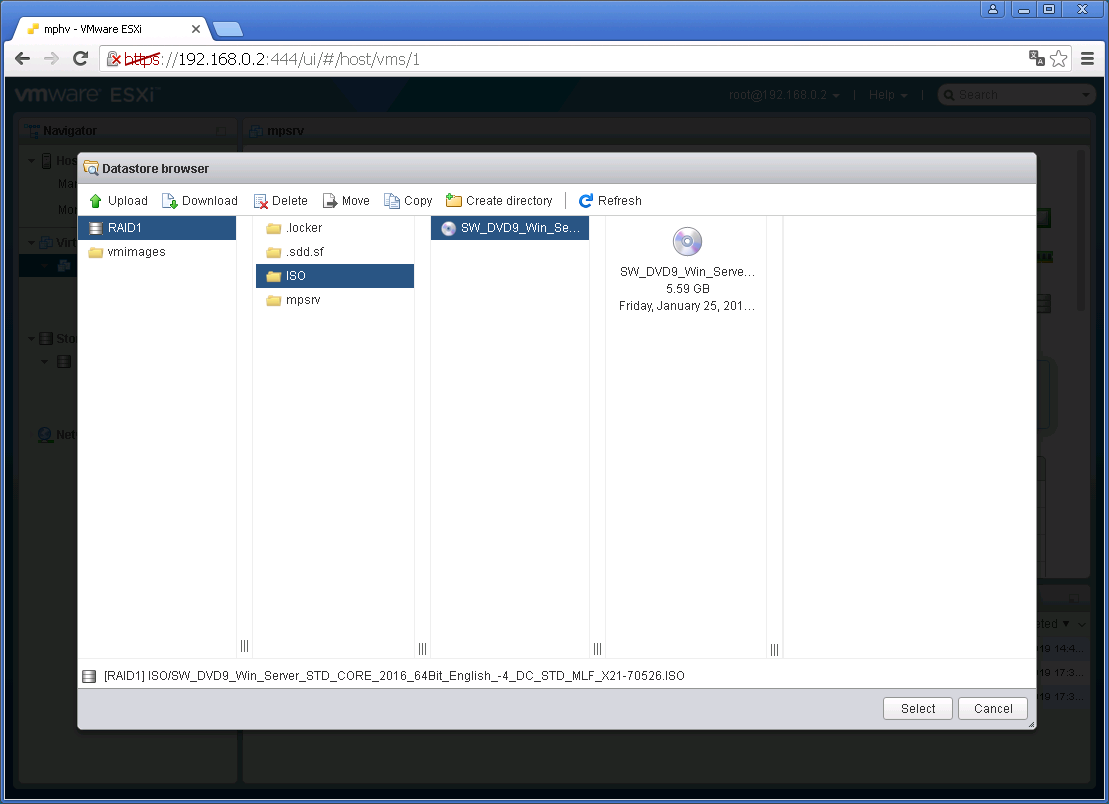
В правом верхнем углу показывается прогрусс загрузки файла. Итак, файл загрузился в хранилище, кликаем на него, потом Select:
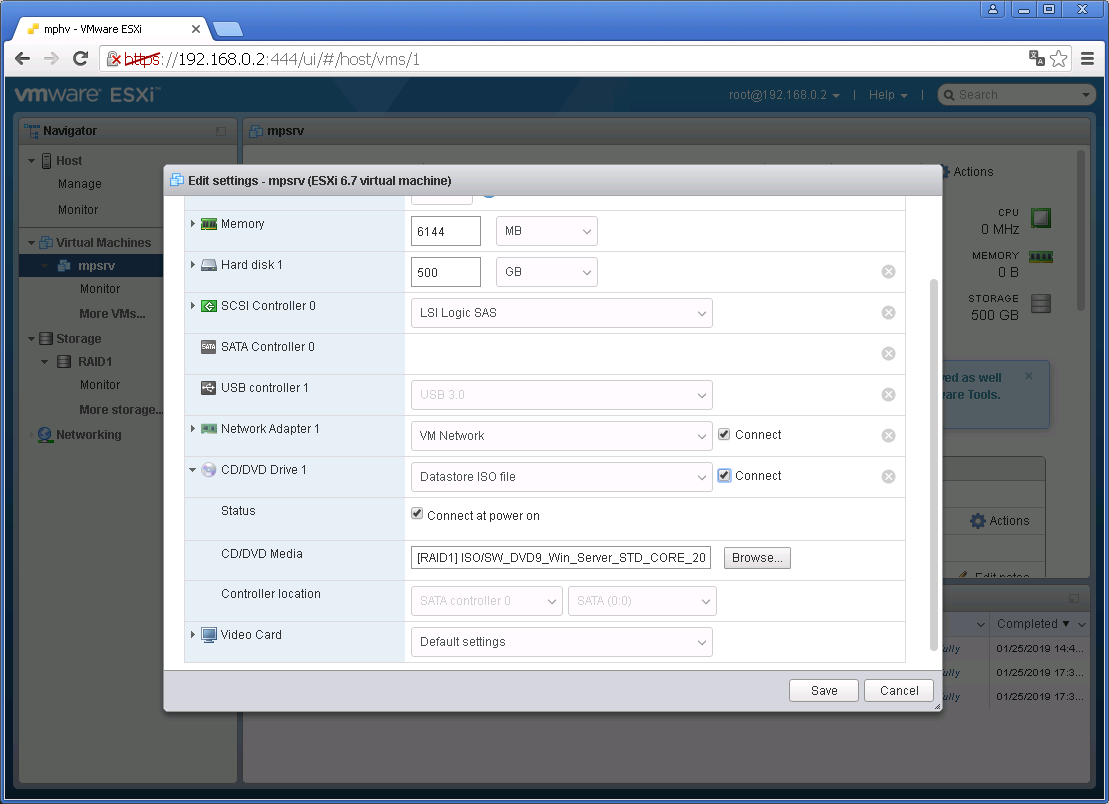
ISO образ цепляется к дисководу виртуалки:
Устанавливаем две галки. Connect at power on и Connect. Save. Включаем виртуалку:
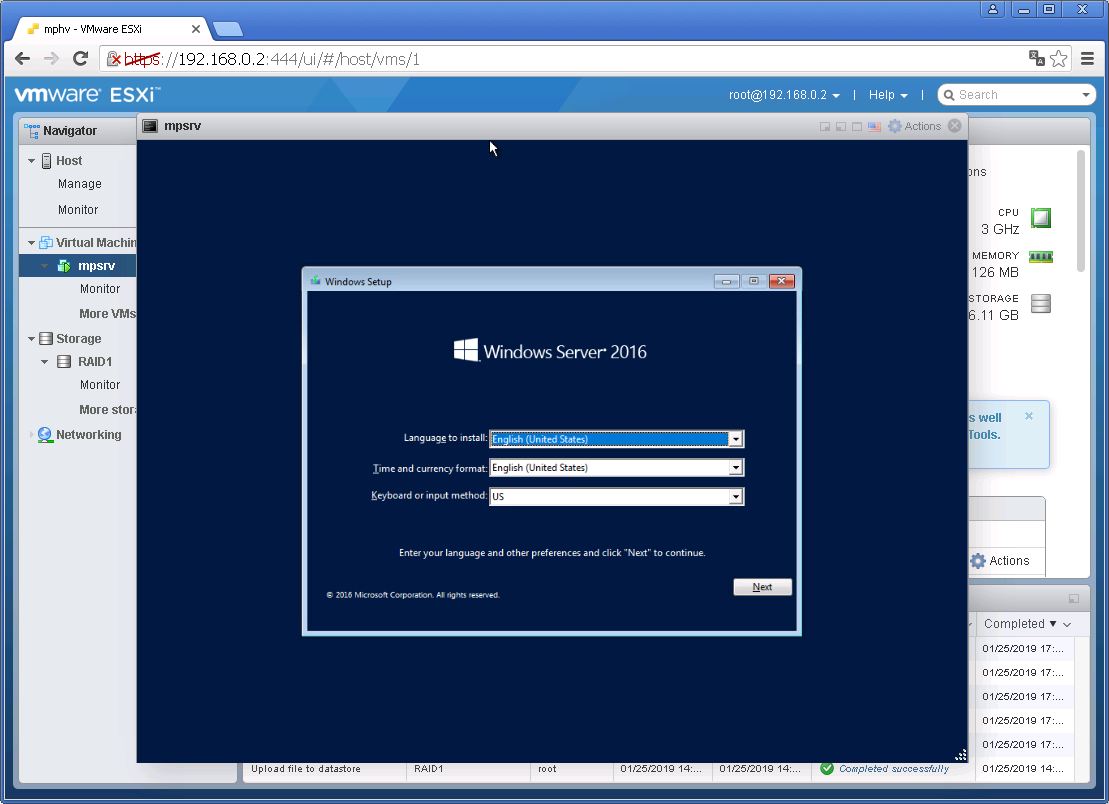
Для начала установки нужно будет успеть нажать любую клавишу. Выбираем язык, время, клавиатуру. Next.
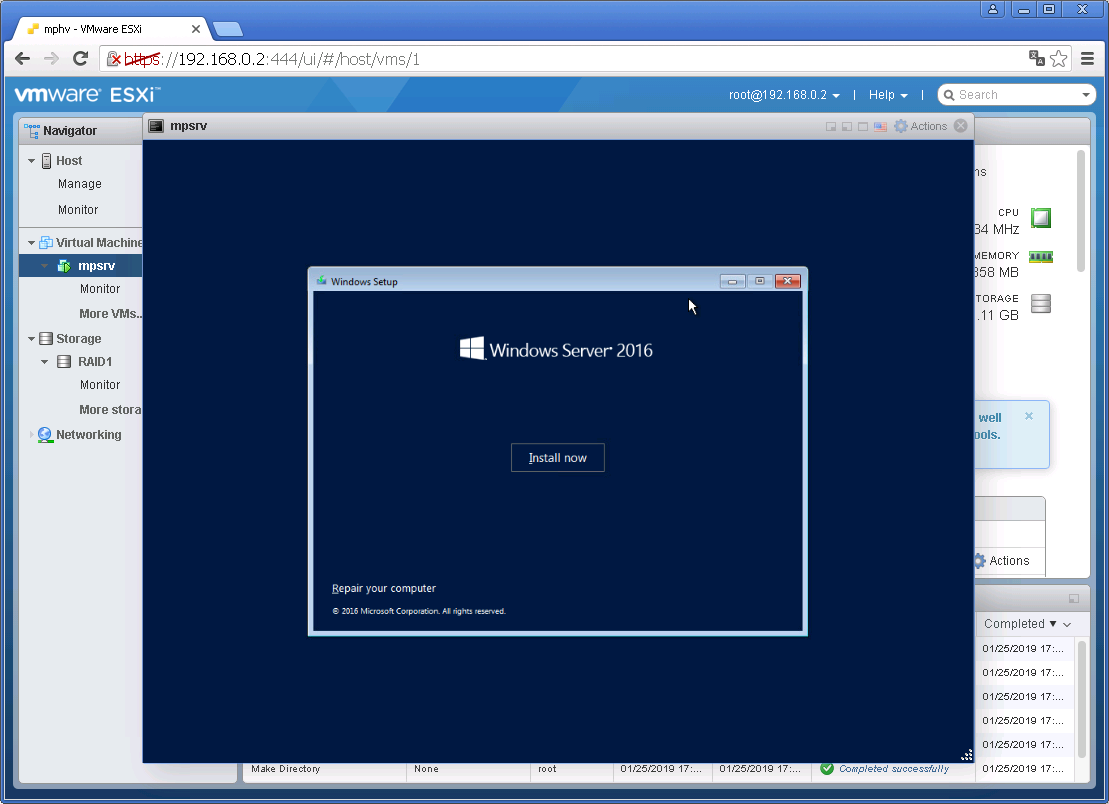
Install now:
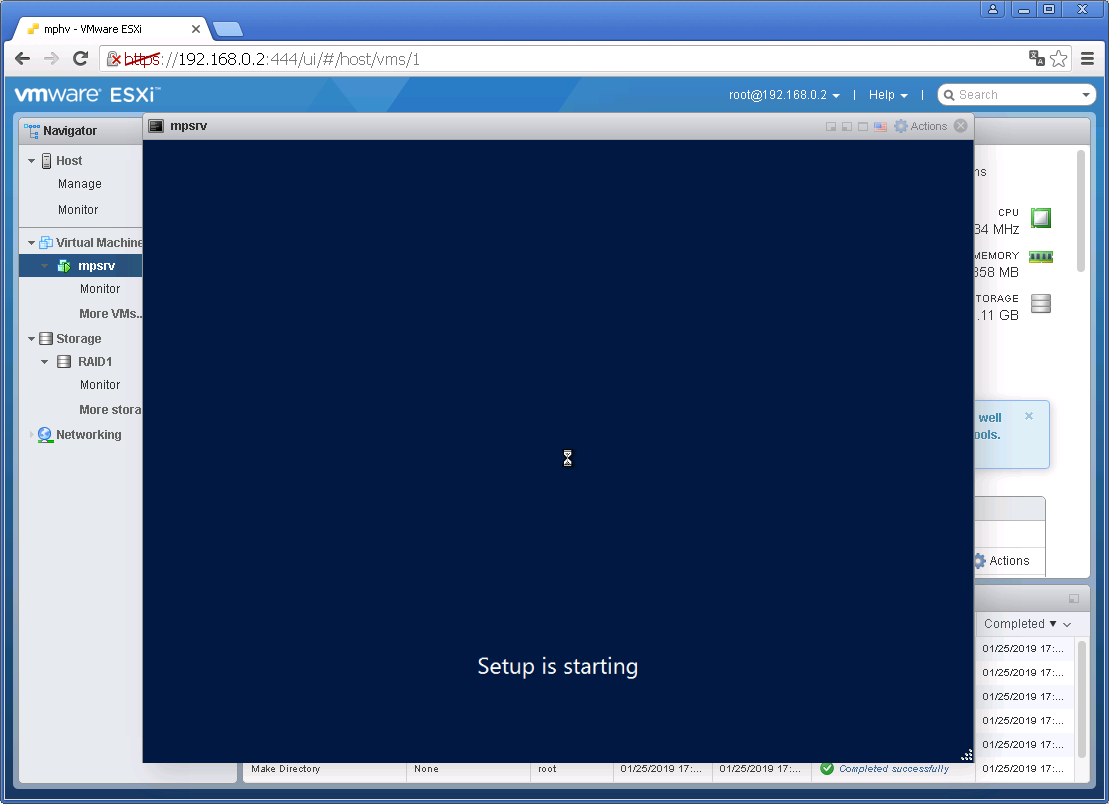
Setup is starting:
Выбираем тип установки.
- Standard без GUI
- Standard с GUI
- Datacenter без GUI
- Datacenter с GUI
Next:
Принимаем лицензионное соглашение, Next:
Выбираем Custom: Install Windows only (advanced):
Выбираем винт, у меня он уже выбран, поскольку один. Next:
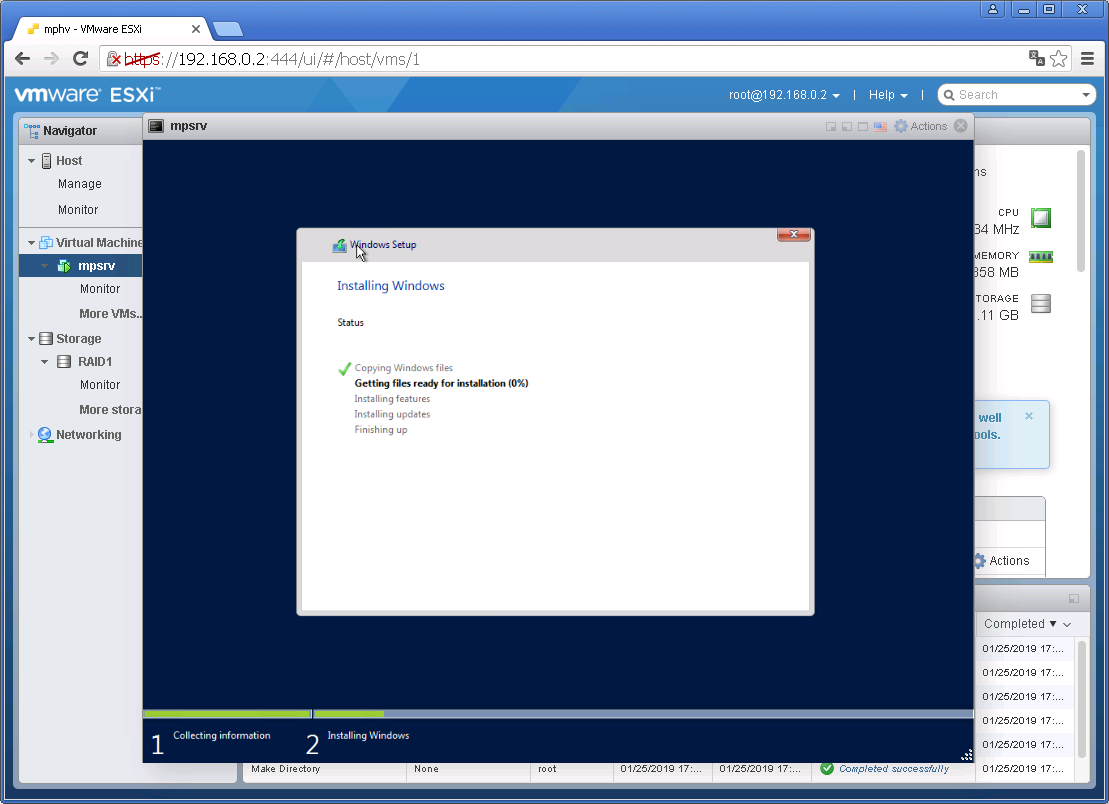
Потекло по трубам:
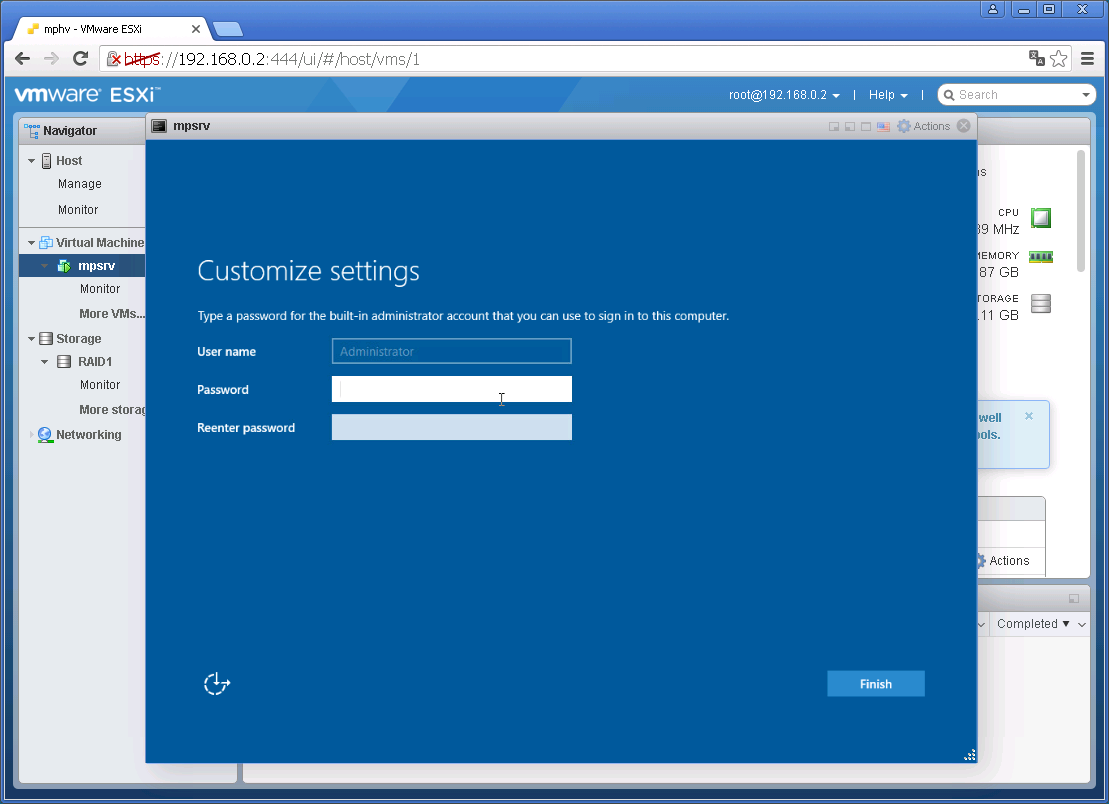
Через несколько минут нам предложат указать пароль от пользователя Administrator. Указываем, Finish:
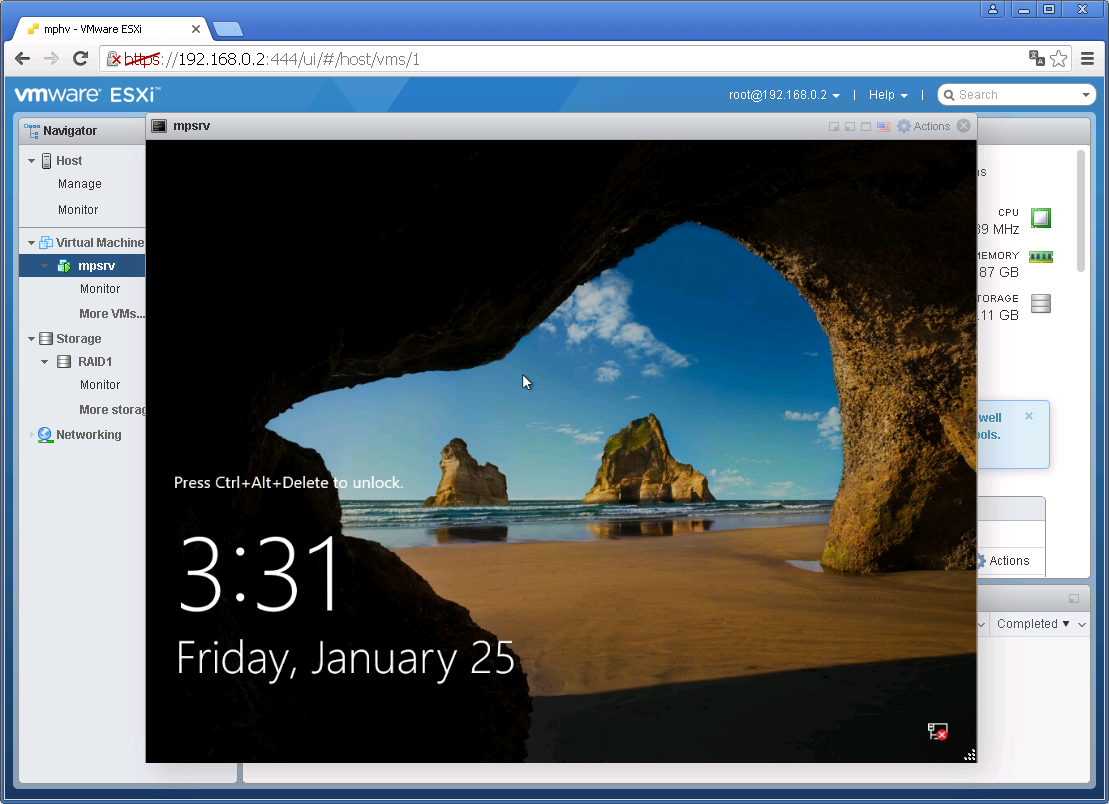
Винда поставилась. Очень напоминает десятку.
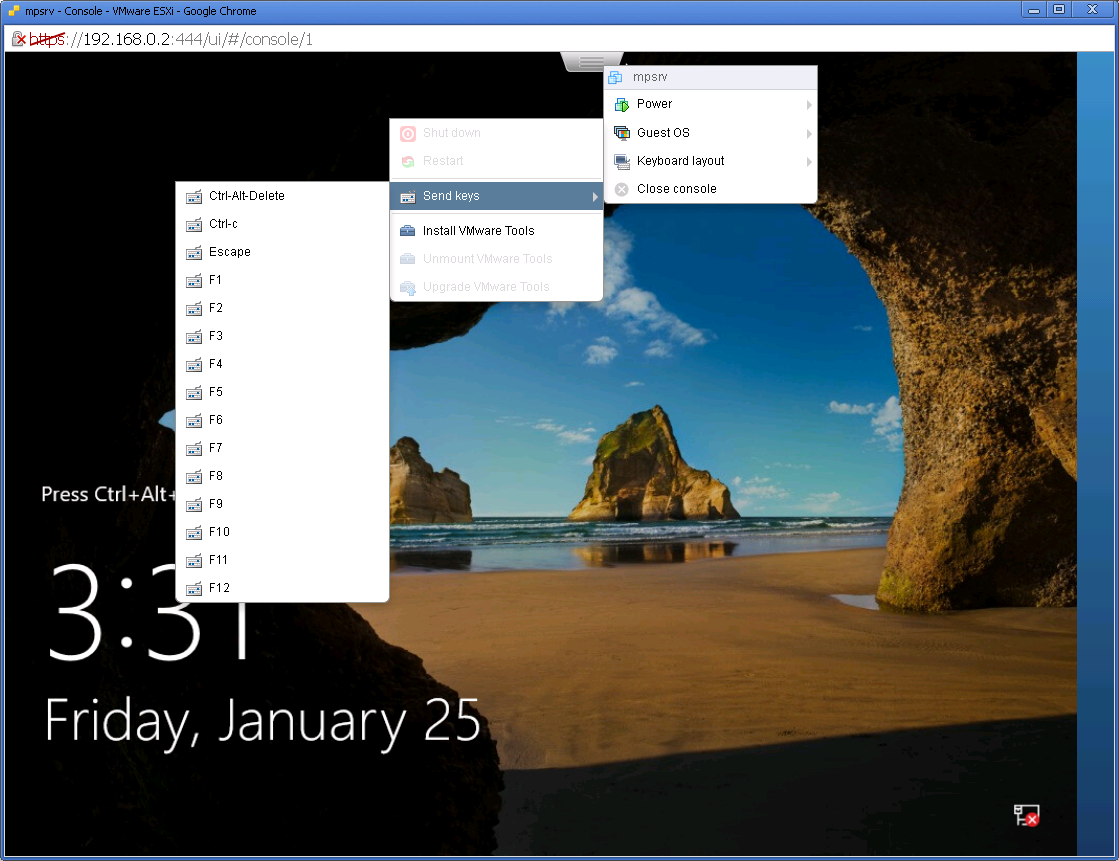
Посылаем Ctrl+Alt+Del:
Логинимся.
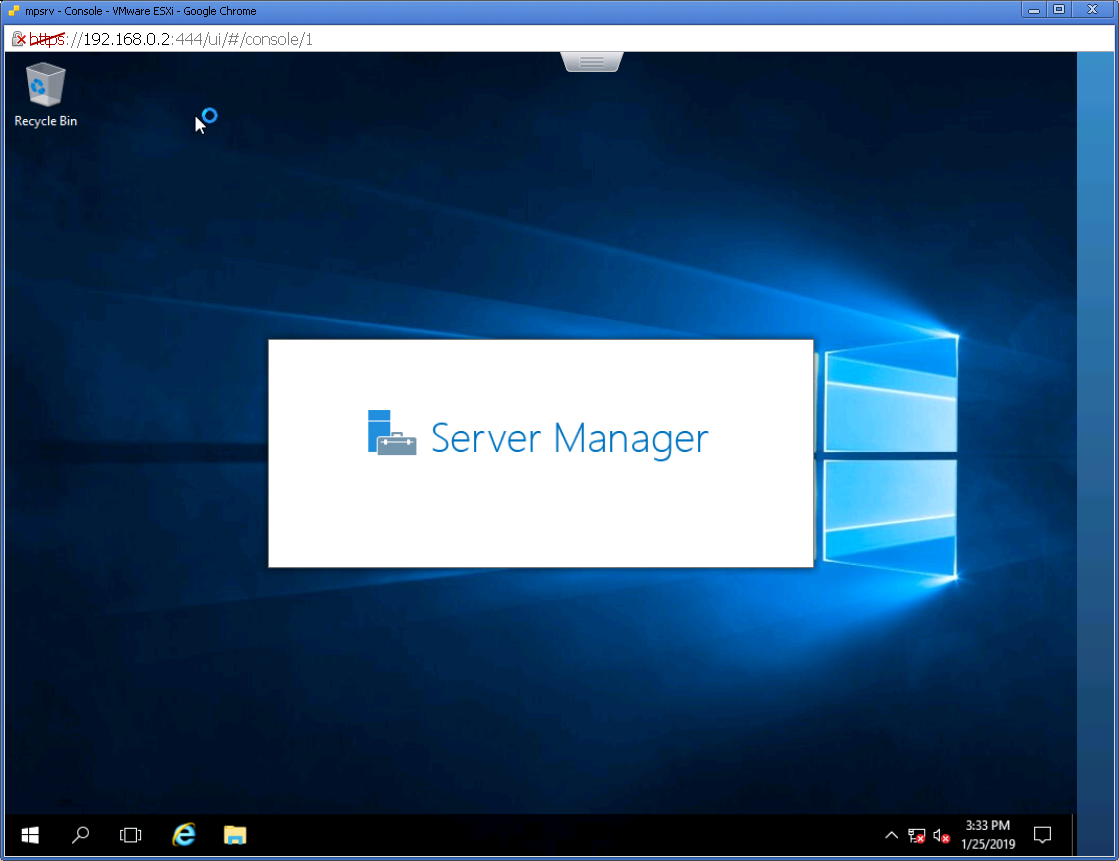
Внутри смесь десятки, метро и 2012-го сервера.
In this note; I will show you how you can install Windows server 2016 on Oracle VM Virtual Box step by step. Actually all my notes about database security. But I will use this server to show you some security feature of SQL Server.
- First; you have create a blank Windows machine by Oracle VM Virtual Box Manager by clicking New in Machine menu.
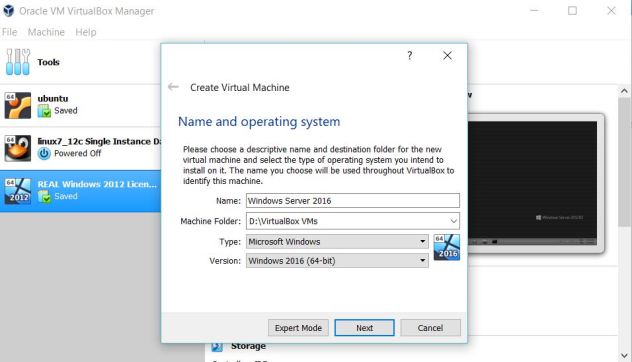
2.In the dialog box give a name for the virtual machine and choose Windows 2016 (64bit) as a version.
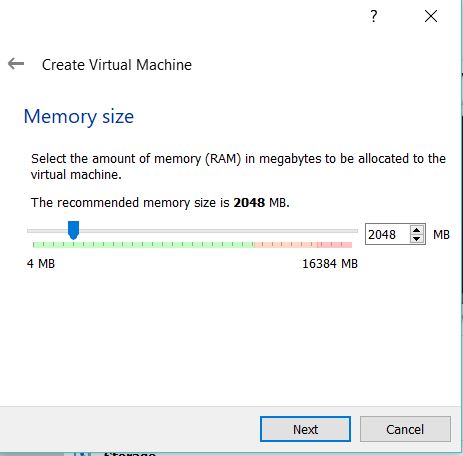
3. Now ; select the machine RAM , I chose 2 GB as you see in the picture below.
4. After pressing Next; you will come to Hard Disk configuration page; in my machine I decided to create a virtual disk.
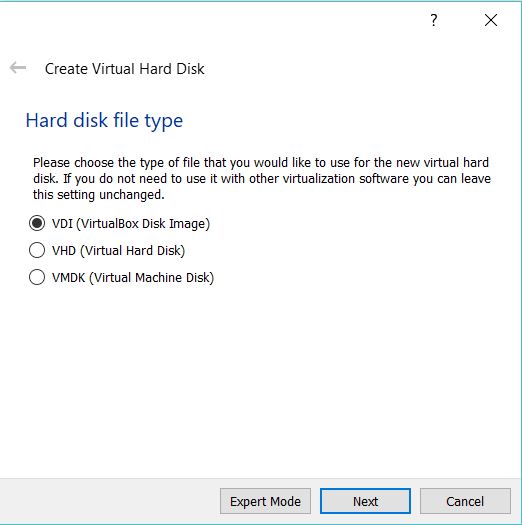
5. Choose VDI as a hard disk type.
6. In the Storage on physical hard disk page choose your disk type and I chose dynamically allocated disk
7. In File location and size page; choose you hard disk size and location and press the Create button to create a blank machine. Now you blank Windows 2016 server is ready.
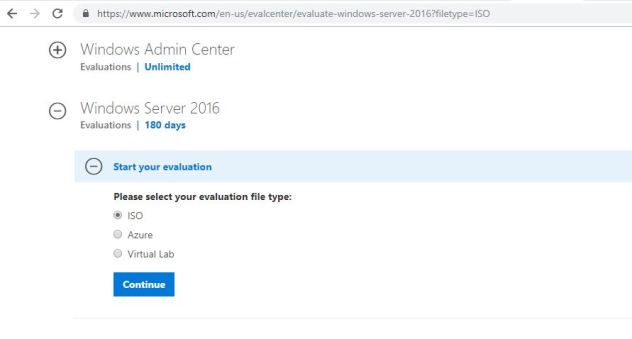
8. Now It is the time to download Windows 2016 Server ISO from Microsoft support page.
9. After downloading ISO page ; insert this file into previously created blank machine. You can do this from the setting page of the machine , choose storage section and Optical Drive part.
10. Now start the machine and press Install Now.
11. Choose Windows Server 2016 Standart Evaluation ( Desktop Experience)
12. This is a new installation for this reason ; choose Custom install
13. Now create you disk drive ; just choose Drive 0 and press Next.
14. Windows installation starts and you have to wait for a while
15. At the and you should enter your Administration password and you have make some regional setting.
16. And now you virtual Windows 2016 server is ready you can open your desktop by pressing Ctrl-Alt-Del from Input – keyboard menu .
I hope this note will be helpful for you.
Y. Anil Akduygu from Istanbul


