
![]()
Здравствуй, юный сисадмин. Сегодня мы с тобой установим Windows Server 2019. Устанавливать будем ознакомительную версию, которая работает 180 дней. Установка производится на виртуальную машину VMware, я использую домашний сервер с ESXi на борту.
Дистрибутив Windows Server 2019
Переходим по ссылке:
https://www.microsoft.com/ru-ru/windows-server
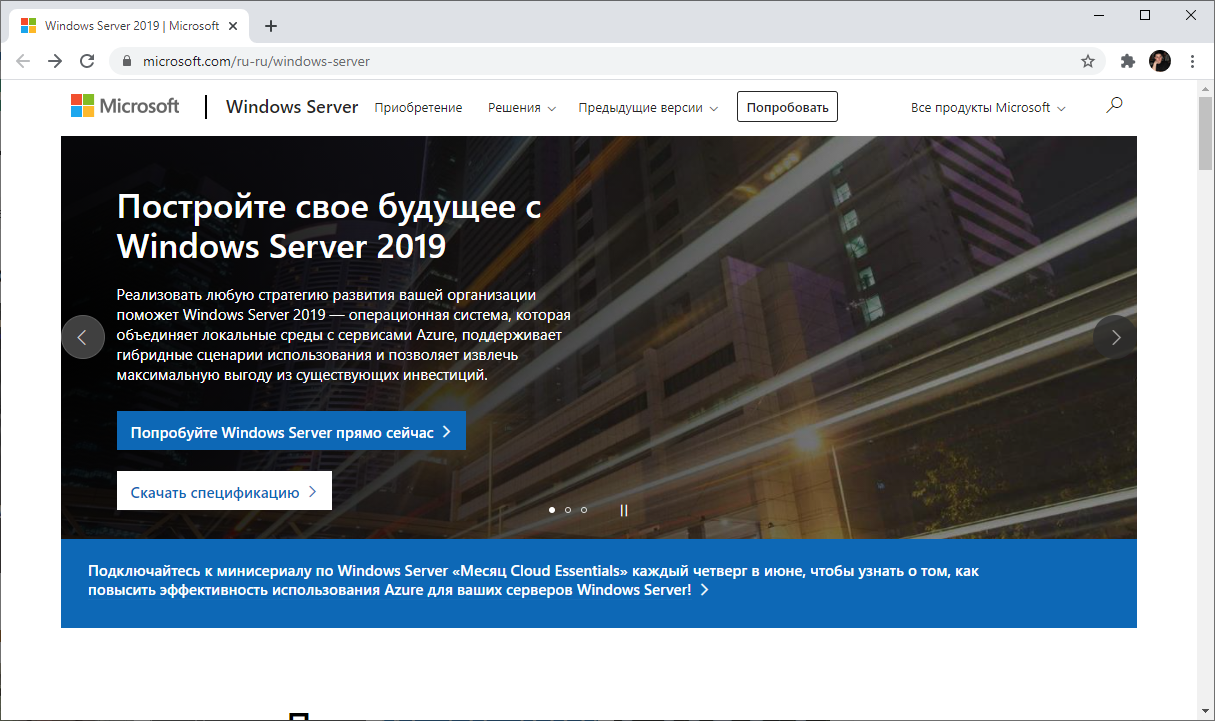
Нажимаем кнопку «Попробуйте Windows Server прямо сейчас».
https://www.microsoft.com/ru-RU/windows-server/trial
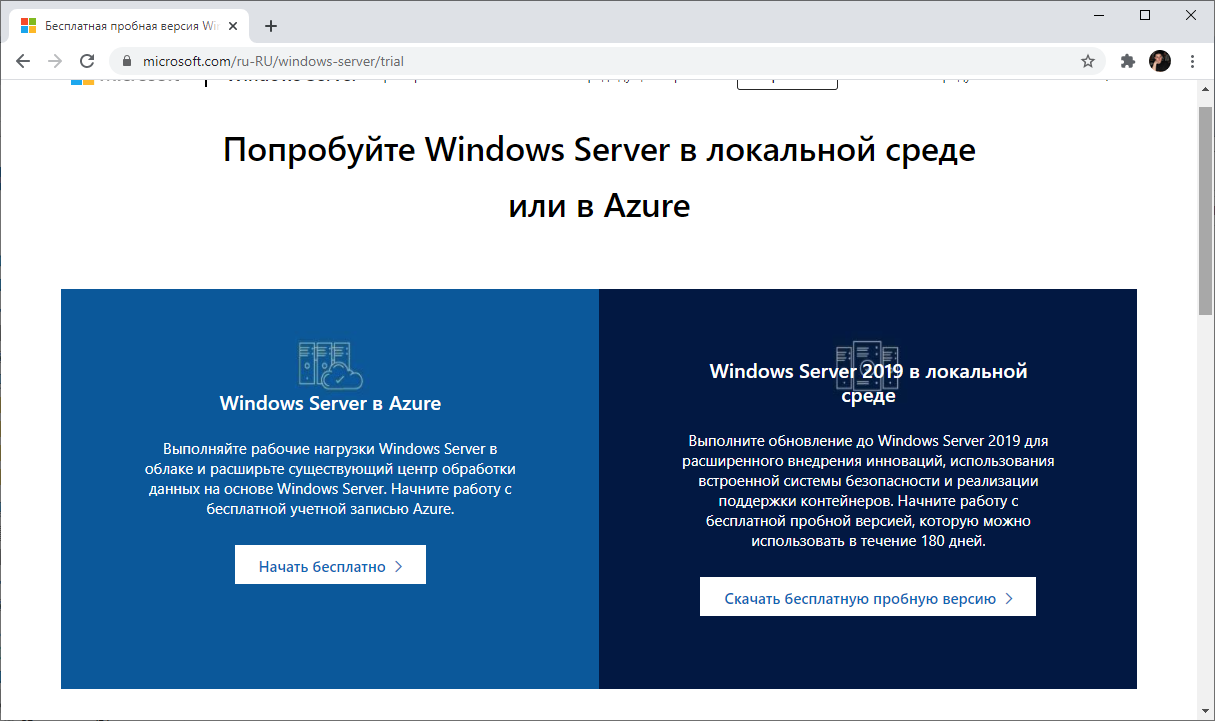
Нас интересуем Windows Server 2019 в локальной среде. «Скачать бесплатную пробную версию».
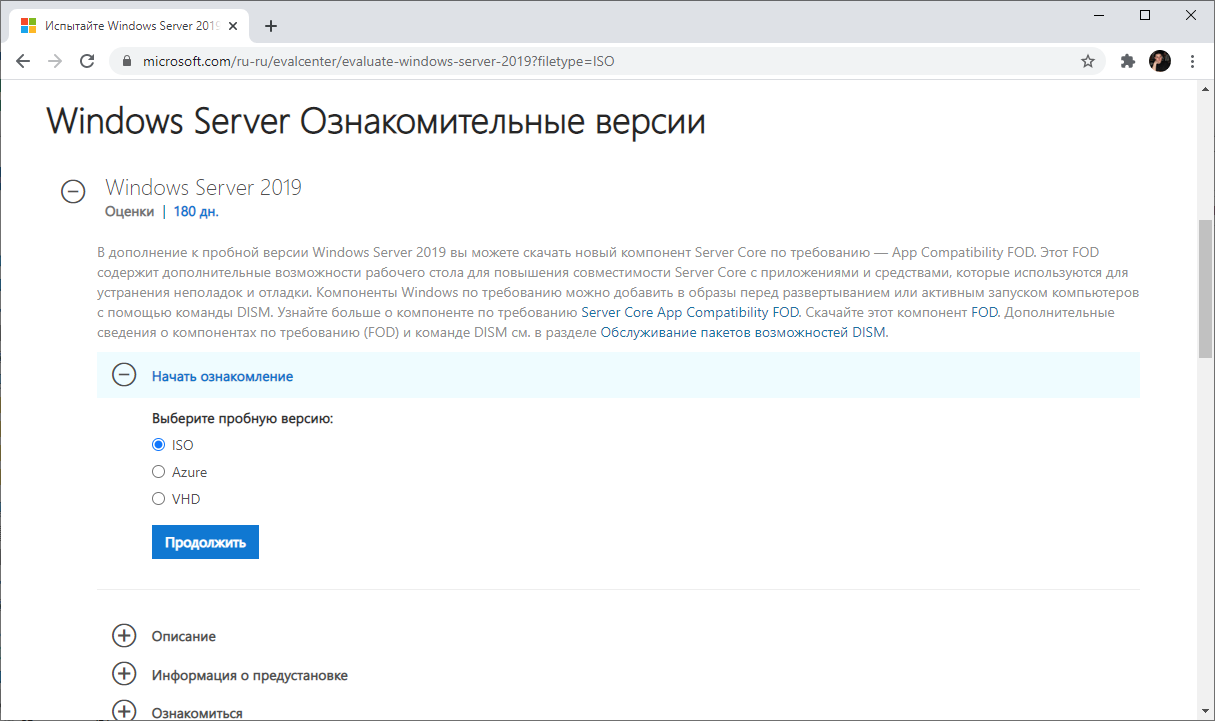
Нам нужен ISO образ, выбираем, «Продолжить».
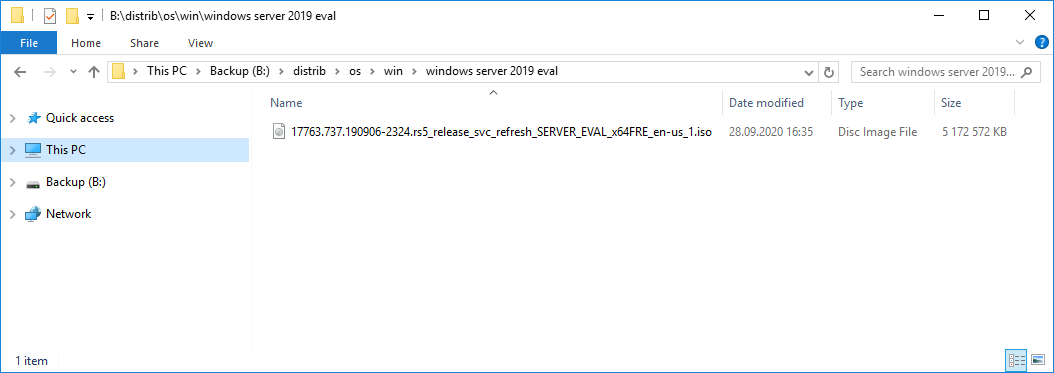
Итак, дистрибутив Windows Server 2019 в виде ISO образа у нас есть.
Системные требования Windows Server 2019
https://docs.microsoft.com/en-us/windows-server/get-started-19/sys-reqs-19
Минимальные системные требования для работы Windows Server 2019:
- Процессор
- 64-разрядный процессор с частотой 1,4 ГГц
- Совместимость с набором инструкций x64
- Поддержка NX и DEP
- Поддержка CMPXCHG16b, LAHF/SAHF и PrefetchW
- Поддержка трансляции адресов второго уровня (EPT или NPT)
- Память
- 512 МБ (2 ГБ для сервера с возможностью установки Desktop Experience)
- ECC (Error Correcting Code) или аналогичная технология для развертывания физического хоста
- Диск
- 32 ГБ для core mode + IIS
- 36 ГБ для GUI mode + IIS
При установке на виртуальную машину минимальных требований (1 процессор и 512 МБ оперативки может быть недостаточно, установка завершится с ошибкой. В этом случае можно сделать следующее:
- Выделите более 800 МБ памяти, после завершения установки можно уменьшить количество памяти до 512 МБ. Если вы используете дополнительный язык, то может потребоваться больше 800 МБ.
- Прервите процесс установки SHIFT+F10. В командной строке используйте diskpart.exe для создания и форматирования раздела для установки. Выполните wpeutil createpagefile /path=C:pf.sys, где C: — это выделенный раздел. Закройте командную строку и продолжите установку.
Подготовка виртуальной машины для Windows Server 2019
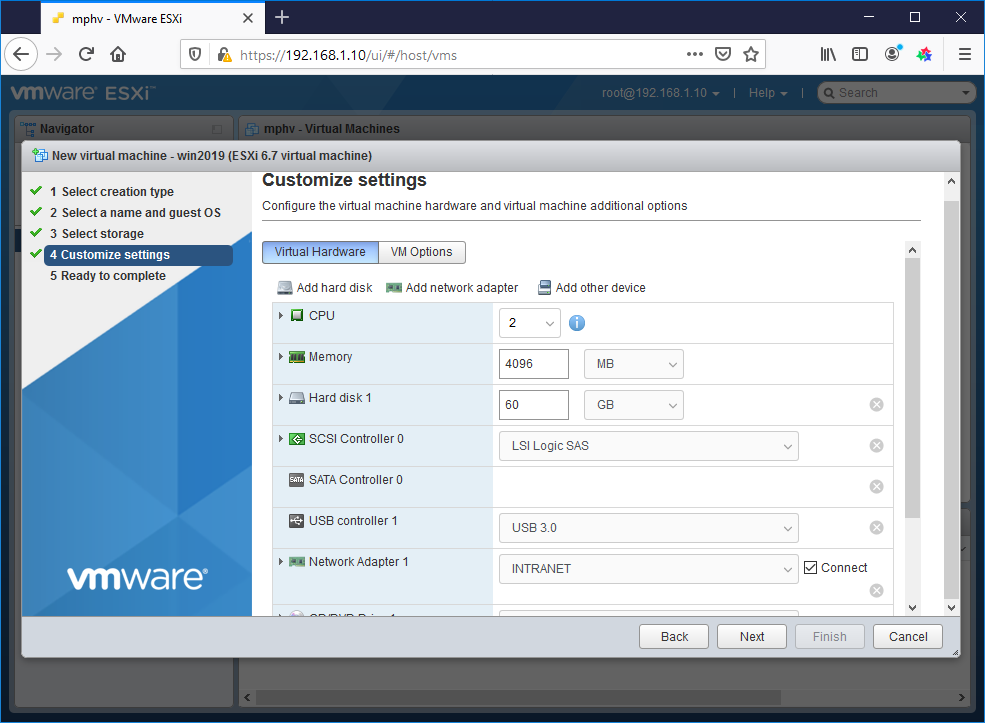
Создаём виртуалку.
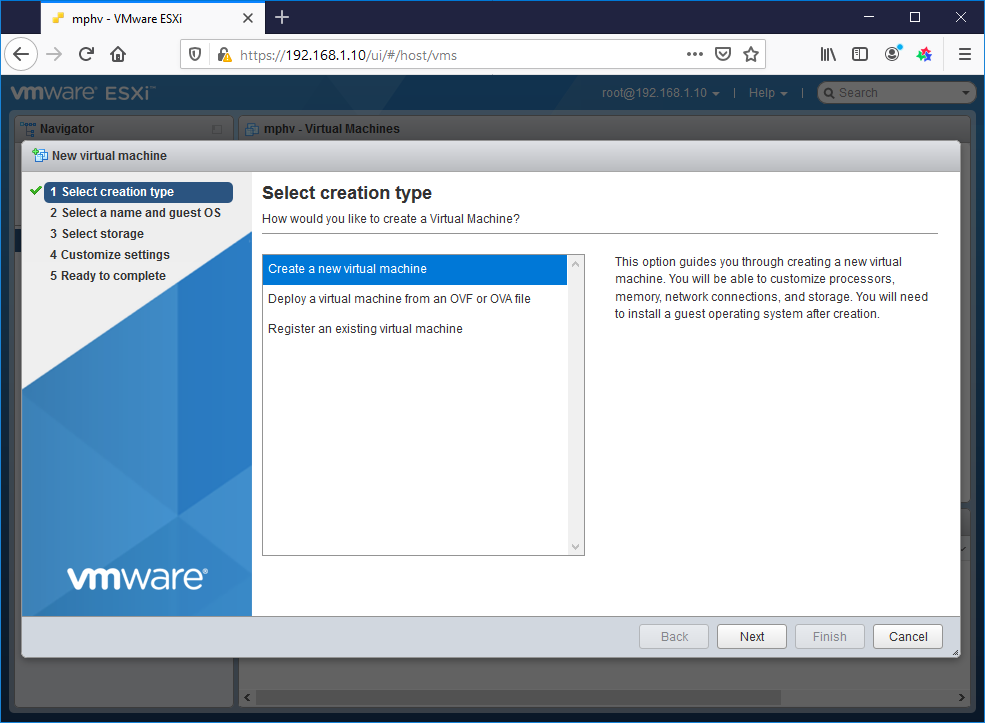
Минимальные требования не будем устанавливать. Я выделил:
- 2 процессора
- 4 ГБ оперативки
- 60 ГБ места на диске
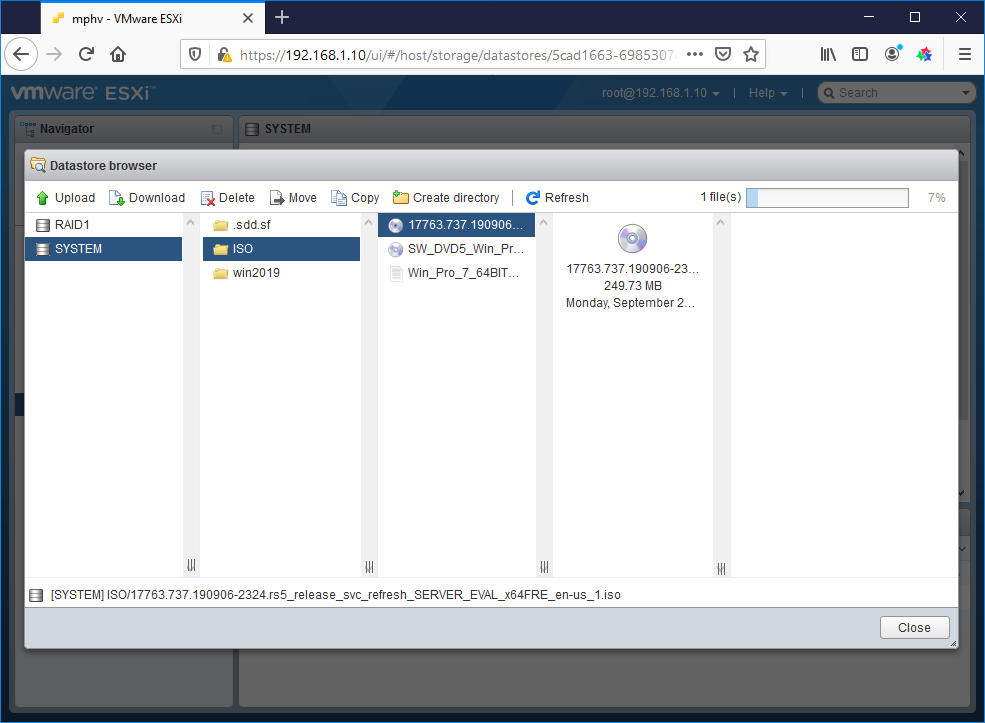
Загружаю в хранилище ISO образ.
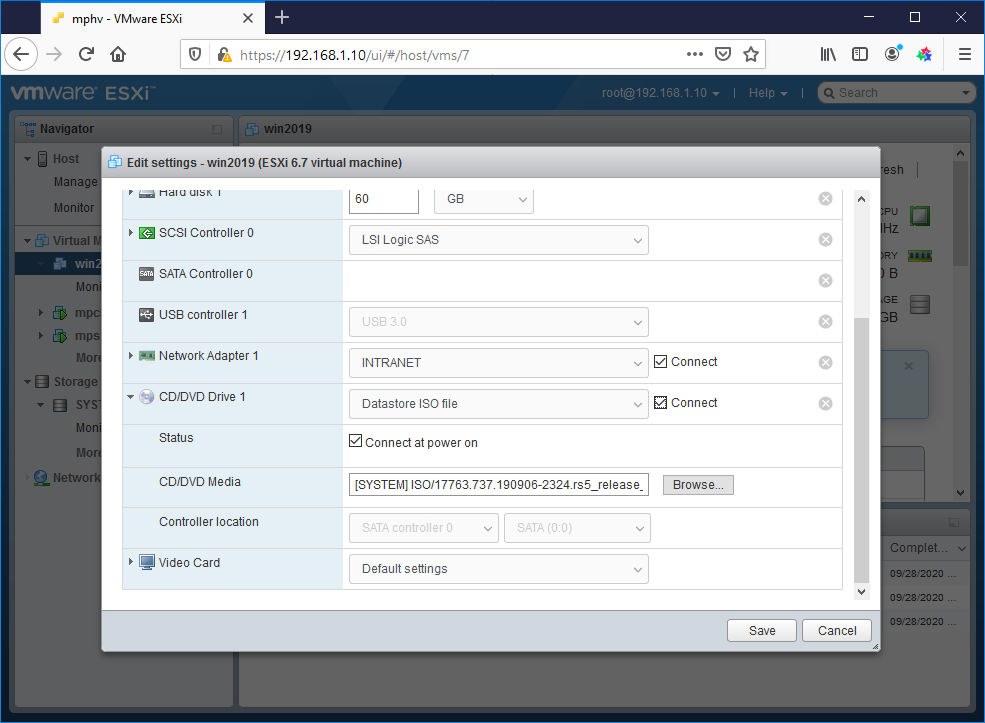
Монтирую ISO образ как CDDVD.
Для удобства устанавливаю VMware Remote Console.
Установка Windows Server 2019
Включаем виртуалку.
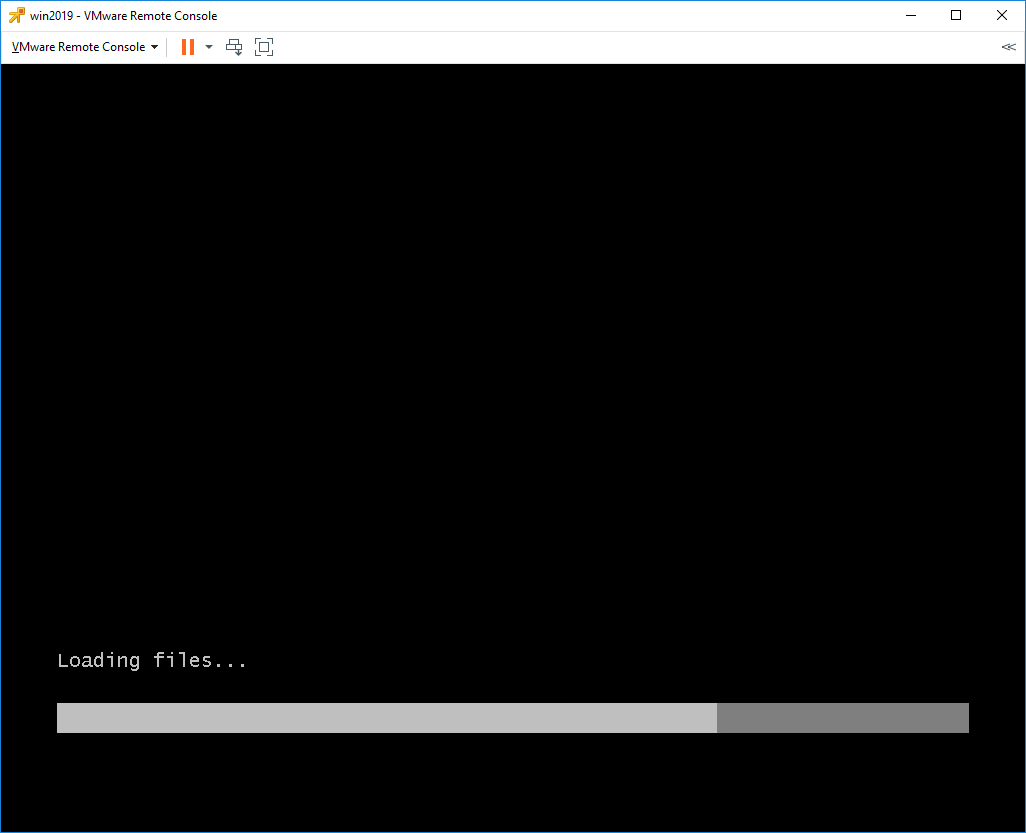
Установочный образ подцепился.

Запускается Windows Setup.
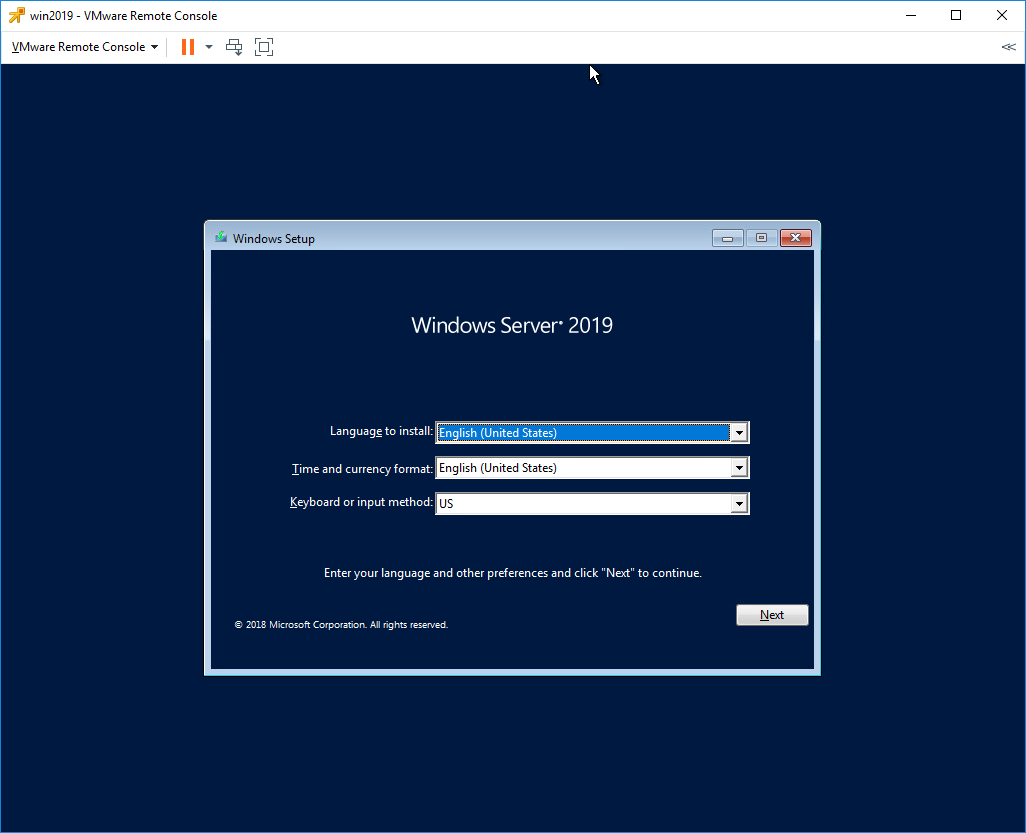
Я предпочитаю устанавливать Windows Server на английском языке, мне так привычнее. Чем меньше лишнего — тем лучше. Единственное исключение делаю для терминальных серверов, так как с ними потом будут работать юзеры.
Выбираем язык установки, Next.
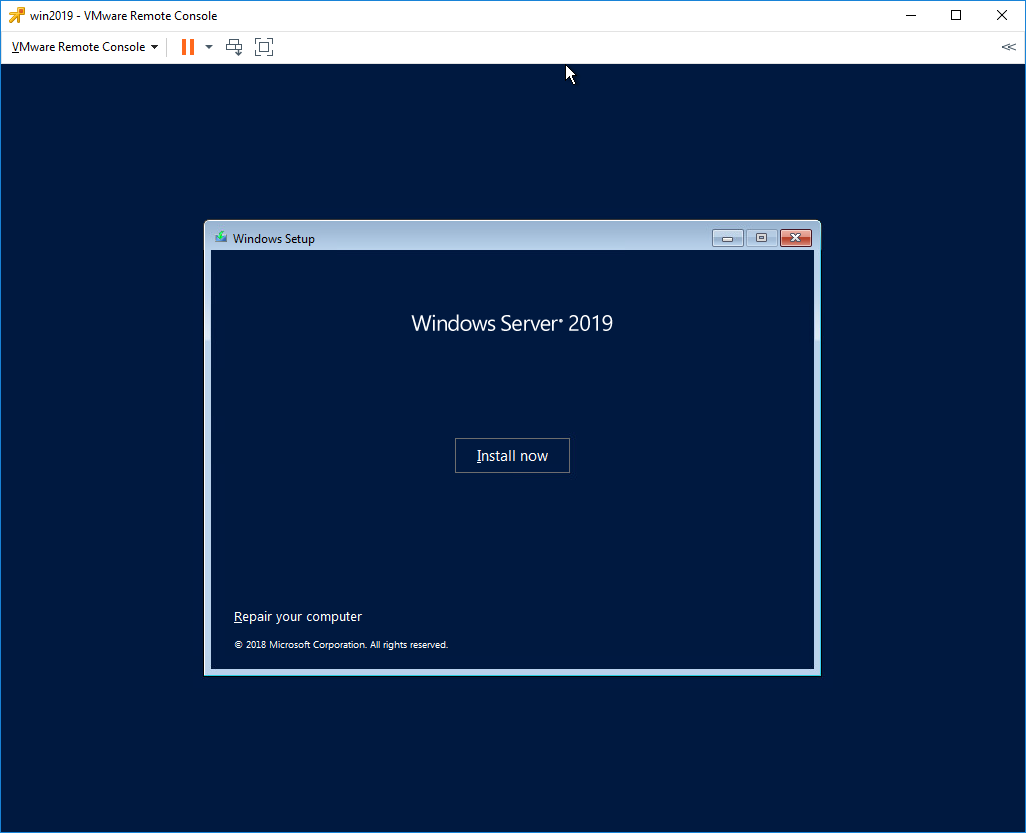
Install now.
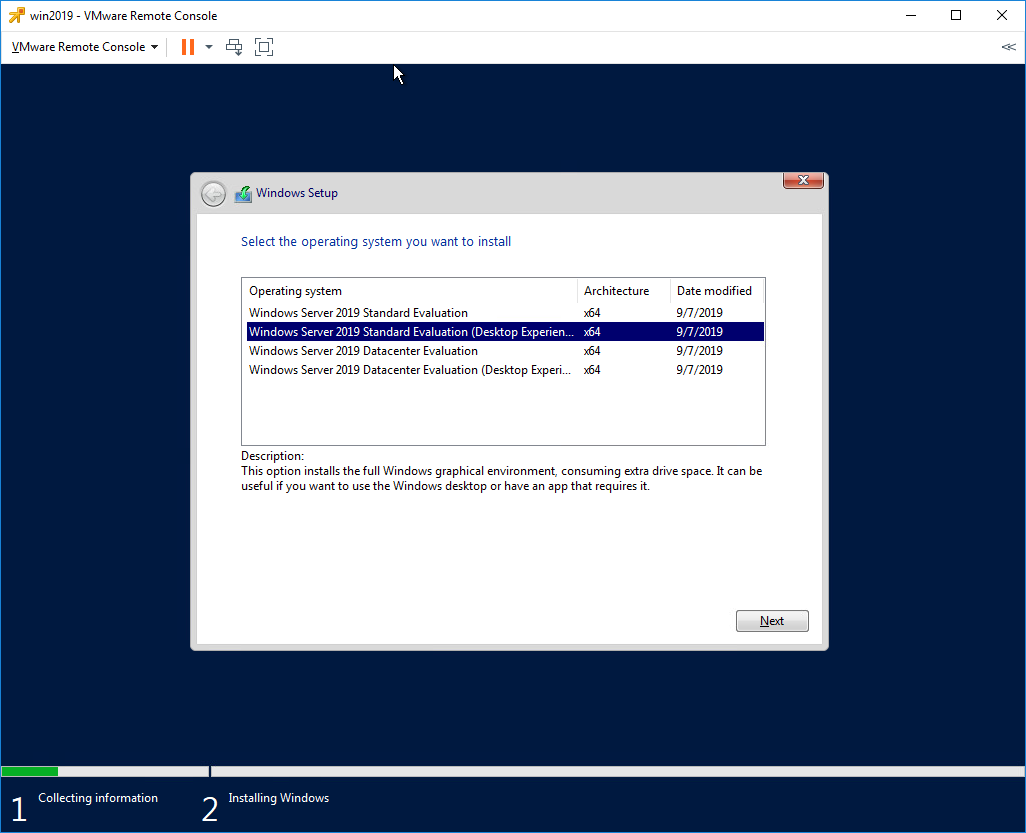
Выбираем Standard версию с GUI. Next.
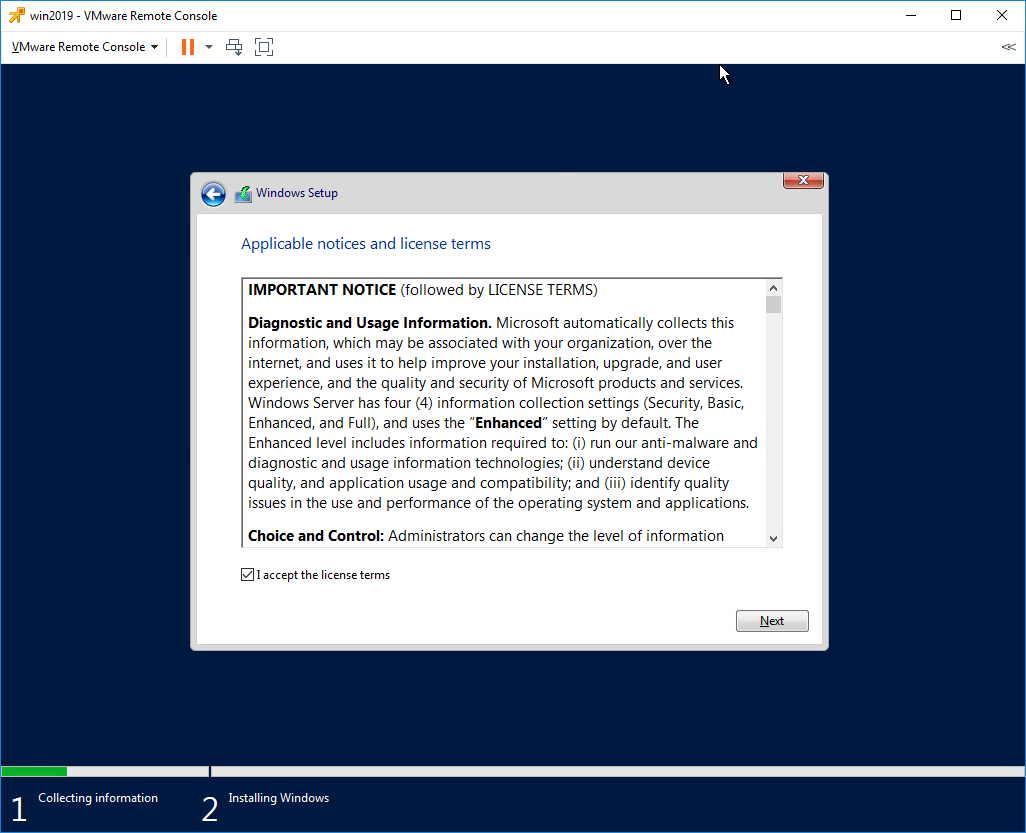
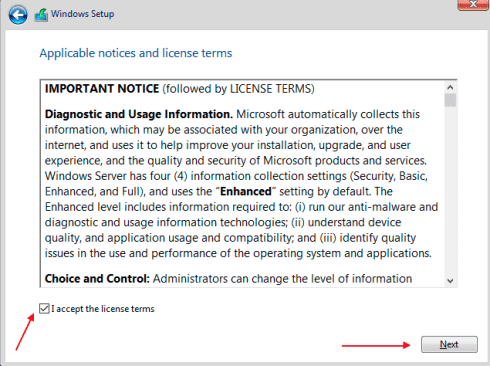
Принимаем лицензионное соглашение. Next.
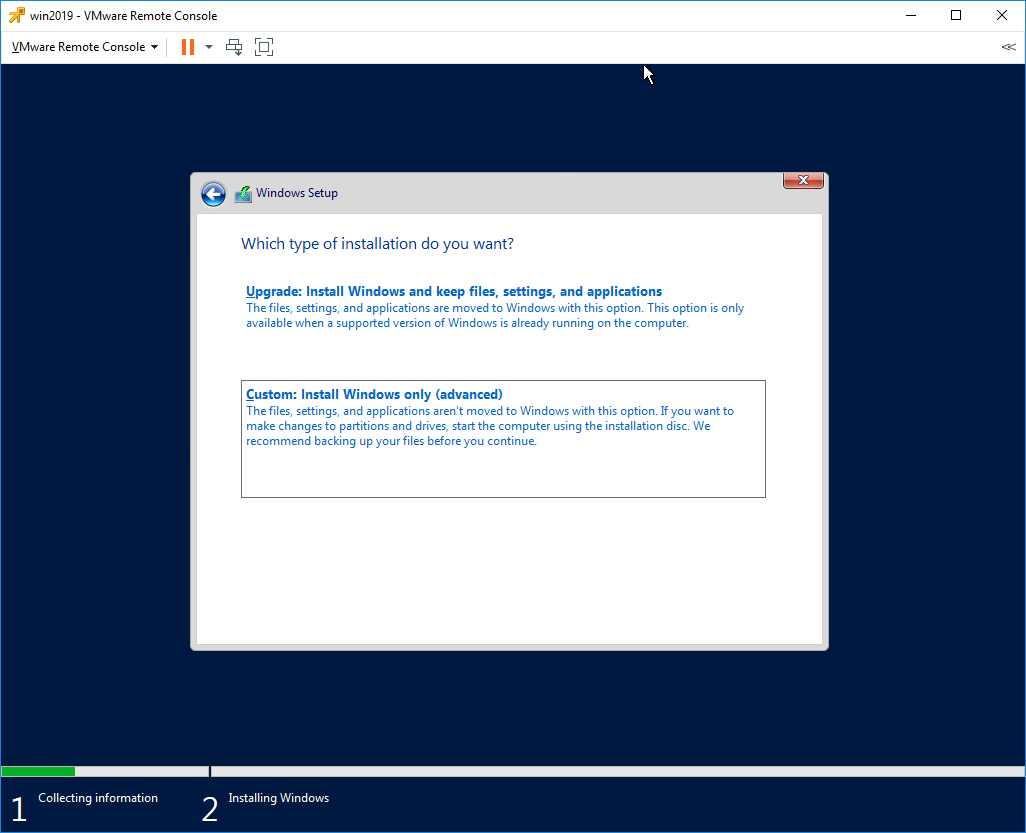
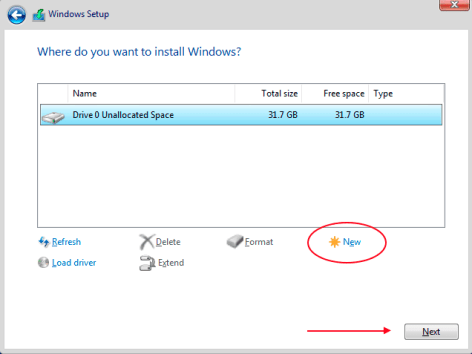
Тип установки — Custom: Install Windows only (advanced). У нас новый сервер.
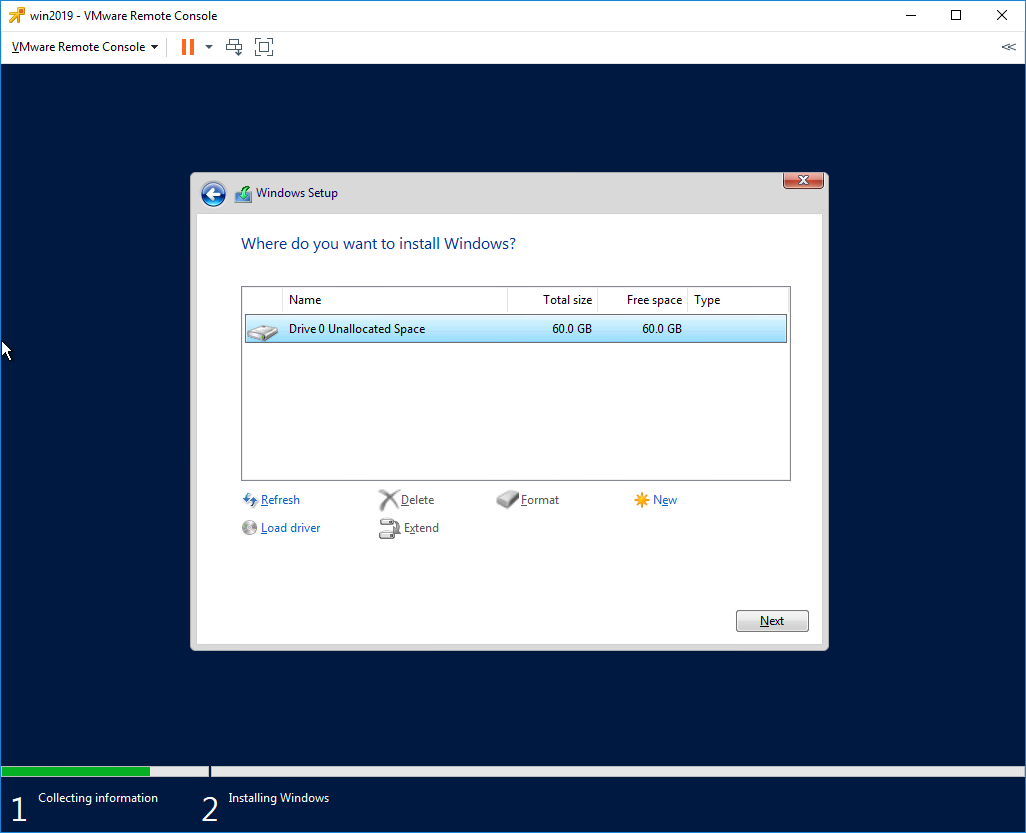
Выбираем диск для установки. На виртуальной машине он у нас выделен один. Next.
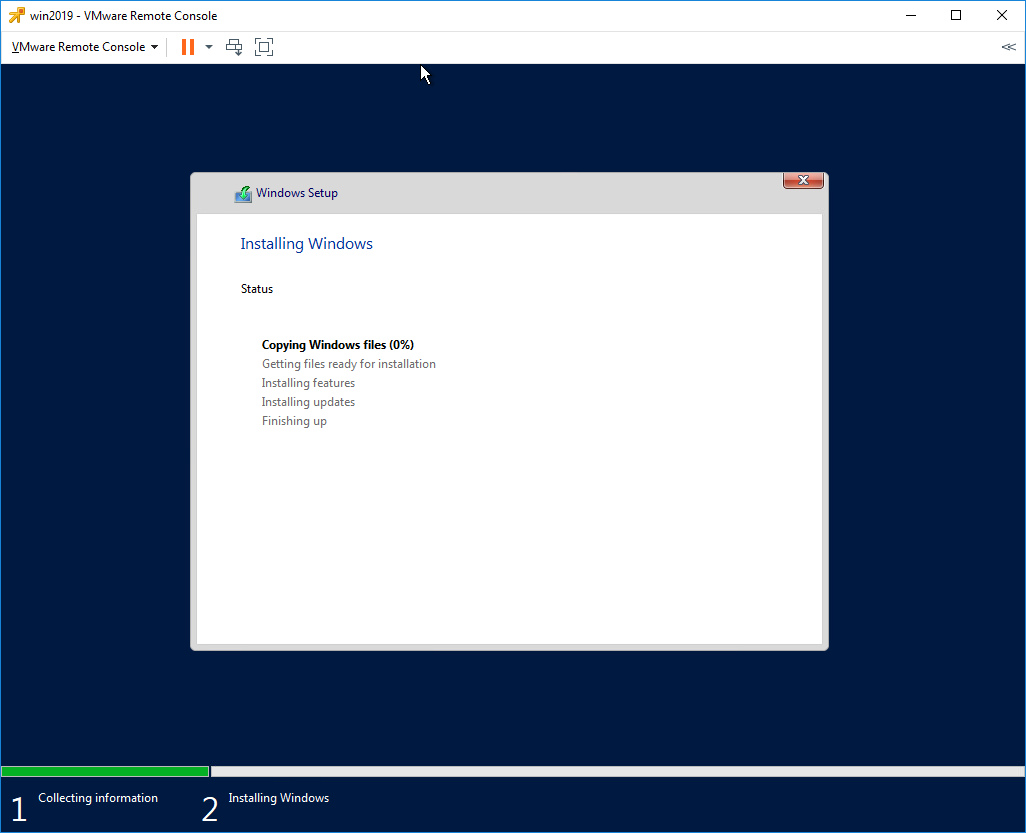
Откиньтесь на спинку кресла, начинают копироваться установочные файлы.
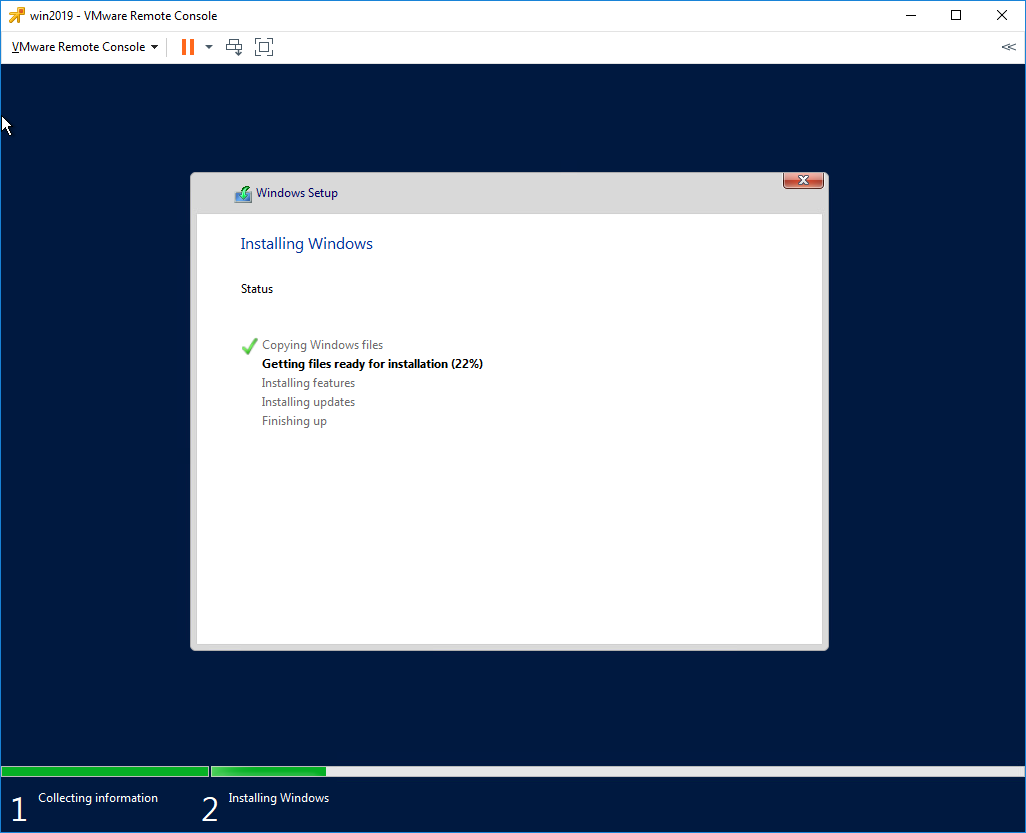
Идёт подготовка для установки Windows Server 2019.

В процессе установки Windows может несколько раз перезагрузиться.

Нужно запастись терпением.
Открывается окно для установки пароля администратора.
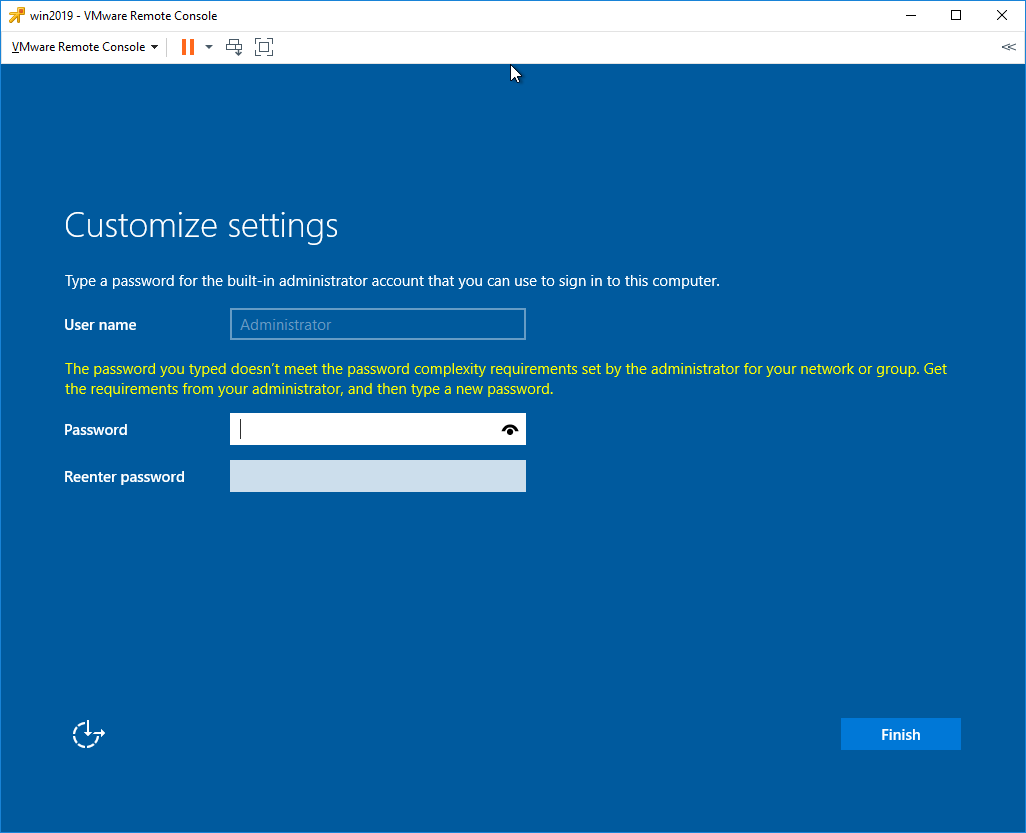
Требования к сложности пароля усилились. Два раза вводим пароль для администратора. Finish.
Первоначальная настройка завершена.
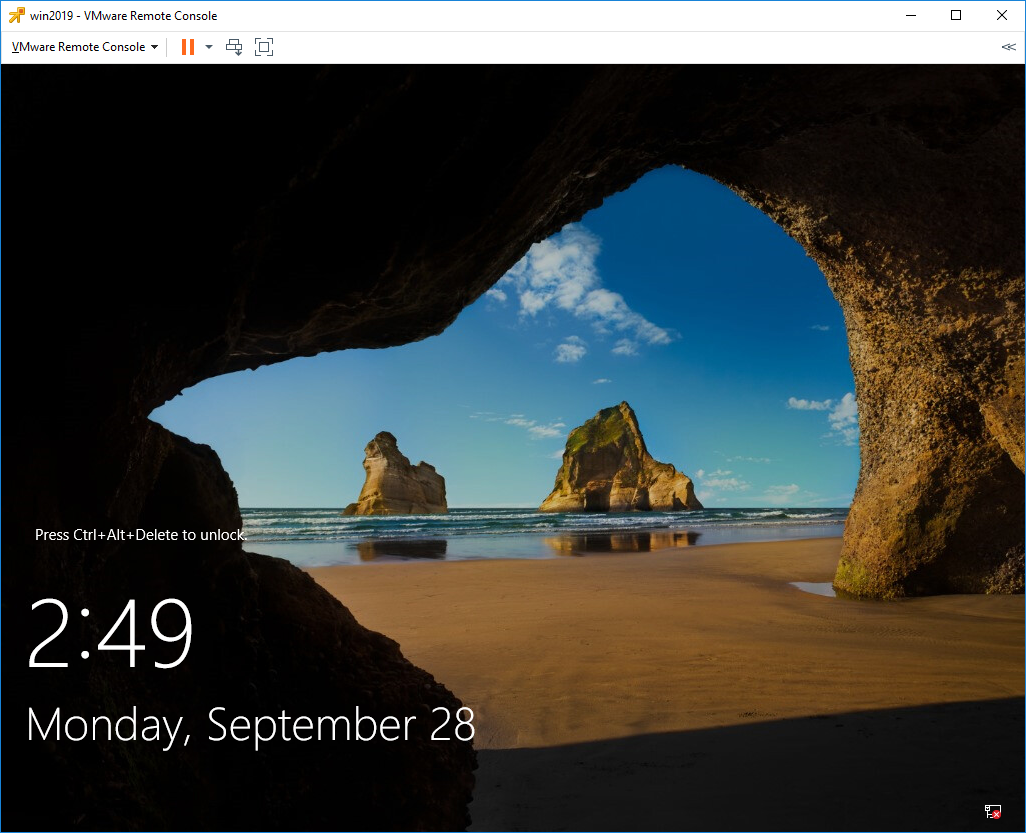
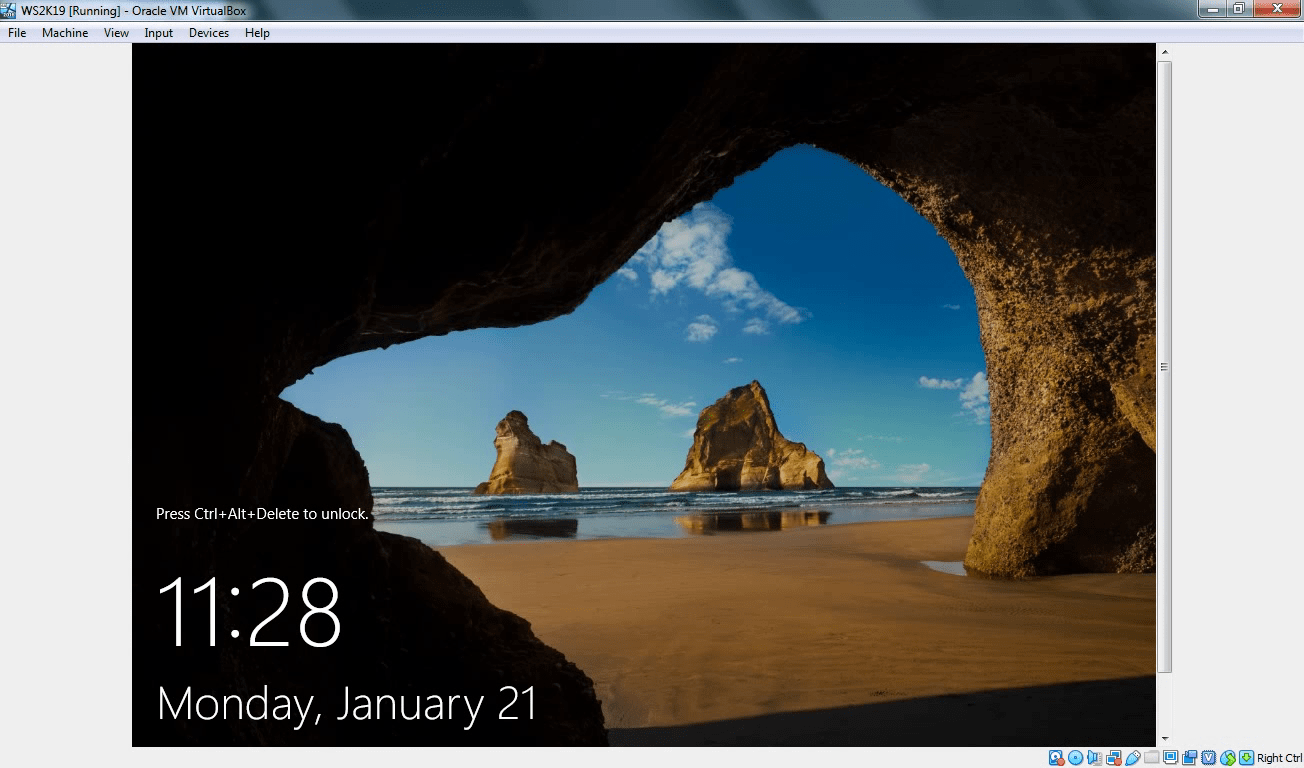
Для входа нужно нажать Ctrl+Alt+Del. Установка Windows Server 2019 завершена.

Oracle VM VirtualBox is a free and open-source hosted hypervisor for x86 virtualization, developed by Oracle Corporation. You may want to run multiple VMs on your operating system, with the type 2 virtualization type, this is possible. To achieve this, the following steps below need to be performed. To proceed, ensure you have VirtualBox installed on your device. On how to perform Post OS Installation configuration of Windows Server 2019 Properties, how to install Windows Server 2016 Operating System. Also, you may be interested in my YouTube video on how to setup Windows Server 2019 on a VMware Workstation. On how to install and configure Ubuntu Linux, see the visit link.
Part A: Prepare the Virtualbox environment to hold the windows folders for the new VM. Click on “New” from the Oracle VM VirtualBox Manager. See this guide for how to install Windows Server 2022 on VMware Workstation.

Enter the name, version, desired path to host the VMs and click on continue

Select the memory size as shown below. You can type in the memory size or use the bar to increase it as well.

Click on “create a virtual hard disk now”

This will open the hard disk type window as shown below.
– I will select VDI (Virtual Disk image)

Choose if you wish the hard disk to dynamically increase or use a fixed hard disk file size. I will be using a fixed size which will be entered in the next page

Enter the Hard Disk size of your choice as shown below
– You can also change the file location if you wish from here.

Next, this will create the VM as shown below

Now the VM creation process is complate and VM successfull created.
Part B: To access and attached the Windows Server 2019 ISO file, the following steps should be followed.
Click on the Server and Click or settings or
– Right click on the server and select settings

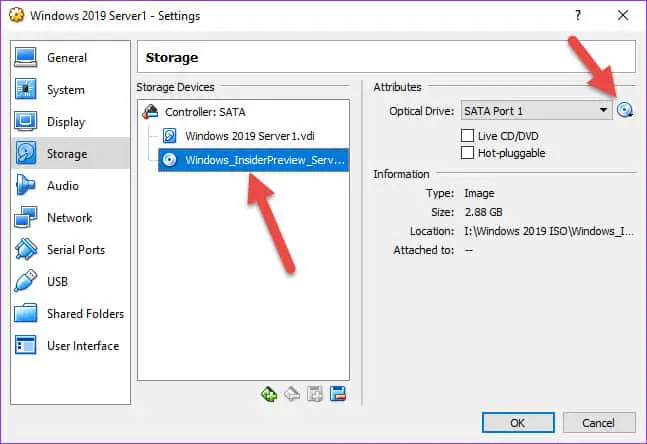
Click on storage
– Click on Empty under the control IDE
– Select the Disk icon and choose the Operating system you wish to install as shown below

As you can see below, the ISO image has been selected. We can now proceed with our installation.

– Click on “ok”. Next, select the VM and click on start to continue the installation of Windows Server 2019.

This will load windows and prompt for the steps in Part C below.
Part C: This step is similar to installing Windows 10, Windows Server 2008, 2012, 2016 on Virtualbox. On the Windows Setup page,
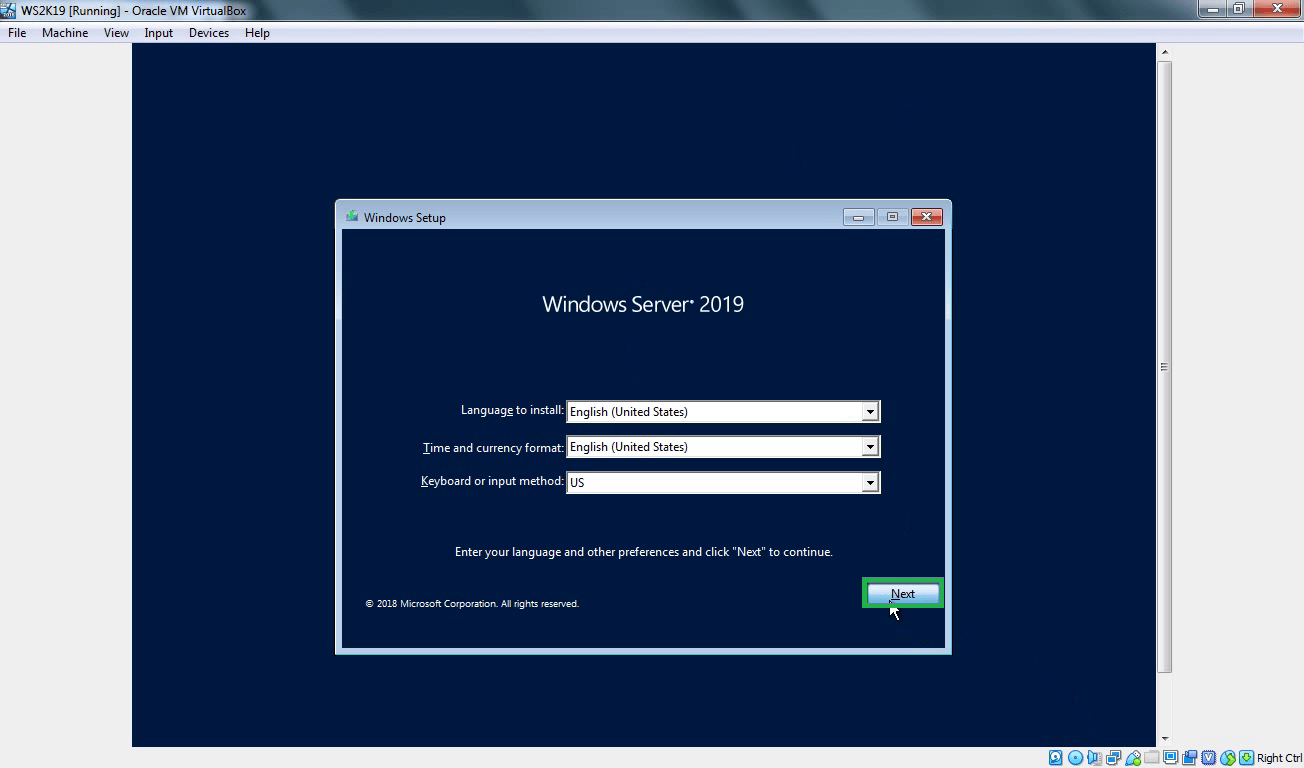
– Select the language to install
– Time and currency format
– Keyboard or input method

Click on Next and Click on “Install now“

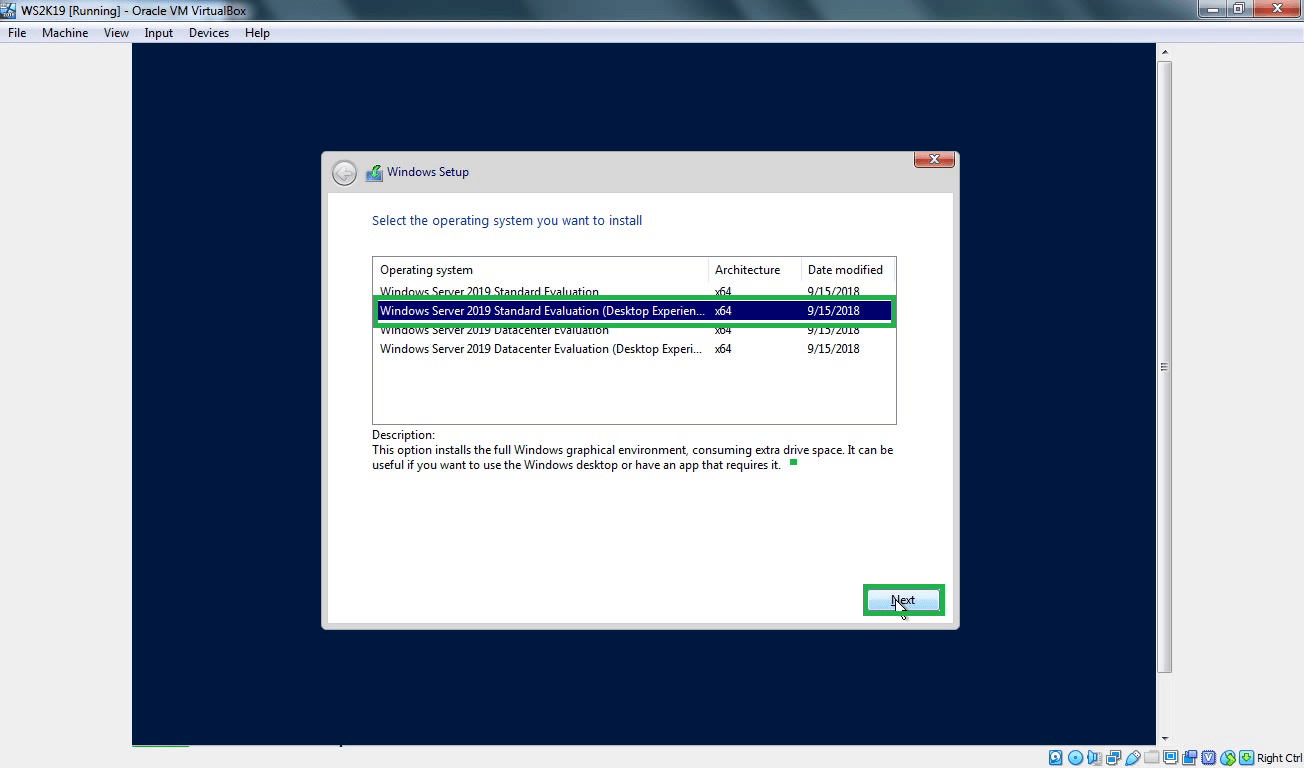
Note: Here you could click on repair your computer if this is the approach you need to take or use “Reset this PC”. See how to repair Windows 10 locally for similar steps. Select the operating system you wish to install and click on Next.

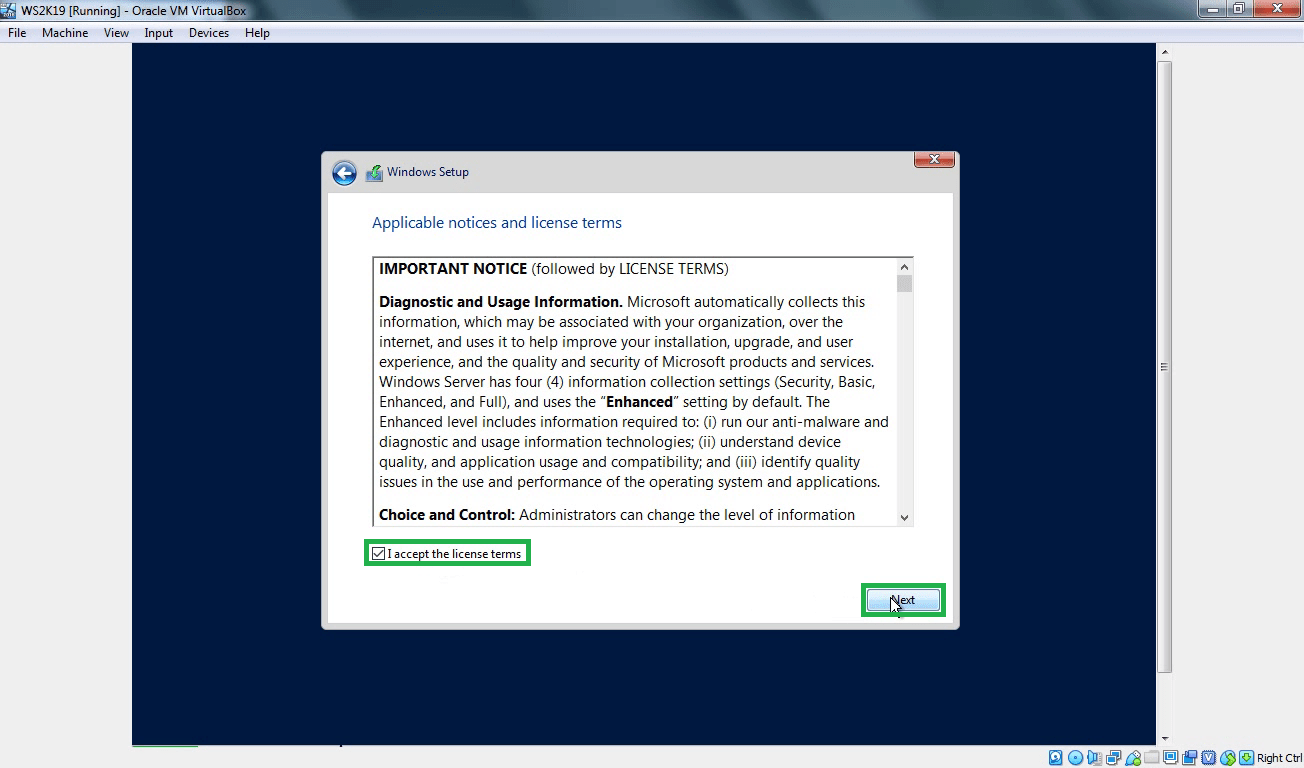
Accept the license agreement as shown below and click on next
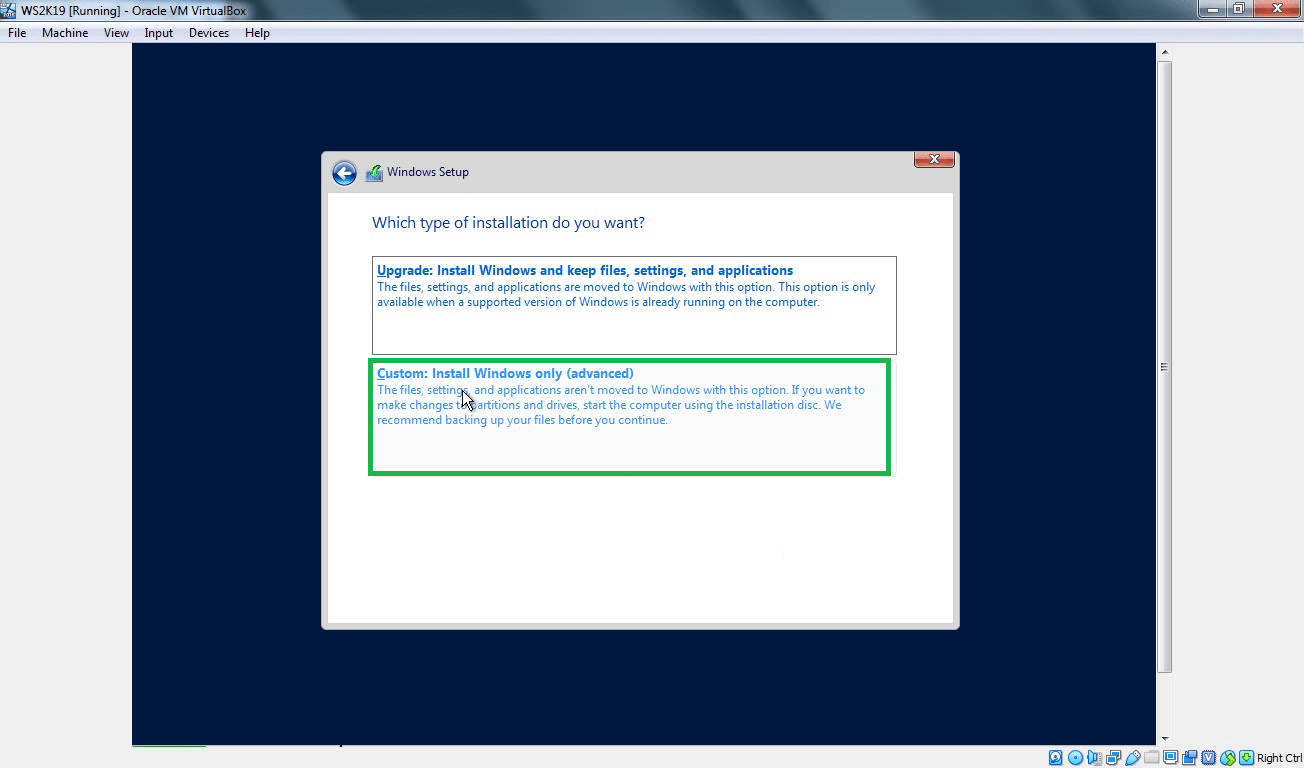
Select custom install as shown below to install Windows
– Select Custom: Install Windows only (advanced)

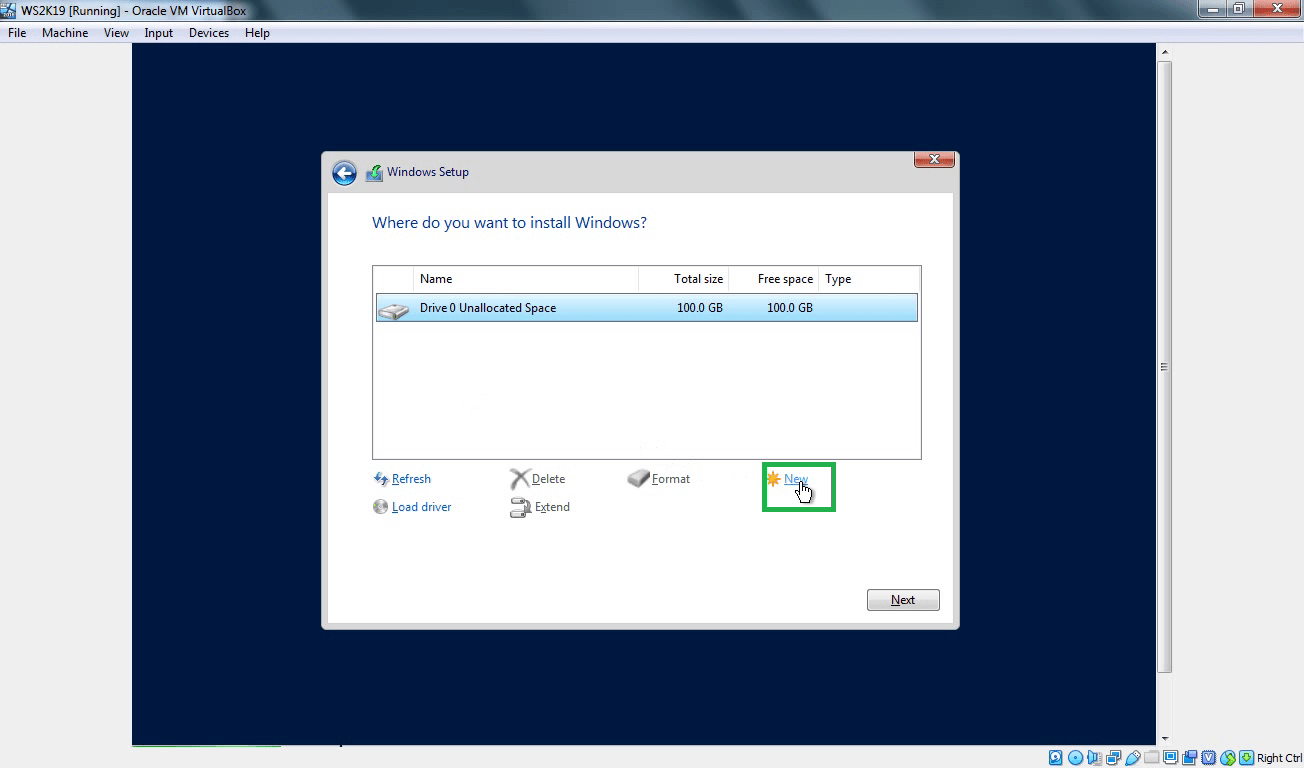
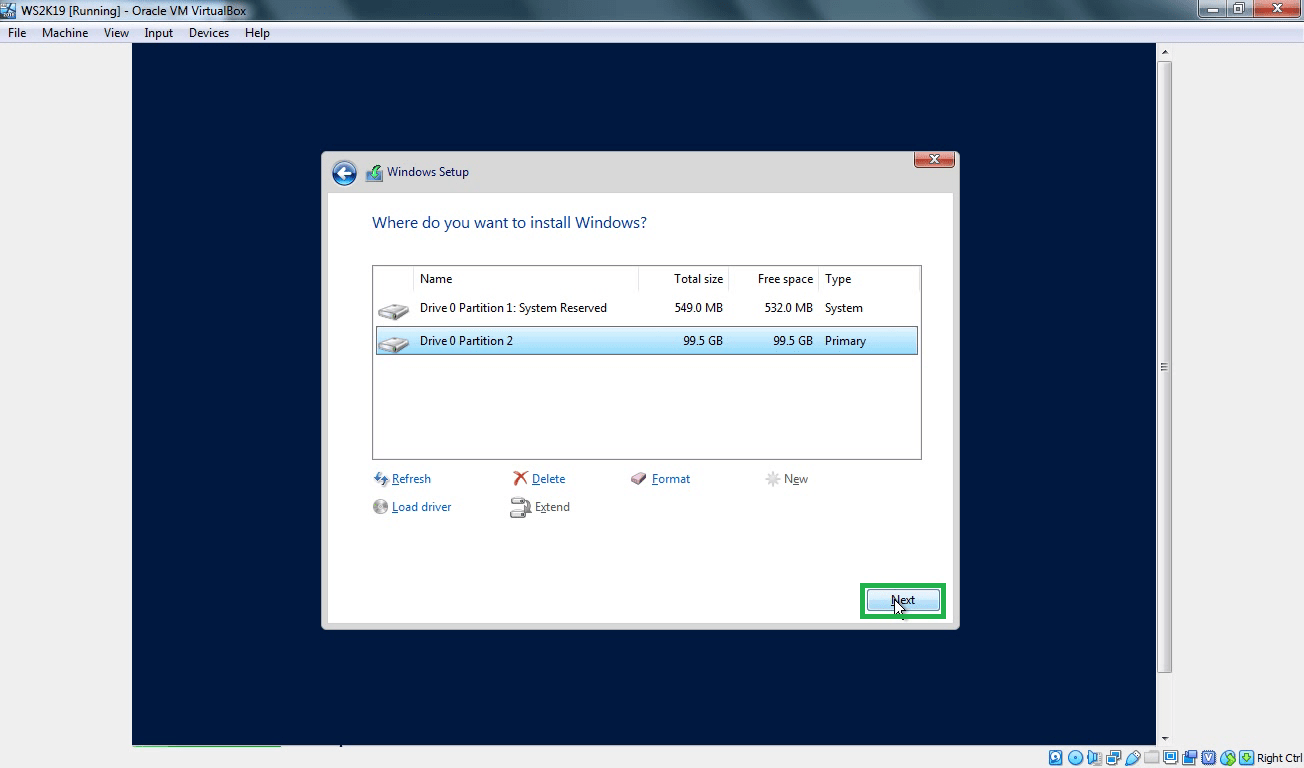
Select the Drive to install Windows and click on Next
Note: You can create an additional drive and install Windows on it. You can also format, delete and extend drives in this window.
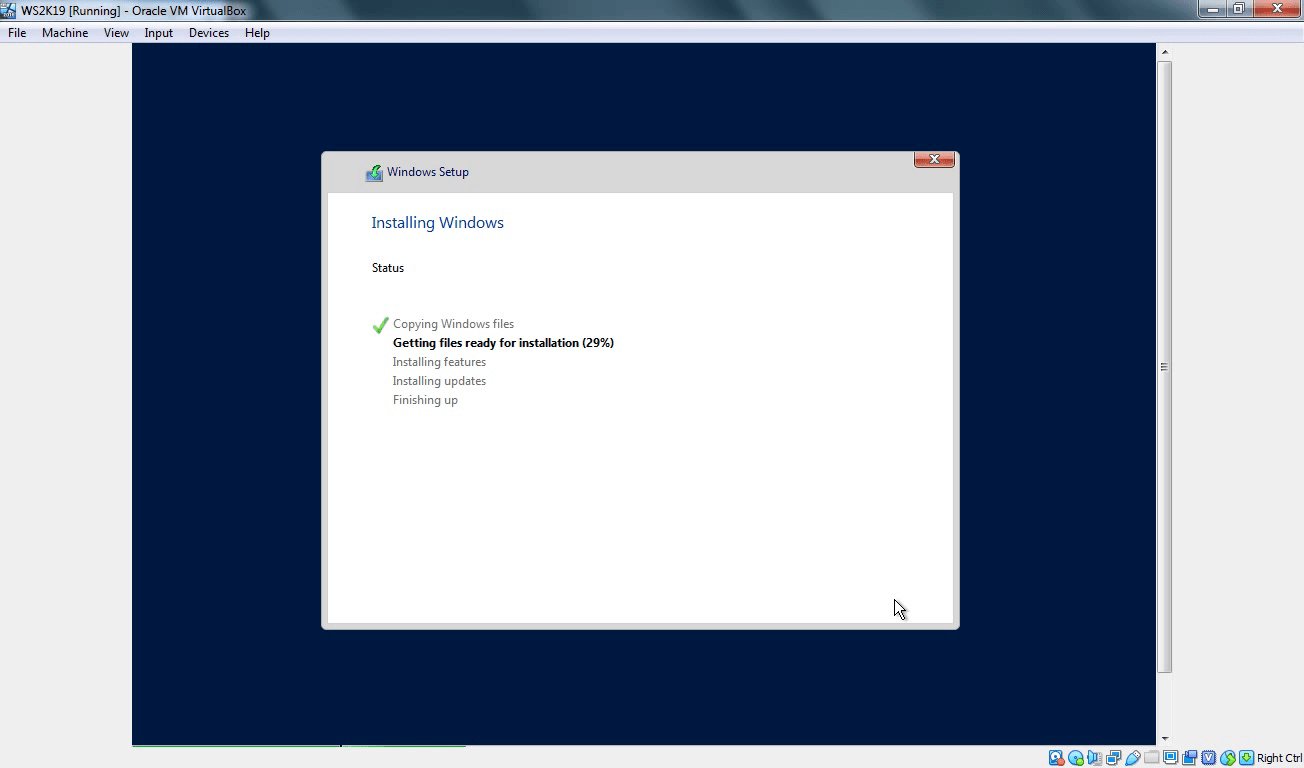
After this step, Windows will be installed unto the system.

When this step complete, the the device will reboot after few seconds
– Note: You can restart immediately

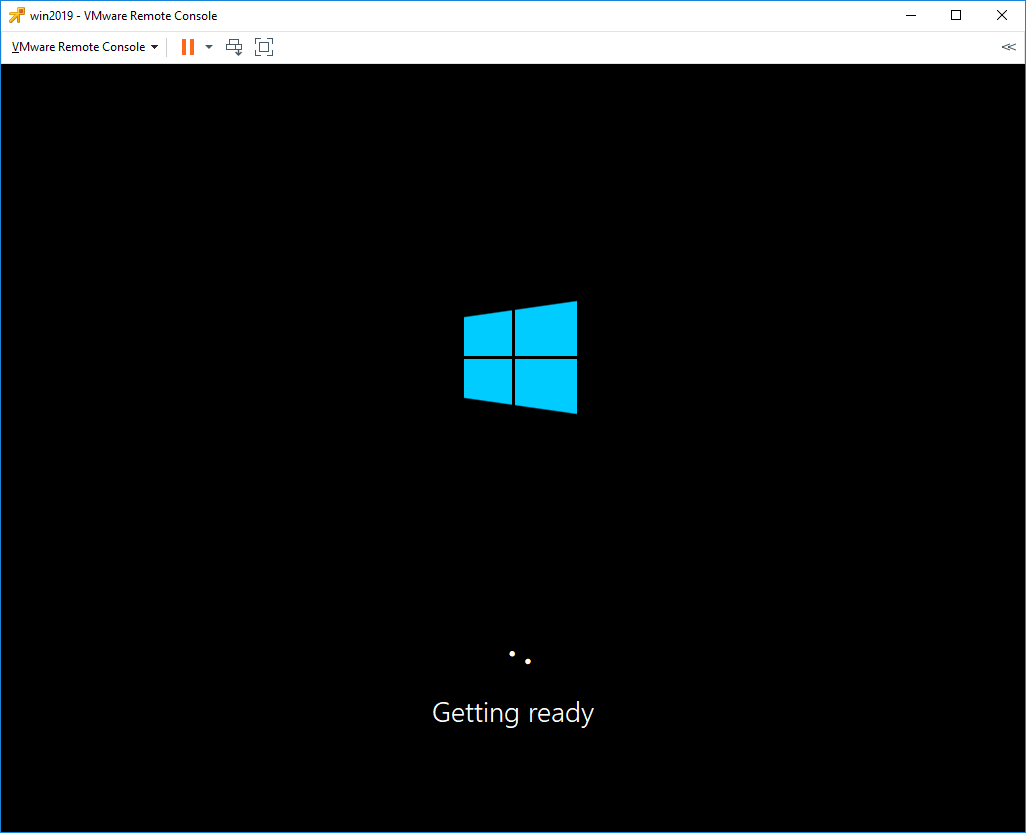
This will prepare and get windows ready as shown below

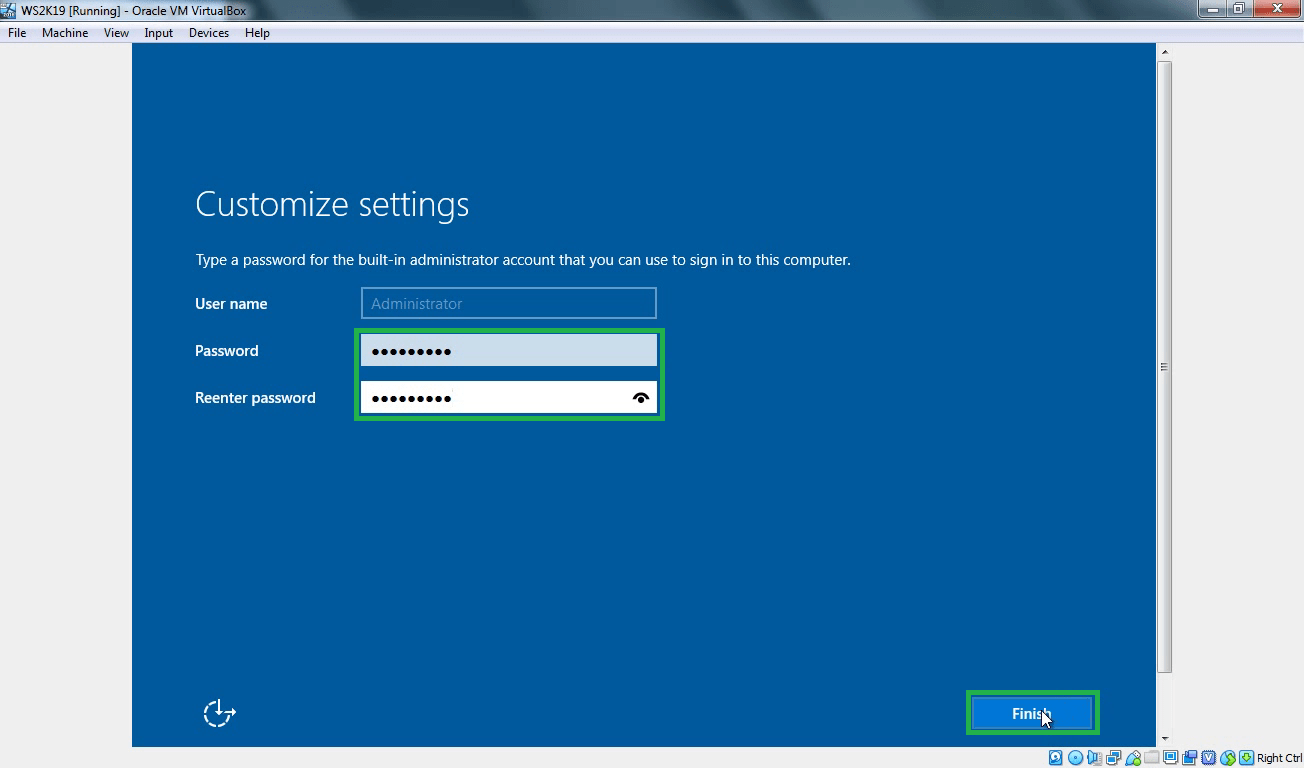
the customise settings window will be displayed. Enter the Password and click on finish to complete Windows Server 2019 Installation.

Now Windows Server 2019 setup is now complete as shown below.

To access the login windows, use the Contl+Alt+Del and enter your password to access Windows. Refer to this guide for the Post OS Installation and configuration of Windows Server 2019 Properties (Configure TCP/IP Parameters).

I hope you found this blog post helpful. If you have any questions, please let me know in the comment session.
In this article, we will install Windows Server 2019 on Windows 10 with Oracle VM VBox virtualization program step by step.

How to Setup Windows Server 2019 in Windows 10 PC using VirtualBox
Microsoft released the Server 2019 Preview version on March 20, 2018. The Windows Server 2019 full version will be available in the second half of 2018.
Windows Server 2019 is built on the powerful infrastructure of Windows Server 2016, and the most striking feature is Project Honolulu. Project Honolulu is a central console that allows you manage Windows Server 2019, 2016, and 2012 R2 using either the GUI or GUI-less. In the next article, we will examine the Project Honolulu installation and configuration in more detail.
For more information about Microsoft Server 2019, visit https://cloudblogs.microsoft.com/windowsserver/2018/03/20/introducing-windows-server-2019-now-available-in-preview/.
In the previous article, we installed Microsoft Server 2019 with the VMware Workstation program.
- How to Install Windows Server 2019
After briefly discussing MS Server 2019 and Project Honolulu, let’s move on to the steps of setting up Server 2019 with Oracle VM.
How to Install Windows Server 2019 using Virtual Machine
You can install Microsoft Server 2019 on a physical server. Or you can use virtualization programs to install and experience it on your desktop or laptop computer.
Before installing Windows Server 2019 on a physical server, it is a good idea to build and test it in a virtual environment.
First of all, if you are using Windows operating system, install VirtualBox on Windows 10. But if you are using a Linux based Ubuntu/Debian/Linux Mint, install VirtualBox on Ubuntu.
Then, download the Server 2019 ISO file to your computer by clicking here. Finally, follow the steps below to run Microsoft Server 2019.
Step 1
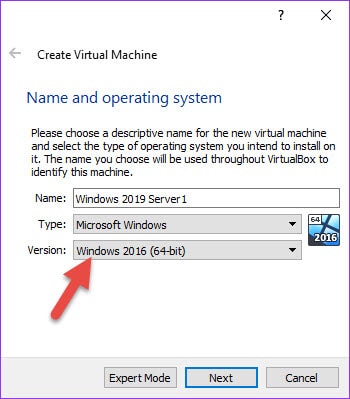
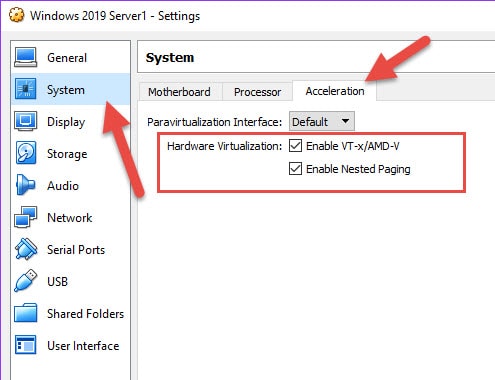
First, create a new virtual computer on VirtualBox. Select Windows Server 2016 (64-bit) in the operating system selection window in the steps for creating a VM. Next, open the Server virtual machine’s settings and click the System / Acceleration tab.
NOTE: Server 2019 is available in the virtual machine operating system selection window in 6.0 version of the Oracle VM program.
In the Hardware Virtualization section, select the Enable VT-x/AMD-V and Enable Nested Paging options, and finally, add the Microsoft Server 2019 ISO file to the virtual pc.

Step 2
After preparing the MS Server 2019 virtual machine, run the virtual machine by clicking the Start button.

Step 3
Configure the language, time settings, and keyboard layout for MS Server 2019 and click Next.

Step 4
Select the Windows Server Standard (Desktop Experience) version and click Next.
")
Step 5
Accept the MS Server 2019 license agreement, and then click Next.

Step 6
To install Windows Server 2019 without updating it, click Custom.

Step 7
Configure the virtual hard disk size for your virtual machine and click Next to select the partition you want to install Server 2019 on.

Step 8
Wait while being installed Windows Server 2019 with VirtualBox…

Step 9
Wait while getting devices ready…

Step 10
You need to set a complex password for your Administrator account. Type in a difficult and complicated password and click on the Finish button.

Step 11
Click on Input / Keyboard / Insert Ctrl-Alt-Del to open the account lock of Server 2019.

Step 12
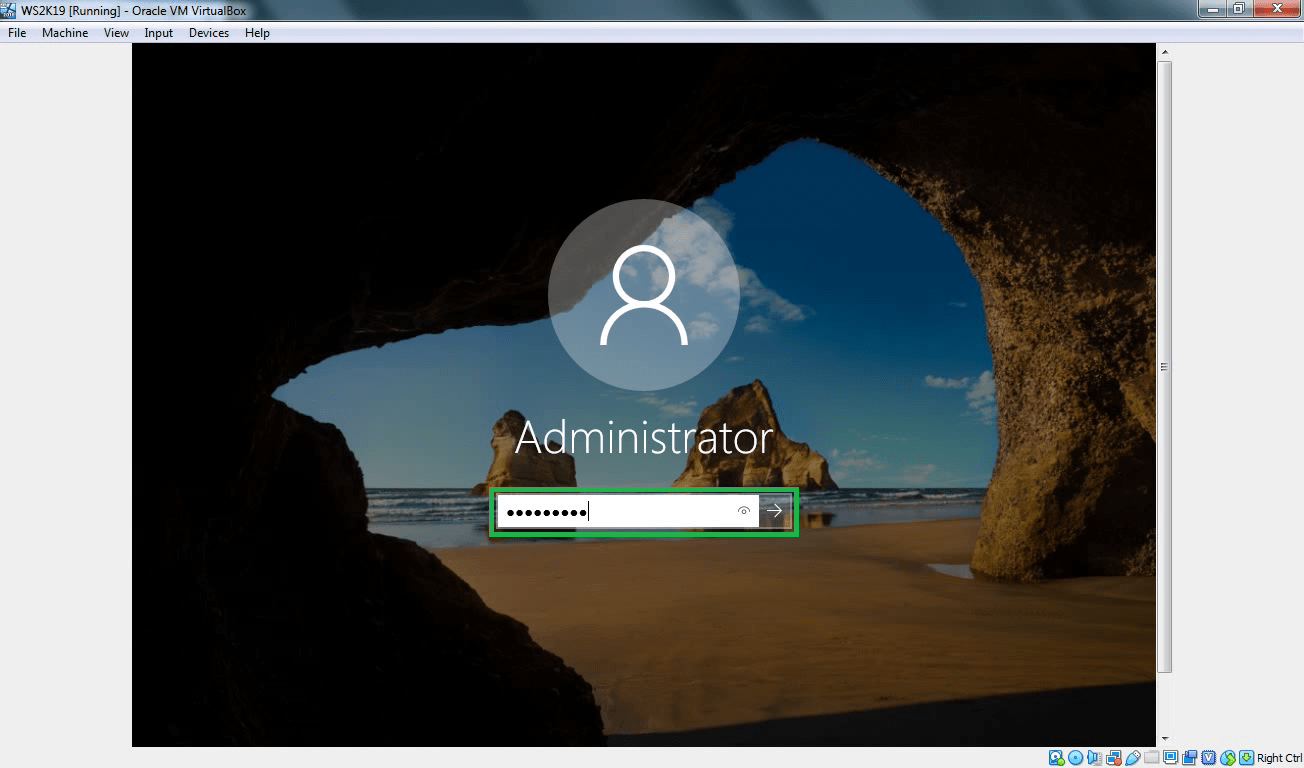
Type your Administrator password that you created and press Enter.

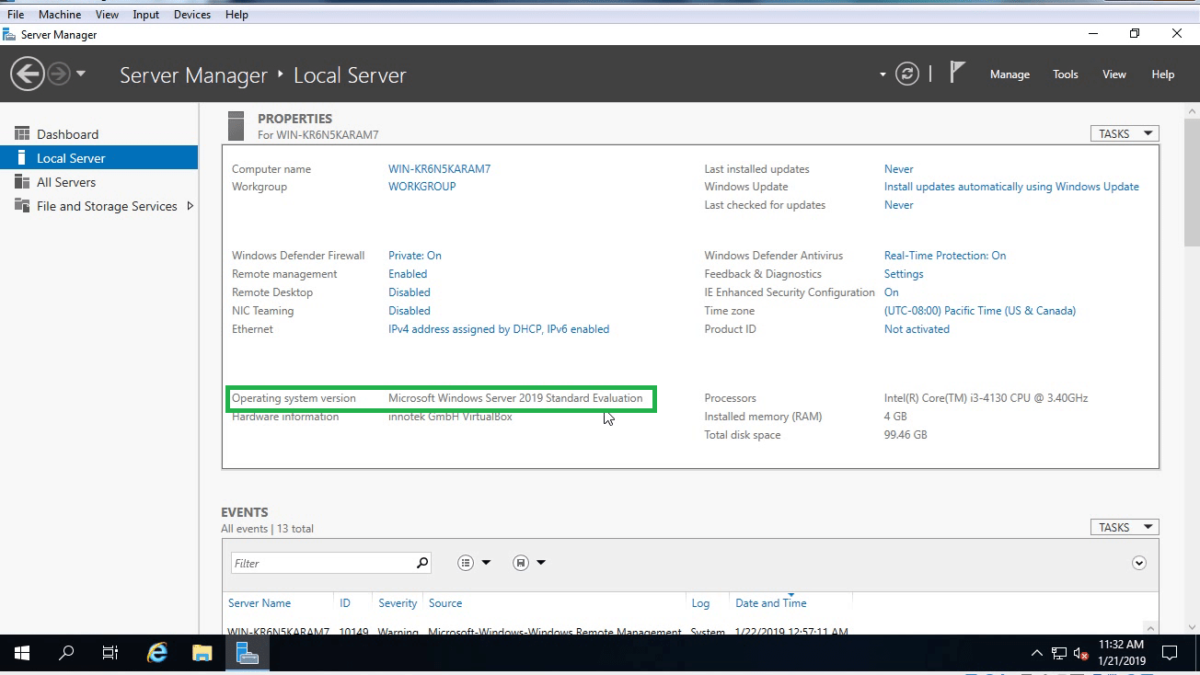
Step 13
Once you have successfully completed the steps for setting up Server 2019, you can check the Server Manager information as shown in the following image.

How to Install Guest Additions on Windows Server 2019
After you install it with VirtualBox, you should install Guest Additions. To install guest additions for Windows clients, click on the image below to read our related article.

How to Run Server 2019 Step by Step ⇒ Video
You can watch the video below to run it on VirtualBox virtual machine step by step, and also subscribe to our YouTube channel to support us.
Final Word
In this article, we have installed MS Server 2019 Technical Preview step by step, a free and popular virtualization program. You can also install Windows Server 2019 on ESXi. Thanks for following us!
Related Articles
♦ What is VMware ESXi, vSphere, and vCenter?
♦ How to Download Microsoft’s Project Honolulu for Server 2019
♦ How to Install Debian 9 in Oracle on Windows 10
♦ How to Enable Intel Virtualization Technology
♦ How to Install Server 2019 on VMware Software
It is always advisable to install and test the new Operating Systems in the virtual platform before trying it in a live environment, especially the server version we use in production. In this guide, let me show the steps I followed to install Windows 2019 server LTSC and SAC versions on Oracle VirtualBox. The Windows 2019 server OS was built on the firm foundation of the earlier Windows 2016 server. Windows 2016 was the most popular and fastest adopted Windows server Operating System ever, and Microsoft expects the 2019 version to overtake it.
You can check here to learn more about what is new in Windows 2019. As a Windows server administrator or a learner, you would love the new features it brings up. The project Honolulu is something I’m incredibly interested in and happy to have.
Two Versions of Windows 2019
You must understand the significant difference between both Windows 2019 versions. I have shown how to install Semi-Annual Channel (SAC) and Long-Term Servicing Channel (LTSC) on VirtualBox with my Windows 10 computer. Find below the major differences between both versions.
1) Semi-Annual Channel (SAC)
- It gets feature updates from Microsoft twice a year. Your organization should have Software Assurance to be eligible for the upgrade.
- The Windows 2019 SAC doesn’t have GUI. So, it is like Windows Server Core or Nano installation. It is well secured and optimized, but management is not easy without GUI.
2) Long-Term Servicing Channel (LTSC)
- It is for organizations that prefer the more traditional release of feature updates in two to three years.
- It comes with both Server Core and Desktop Experience (GUI) versions.
Let’s dive into the installation of the Windows 2019 server on VirtualBox.
I already published a guide showing how to install Windows 2012 R2 on VirtualBox with a pre-installed VHD file from Microsoft. At the moment, Microsoft Provides ISO and VHD files of the Windows 2019 server on their official website.
To continue further, you must be able to download the Windows 2019 ISO file from the Microsoft Windows Insider Program website. It will help if you have a Windows live account that is part of the Insider program (Free to join). Here is the URL to download Windows 2019 server version for testing and demo installation purposes.
Unfortunately, I could not use the VHDX file of both Windows 2019 SAC and LTSC versions on the VirtualBox. VirtualBox was unable to read the VHDX file properly. Therefore it can’t be used to boot the virtual machine from it.
It threw the following error while attaching the VHDX, “Failed to open the disk image file..” with the “MediumWrap” “E_FAIL”. It is still doubtful whether VHDX is supported in VirtualBox for reading and writing access. It looks like it supports only read-only as of now. As you know, VHDX files are mainly made for Microsoft Hyper-V hypervisor.

VHDX to VHD
I used “vboxmanage clonemedium” command to convert the VHDX to VHD, and it succeeded and converted the Windows 2019 Server VHDX to VHD. Also, this time I managed to add the converted VHD disk to the new Virtual Machine. But it did not boot. It gave the error saying, “No Bootable medium found.” To reconfirm the readability of the converted VHD file, I attached the disk to another working Windows VM and managed to read the content on the VHD file. I’m yet to find the solution in mounting the preinstalled Windows 2019 Server VHDX on VirtualBox and see how it works.
At the moment, the final solution is to use the ISO file and do the fresh installation.
Read Also: Best Windows Home Server OS
Windows 2019 Semi-Annual Channel (SAC) on VirtualBox
It worked, but I’m not sure why you need to install a Server Core version in VirtualBox without Desktop experience. But for a full-fledged test lab setup, you can install it in multiple VMs to test the Windows 2019 server cluster and server farm feature.
I assume that you have already worked on the Server Core version. The installation is straightforward. Download the ISO file of Windows 2019 SAC from Microsoft and start installing.
1. Select the Operating System as “Windows 2016” or Windows 2019 based on your Oracle VirtualBox version.
 2. Make sure that Processor settings remain the same as below. By default, when you select the Windows 2016 version, it sets automatically.
 3. Set the RAM; I allocated 4GB RAM and 50GB of new hard disk.
4. Attach the downloaded ISO and start the Virtual Machine.
 5. Select the “Standard” or “Data Center” versions to install. I selected the Data Center version and continued the installation.
6. Once installation is completed, you will get the first screen to set up an administrator account. It will be the server core version; you must play with the command prompt and PowerShell. Mouse and keyboard integration works fine.
7. With the ‘sconfig’ command you can configure the Windows 2019 Core on VirtualBox.
 8. Network worked without installing VirtualBox additions inside VM (NAT type, it should work with any type including Bridged or Internal only).

Since it doesn’t have a desktop graphical interface, we do not need to install guest additions on this Server Core.
Windows 2019 Long-Term Servicing Channel (LTSC) on VirtualBox
The LTSC version of Windows 2019 Standard and Datacenter have desktop experience GUI and core installation. Here I selected the Datacenter with the desktop experience.
9. The installation steps are the same as the SAC server mentioned earlier. Select the correct version you want to test with the Desktop experience as mentioned
 10. You can leave the OS key, enabling your evaluation period once the installation is completed. You need to set a new complex password for the Administrator account. You will land on the Windows 2019 server desktop, almost identical to Windows 2016 and 2012 R2 versions.
Below is the first screen without VirtualBox guest additions. You can see the space between the console and Windows 2019 virtual machine desktop because no guest additions were installed hence the auto-size of the display is not working.
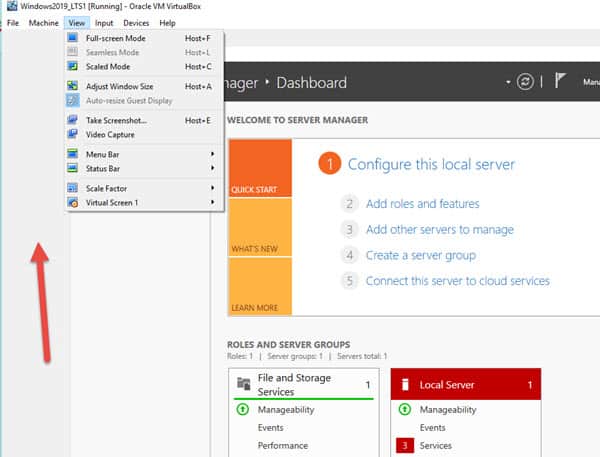
11. Click on Devices and mount the guest additions as shown below.
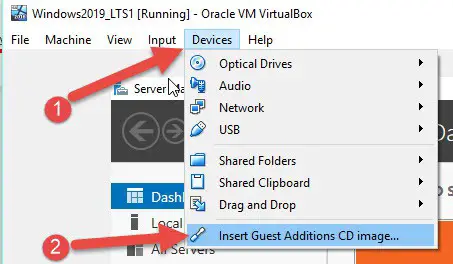 12. It will be the DVD inside the VM. Open it and execute the 64-bit version (even you can execute the normal one which will detect the OS and install the appropriate version).
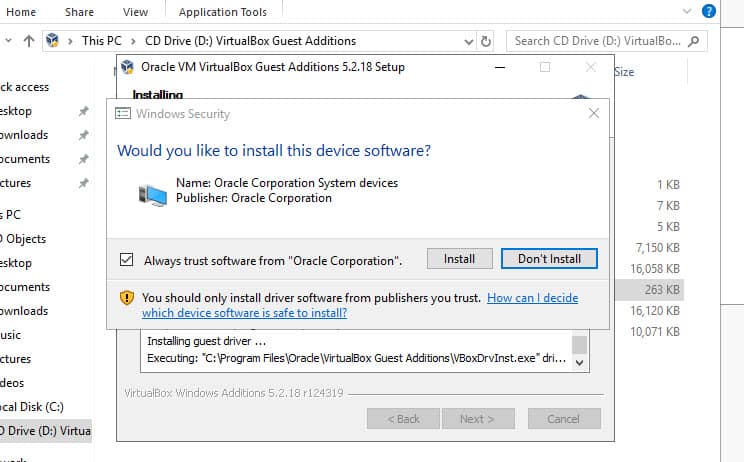
 13. Click yes to install if the warning comes as not a trusted driver.
 14. Reboot the VM after completion.
15. Once it is rebooted and logged in, you will see a better display, mouse integration and performance enhancement inside the VM. Also, the auto display re-size will work fine.
Take a snapshot before you make any changes from this point.
There you go, you have both versions of the Windows 2019 server (LTSC and SAC) on your Windows 10 desktop or laptop by using Oracle VirtualBox. I hope this guide is useful for the testing or demo lab setup at home/office.
In this post, we will see the process to install windows server 2019 in Virtual Box. But before we start installation let’s check minimum system requirement to install windows server 2019.
Minimum system requirement to install windows server 2019.
- Processor: At least 1.4 GHz or faster 64-bit supported processor
- RAM: 512 MB
- Free Space: 32 GB of available free disk space.
How to install Windows Server 2019
First download Windows server 2019 Evaluation edition ISO image from Microsoft TechNet Evaluation Center. https://www.microsoft.com/en-US/evalcenter/evaluate-windows-server-2019
Link to download Oracle VirtualBox: Click Here
Start your VirtualBox and create one VM with below configuration.
- Name: As you wish
- Type:- Microsoft Windows
- Version:- Windows 2016 (64-bit)
- RAM:- 2048 MB
- Create Dynamically Expanding VDI with size 100 GB
After creating VM click on start.
Mount the ISO image which we have downloaded earlier.
Step:1 On Windows Setup console select the installation language, time and currency format and keyboard layout. You can simply use default settings which will be OK.
Step:2 Click on Install now to start the installation process.

Step:3 Select the operating system which you want to install. (First option will install windows server without a graphical user interface.)
If you want GUI to manage server select second option i.e. Windows Server 2019 Standard Evaluation (Desktop Experience).
Step:4 Select Accept the license terms and click on next.
Step:5 For a fresh installation of server 2019 we need to select the second option, Custom: Install Windows Only and then click on next.
Step:6 Select your virtual hard disk and click on New to create a new partition to install server 2019.
Step:7 For this demo, I am creating only one partition of 100 GB in size.
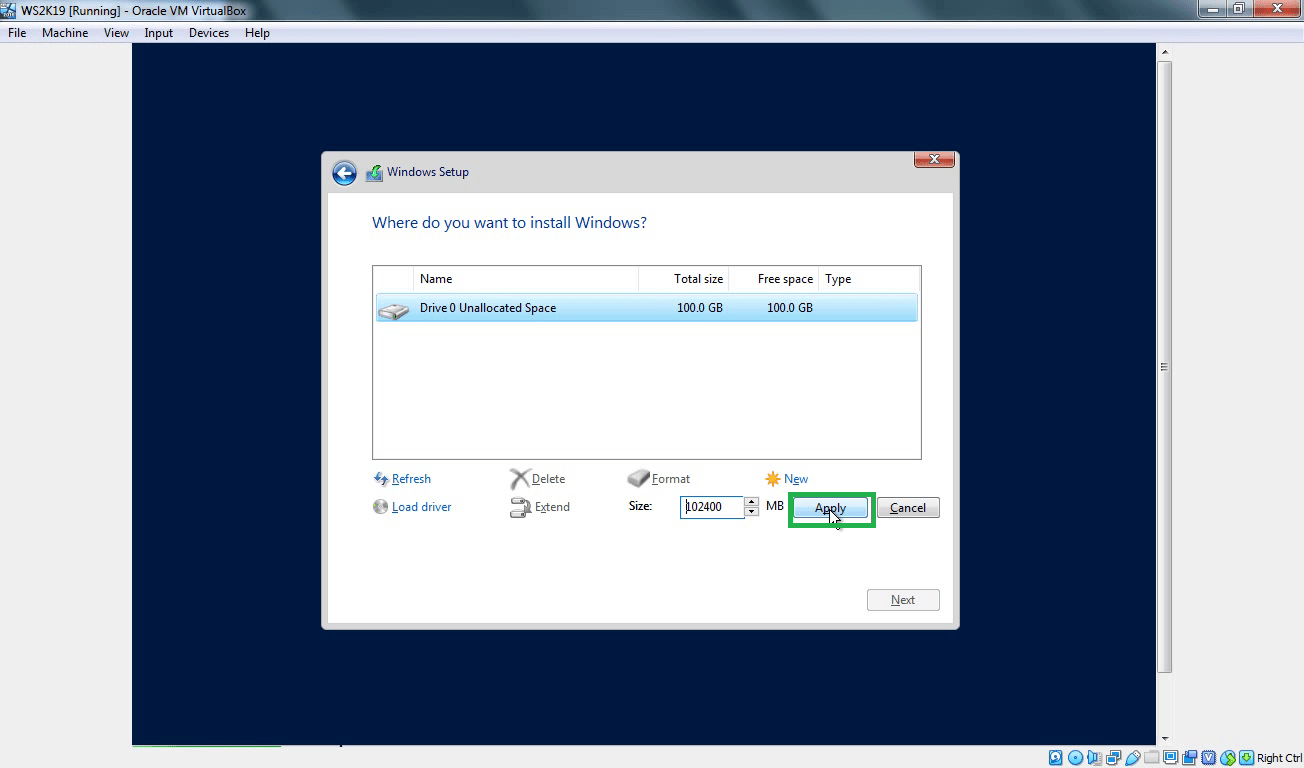
Step:8 After creating a partition, Click on Next to continue.
The installation process will take some time to complete the process. Once installation completes server will restart automatically.
At next boot, you will see below screen asking to set Administrator account password for windows server 2019.
Step:9 Specify the password of your choice to protect Administrator account of Windows Server 2019.
Congratulations! Now you are ready to log in first time on your newly installed Windows Server 2019.
Now press CTRL + ALT + Delete key combination.
Specify the administrator account password and hit the enter key to login to Windows Server 2019.
Here we go.
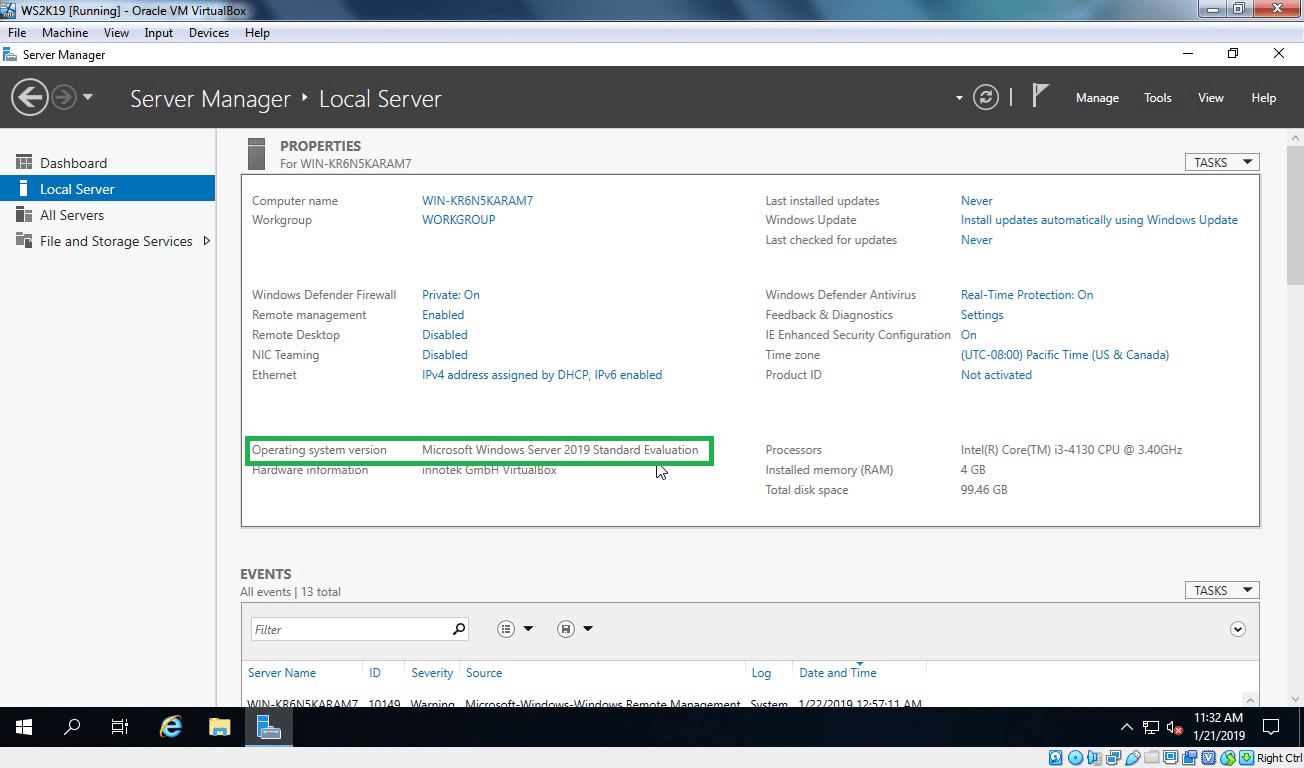
We have successfully installed Windows Server 2019 in Oracle Virtualbox.
Post Views: 5,828
Google Translate
SEARCH
Calendar
Archives
Archives
Blog Stats
- 1,151,767 hits