Adding new users or managing existing users in Windows 10 is usually a routine procedure. However, unlike the Professional and Enterprise editions, the Windows 10 Home Edition has slightly different settings that many users may have trouble finding.
If you are running Windows 10 Pro or Enterprise, you can access the Local Users and Groups console by going to Run –> lusrmgr. If you want to manage users in the Home edition the same way as in Pro or Enterprise, you will need to install lusrmgr separately.
Otherwise, follow this guide to manage local users in Windows 10 Home edition without installing anything.
Table of contents
- Manage Local Users in Windows 10 Home using Windows Settings
- Add New User (Microsoft ID)
- Add a new local User (Without Microsoft ID)
- Change Account Type
- Remove or Delete an Existing User Account
- How to use the Control Panel to manage local users in Windows 10 Home
- Change Account Name
- Change Account Type
- Add New User
- Change User Account Control Settings
- Change User Password
- Another way of managing users in Windows 10 Home edition
To begin, please navigate to the following path:
Start Menu -> Settings (Gear) Icon -> Accounts -> Family & Other Users

Add New User (Microsoft ID)
Click on Add a family member if you wish to create a new user from the family. This account will be linked to the current (main) account and can be managed as per their needs.
Click on Add someone else to this PC if you wish to add a new user to this computer that is not related to your family.

Add the new user’s registered email address or linked phone number and then click Next. Click Finish to exit.
Add a new local User (Without Microsoft ID)
If you wish to add a new user to the local machine without having to create or enter a Microsoft ID, simply follow the same steps as mentioned in Add New User (Microsoft ID) and continue from there.
Click on I don’t have this person’s sign-in information

On the next screen, click Add a user without Microsoft Account

Enter the Username and Password for the account to be created, create and answer the security questions, and then click Next.
The new user is now visible under Other users and can now login to their own account.
Change Account Type
You can also click on the user to manage it further.

If you wish to change the account type between Administrator and Standard, click on Change account type. Administrator account type has administrative privileges, while the Standard account type may require special permissions to perform several tasks.
Remove or Delete an Existing User Account
Click on Remove to delete the selected user account from the local computer (as shown in the image above).
How to use the Control Panel to manage local users in Windows 10 Home
Go to Run –> Control. This will open the Control Panel. Navigate to the following:
Control Panel –> User Accounts –> User Accounts
A window such as the one shown below would appear:

Change Account Name
To change the name of the selected user account, press Change your account name. Enter a new name of your choosing and then press Change Name to apply the change.

Change Account Type
If you wish to change your account from Administrator to Standard, or vice versa, click on Change your account type.
Add New User
If you wish to change the selected user and manage another account on the computer, press Manage another account.
A new window will popup where you may also add new users to the computer by clicking Add a new user in PC settings.

Change User Account Control Settings
By selecting Change User Account Control settings you can manage the administrative security of your system.
The settings can be made as per your requirements by adjusting the slider as shown in the image below.
The lowest level of security is at the bottom of the slider, while maximum protection can be set by dragging the slider at the top.

Change User Password
The simplest way to change the password of a logged-in user is simply by pressing Ctrl + Alt + DEL and then clicking Change a Password. However, this can only be done by providing the old Password.
If you wish to change the password of an existing account and are logged in from another account, perform the following:
Navigate to:
Control Panel –> User Accounts –> User Accounts
–> Manage another accoun
Select the profile whose password you wish to change.
Click on Change the password and enter the new password for that particular user account.
Another way of managing users in Windows 10 Home edition
Another way to manage the basics of existing local users and create new ones is by performing the following:
Go to Run –> netplwiz (or Run –> control userpasswords2). This will open the User Accounts window.

From this window, similar functions can be performed such as the ones mentioned earlier.
You can press Add to add new users to the computer, press Properties to edit the name or type of the selected user, or switch to the Advanced tab to manage passwords.
I wonder why Microsoft has limited access to user management in Windows 10 Home edition? Hopefully this article will make your job of managing users in Windows 10 Home easier.
Which method would you prefer for managing users on your system?
Also see:
Subhan Zafar is an established IT professional with interests in Windows and Server infrastructure testing and research, and is currently working with Itechtics as a research consultant. He has studied Electrical Engineering and is also certified by Huawei (HCNA & HCNP Routing and Switching).
Windows’ Home editions don’t usually come with the Local User and Group Management service, but there are ways you can add it in.
Local Users and Groups Management is a shell application to manage Windows system administrator applications. It also allows you to manage local and remote computers and access system administrator tools. However, Local Users and Groups Management is not available in the Windows Home edition of the operating system.
If you need to use Local Users and Groups Management (lusrmgr.msc) in Windows 11 Home, you will have to rely on a third-party program. Here we show you how to enable Lusrmgr.msc in Windows 11 and 10 Home running computers.
How to Enable the Local User and Group Management (Lusrmgr.msc) Console in Windows 11/10 Home Edition
Similar to Local Group Policy Editor, Local Users and Groups Management is a power user feature, so it is only available for Windows 11 Pro, Edu, and Enterprise edition of the OS.
However, while you can enable Group Policy Editor on Windows Home edition, it is not possible to enable the built-in Local Users and Groups Management snap-in for the Windows Home edition.
Instead, you will need to use a third-party alternative to enable lusrmgr.msc in Windows 11 Home edition. Dubbed as lusrmgr.exe, it is a third-party snap-in that comes with similar functionalities to the built-in Local Users and Groups Management console. It is a portable application, and you can download it from GitHub for free.
Follow these steps to enable Local User Group and Management Console in Windows 11 Home Edition using the lusrmgr.exe tool:
- Open the lusrmgr GitHub page. In the Code tab, click on the lusrmgr.exe file.
- Then click the Download button right corner to download the file to your PC.
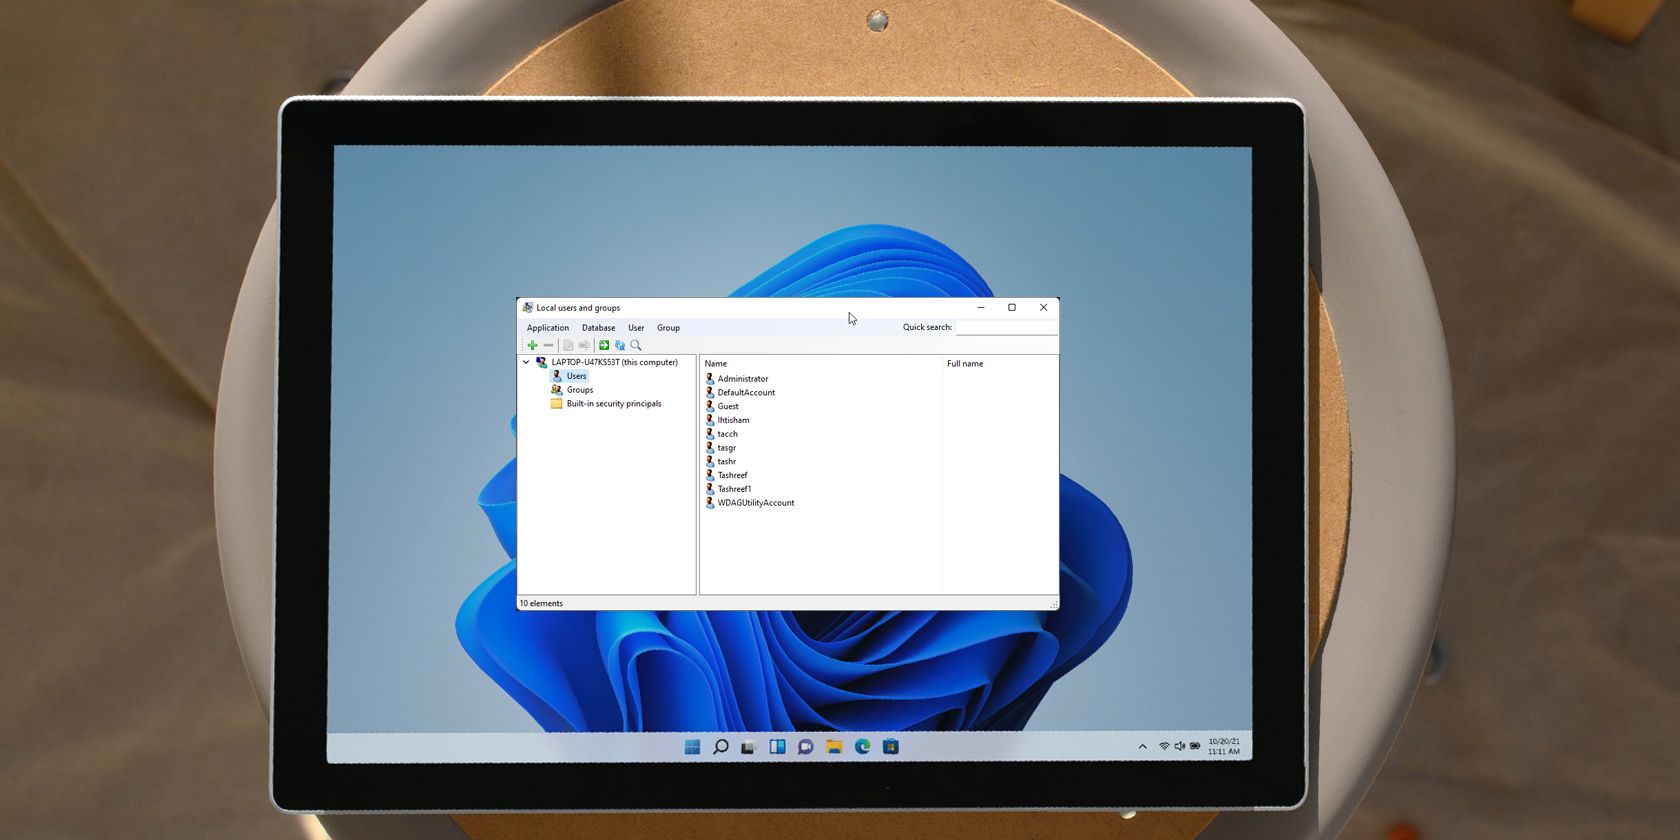
- Once downloaded, double-click on the lusrmgr.exe file to run the program.
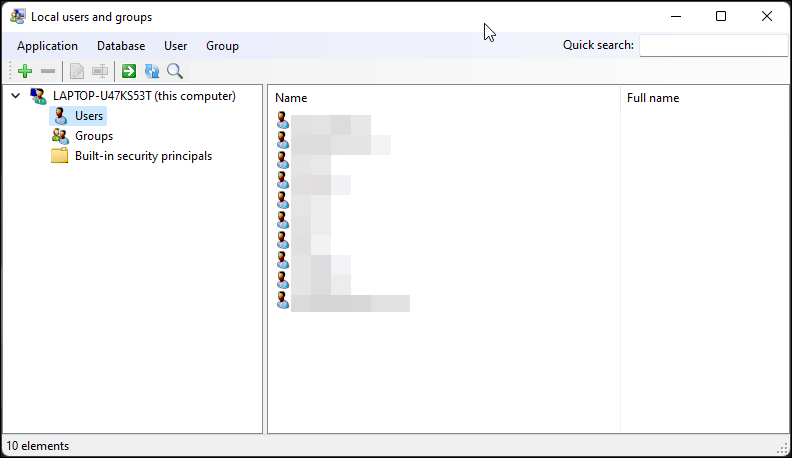
Upon launch, you will notice the lusrmgr application looks similar to the built-in Local Users and Groups Management console. However, the difference lies in the usability of the tool. Below are side-by-side images for the third-party and built-in lusrmgr tool for reference.
Create a new user account using lusrmgr:
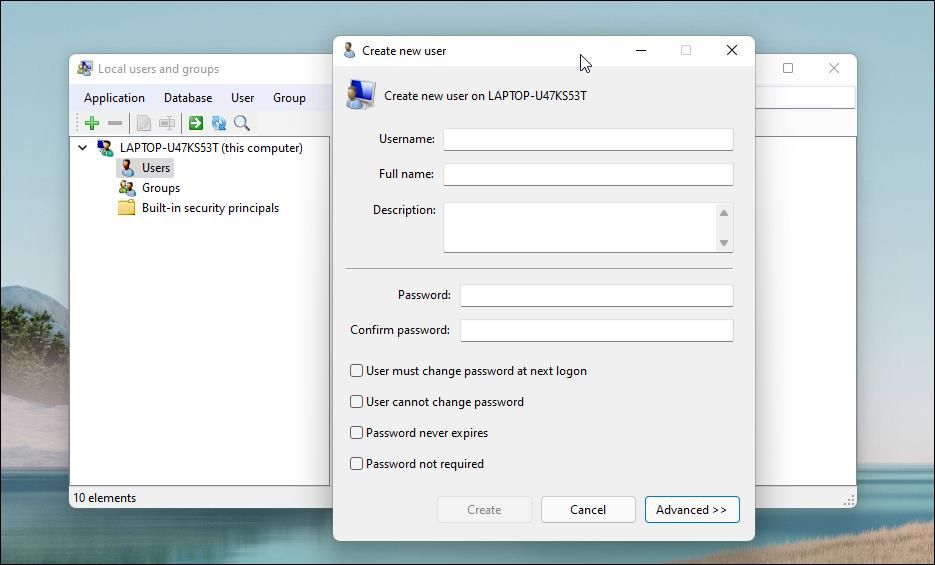
- To create a new user, right-click on User and select Create. Then, fill in the details for the new user account.
- Click the Advanced button to configure the advanced account option, local path, and profile path.

- Click on Create to add the new user account.
Similarly, you can edit, remove, rename, or add a password to the existing user account. You can also enable the secret built-in administrator account using the Local Users and Groups Management tool.
Additional Features in Lusrmgr
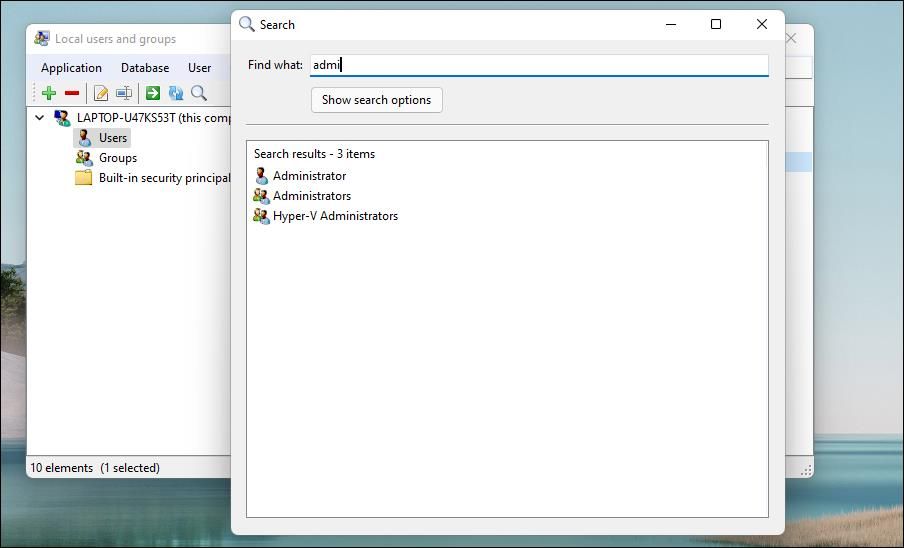
Apart from the usual account management features, Lusrmgr provides some additional functions not available in the built-in utility. For example, you can use the search function to find a specific account. Useful for system administrators who manage multiple user accounts in an organization.
Another useful feature is the ability to define access times for individual accounts. You can set a blocked time for individual accounts for specific days and hours.
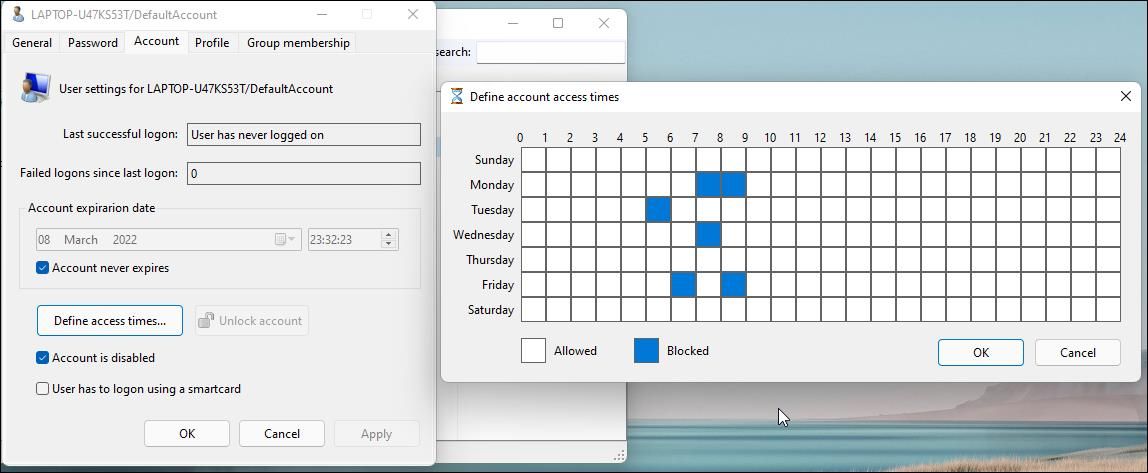
To define access time, right-click on the user name and select Edit. Next, open the Account tab and click on Define access time. By default, all the user accounts have no limit on access time. However, if you want, you can define access time by selecting a time block for different days.
Since lusrmgr is a portable app, you can’t open it with the lusrmgr.msc command like the built-in app. To launch the program, simply double-click on the executable file, and you should be able to make necessary changes to the user account or groups.
Enable Local User Group and Management Console in Windows 11 Home
Local Users and Groups Management console is a handy utility for system administrators to manage local computers as well as connect remotely to compatible systems. However, if you are running Windows 11 Home and need to use the lusrmgr.msc tool, your only option is to use the third-party application from GitHub.
I’m using Windows 10 Home.
While troubleshooting some issue with WinRM, I figured out «Local Users and Groups» item is missing in my System Tools.
Computer Management >> System Tools >> «Local Users and Groups» missing.
![]()
T-Heron
5,3397 gold badges25 silver badges52 bronze badges
asked Dec 12, 2016 at 3:16
![]()
0
Windows 10 Home Edition does not have Local Users and Groups option so that is the reason you aren’t able to see that in Computer Management.
You can use User Accounts by pressing Window+R, typing netplwiz and pressing OK as described here.
![]()
answered Dec 12, 2016 at 3:29
![]()
zedfoxuszedfoxus
33.8k5 gold badges62 silver badges61 bronze badges
3
Hit the Windows Key + R button combination on your keyboard. Type in lusrmgr. msc and hit Enter. It will open the Local Users and Groups window.
Hit Windows+R, type “lusrmgr. msc” into the Run box, and then hit Enter. In the “Local Users and Groups” window, select the “Users” folder, and then double-click the user account you want to look at. In the properties window for the user account, switch to the “Member Of” tab.
How do I find local users in Windows 10?
Step 1: Right-click on This PC and select Manage from the context menu to open Computer Management. Step 2: Expand System Tools > Local Users and Groups, and then select the Users folder, so that it will list all user accounts existing on your Windows 10, including the disabled or hidden accounts.
How do I enable local users and groups in Windows 10 home?
3 Answers
- Windows Key + R.
- Type “netplwiz” without quotes.
- Press Enter.
- In “Users” tab click on “Add…”
- Follow the instruction. You can add local user or a microsoft account.
- After adding user then click on “Advanced” tab.
- And change the group of the added user into user or administrator.
What is the command for local users and groups?
Press the Windows key + R to open the Run dialog box, or open the Command Prompt. Next type lusmgr. msc and hit Enter. This will open the Local Users and Groups snap-in directly.
How do I find my groups?
To view all groups present on the system simply open the /etc/group file. Each line in this file represents information for one group. Another option is to use the getent command which displays entries from databases configured in /etc/nsswitch.
How do I find local users and groups in computer management?
Open Computer Management – a quick way to do it is to simultaneously press Win + X on your keyboard and select Computer Management from the menu. In Computer Management, select “Local Users and Groups” on the left panel. An alternative way to open Local Users and Groups is to run the lusrmgr. msc command.
How do I find my local system account?
PsExec is a small executable that you can download from Microsoft which allows you to access the local system account. Once PsExec is installed on a computer, open an elevated cmd prompt. Next, execute Psexec –s –i cmd from this window. This action opens another cmd window where you can use the local system account.
How do I see all users on Windows 10 login screen?
How do I make Windows 10 always display all user accounts on the login screen when I turn on or restart the computer?
- Press Windows key + X from the keyboard.
- Select Computer Management option from the list.
- Select Local Users and Groups option from the left panel.
- Then double click on Users folder from the left panel.
7 окт. 2016 г.
How do I give myself admin rights on Windows 10?
How to change user account type using Settings
- Open Settings.
- Click on Accounts.
- Click on Family & other users.
- Under the “Your family” or “Other users” section, select the user account.
- Click the Change account type button. …
- Select the Administrator or Standard User account type. …
- Click the OK button.
How do I add a local account to Windows 10 home?
Create a local user or administrator account in Windows 10
- Select Start > Settings > Accounts and then select Family & other users. …
- Select Add someone else to this PC.
- Select I don’t have this person’s sign-in information, and on the next page, select Add a user without a Microsoft account.
Does Windows 10 home have Gpedit MSC?
The Group Policy Editor gpedit. msc is only available in Professional and Enterprise editions of the Windows 10 operating systems. … Windows 10 Home users could install third-party programs like Policy Plus in the past to integrate Group Policy support in Home editions of Windows.
How do I manage users in Windows 10 home?
How to make a local user an administrator in Windows 10
- Click on the Start menu. …
- Click on Settings.
- Click on accounts.
- Click on Family & other users.
- Click on the account you wish to change.
- Click on the Change account type button.
- Click on the drop down menu.
- Click on Administrator.
30 июн. 2016 г.
How do I manage groups in Windows 10?
To add users to a group in Windows 10, do the following.
- Press Win + R shortcut keys on your keyboard and type the following in the run box: lusrmgr.msc. …
- Click on Groups on the left.
- Double-click the group you want to add users to in the list of groups.
- Click the Add button to add one or more users.
27 июн. 2018 г.
What is the Run command for Active Directory Users and Computers?
Opening Active Directory Users and Computers
Go to Start → RUN. Type dsa. msc and hit ENTER.
What is RSoP command?
RSoP (Resultant Set of Policy) is a report of all Group Policy settings within Active Directory that shows how those settings can affect a network, or how existing Group Policy Objects (GPOs) affect various combinations of users and computers when the local security policy is applied.