- Remove From My Forums
-
Question
-
I’ve fully patched the WSUS server including update KB3095113. The Upgrades classification is populating and all the windows 10 upgrades are listed. The status of upgrade «Windows 7 and 8.1 upgrade to Windows 10 Pro, version 1511, 10586»
is coming up computers installed/not applicable. That is the correct upgrade for our environment, the update does not supersede any other updates. Obviously I’m unable to push Windows 10 out via WSUS unless the status changes to needed. Any
suggestions?
Answers
-
Hi Annie Edison,
1. Please check if the Windows 10 Pro, version 1511,10586 is downloaded successfully on WSUS server, if not, we need to add .esd MIME type to WSUS IIS;
2. Check if WSUS clients report to WSUS server correctly;
3. Try add registry key AllowOSUpgrade on client, check if it could work:
HKEY_LOCAL_MACHINESOFTWAREMicrosoftWindowsCurrentVersionWindowsUpdateOSUpgrade, create DWORD AllowOSUpgrade, set value to 1.
Besides, here is a post about general issue we might meet when upgrade to win10 via WSUS for your reference:
https://social.technet.microsoft.com/Forums/windowsserver/en-US/fdb1ed67-3199-40f8-9ddb-8d6fe469e101/upgrading-to-windows-10-using-wsus-doesnt-work?forum=winserverwsus
Best Regards,
Anne
Please remember to mark the replies as answers if they help and unmark them if they provide no help. If you have feedback for TechNet Support, contact tnmff@microsoft.com.
-
Proposed as answer by
Monday, June 6, 2016 2:19 AM
-
Marked as answer by
Anne HeMicrosoft contingent staff
Tuesday, June 7, 2016 1:37 AM
-
Proposed as answer by

dbeato

This person is a verified professional.
Verify your account
to enable IT peers to see that you are a professional.
pure capsaicin
Today my WSUS server downloaded a new definition for «Windows 7 and 8.1 upgrade to Windows 10, version 1803, en-us» and my Windows 7 clients are showing it as Needed. I am wondering what will happen if I approve this for my Windows 7 clients, and how this would compare to doing an in-place upgrade using MDT?
It will upgrade your clients to Windows 10 version 1803, just make sure you have the correct license for it be it VL or
1 found this helpful
thumb_up
thumb_down
Согласно анонсу Windows 10 будет предложена бесплатно в качестве обновления на все Windows 7 и Windows 8.1 системы в течение первого года после публичного выхода. Как именно? Через Windows Update. Нужно понимать, что это предложение обновления, а не лицензия. То есть лицензия на Windows 7 позволит автоматически обновить систему в течение года. Серийного номера, образа, коробки или наклейки предложено не будет. При этом также обещано, что те кто обновятся сейчас на Windows 10 Technical Preview получат затем через Windows Update версию Consumer Preview, Release Preview, а далее и финальной версии. С выходом январского Windows 10 Technical Preview (10.0.9926) появилась также и небольшая утилита для Windows 7 и Windows 8.1, после установки которой, Windows 10 приходит на ваш ПК в виде обновления. Именно об этом я и буду рассказывать ниже.
Для тех, кто хочет попробовать Windows 10 Technical Preview уже сейчас, буду неоригинальным, — это предварительная версия, часть функционала не работает, могут возникнуть проблемы с драйверами и сторонним ПО. Продолжаем. Если вы хотите обновить ваш Windows 7 до Windows 10, загрузите специальную утилиту Prepare с сайта Microsoft, для Windows 8.1 существует аналогичная утилита подготовки.
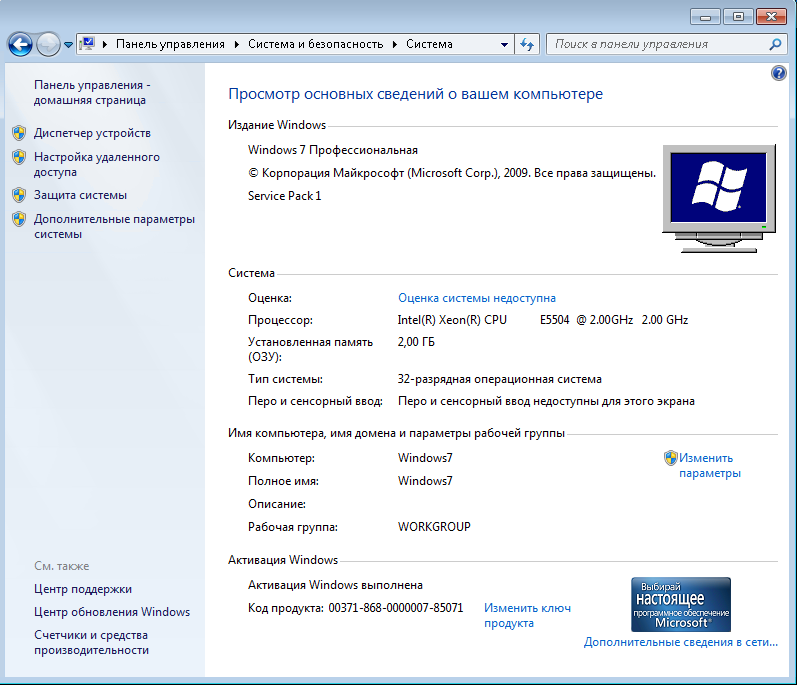
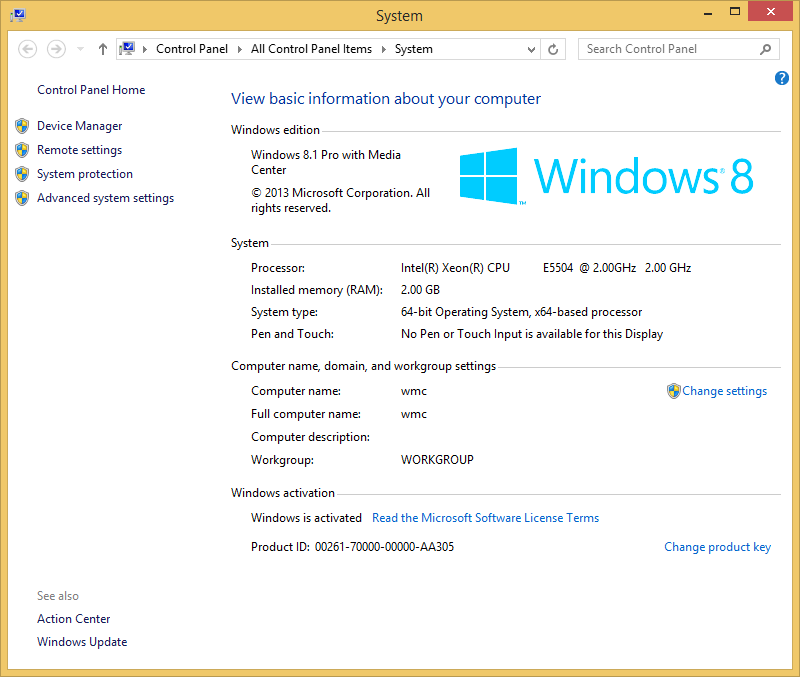
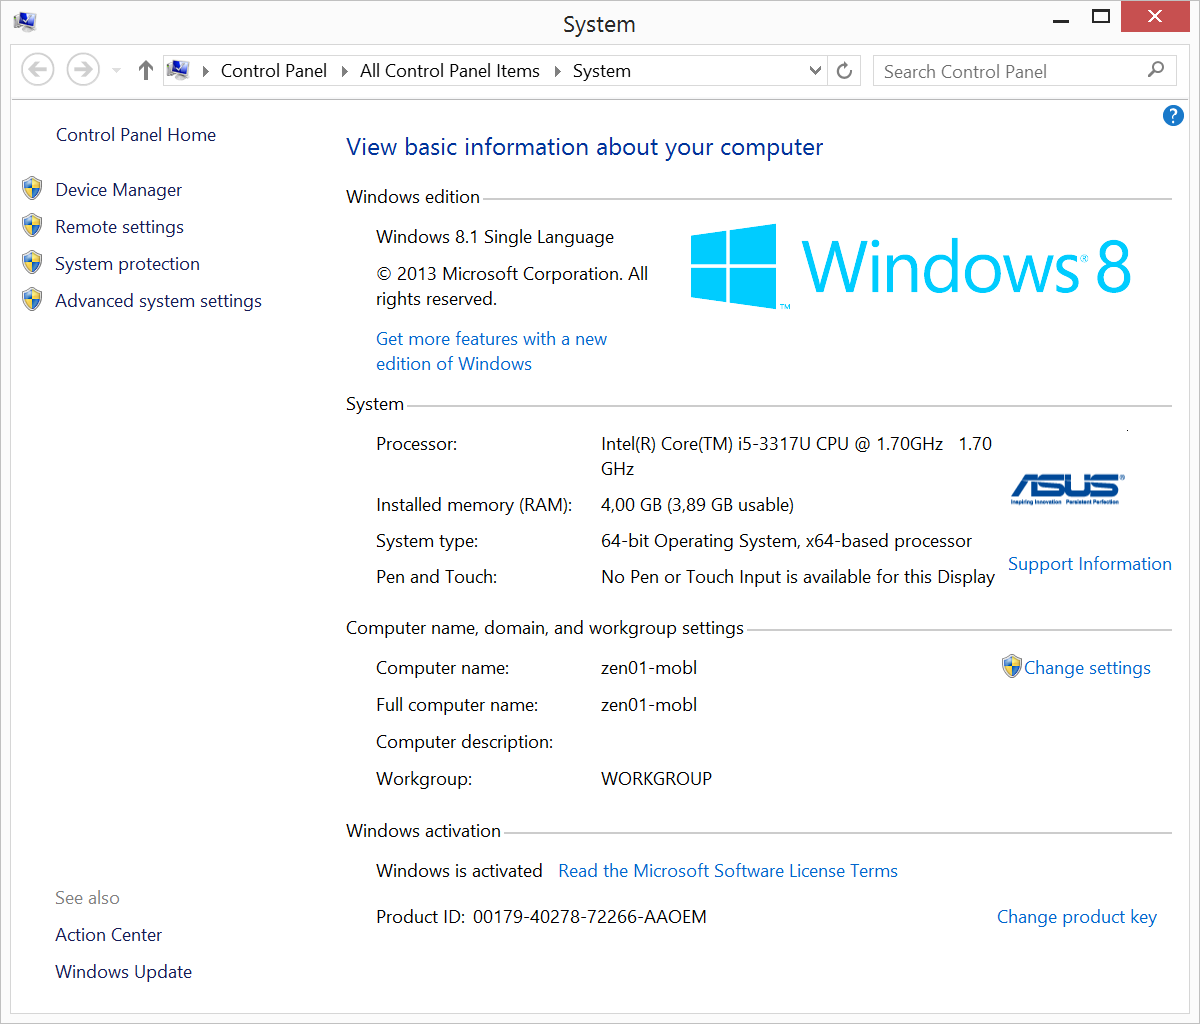
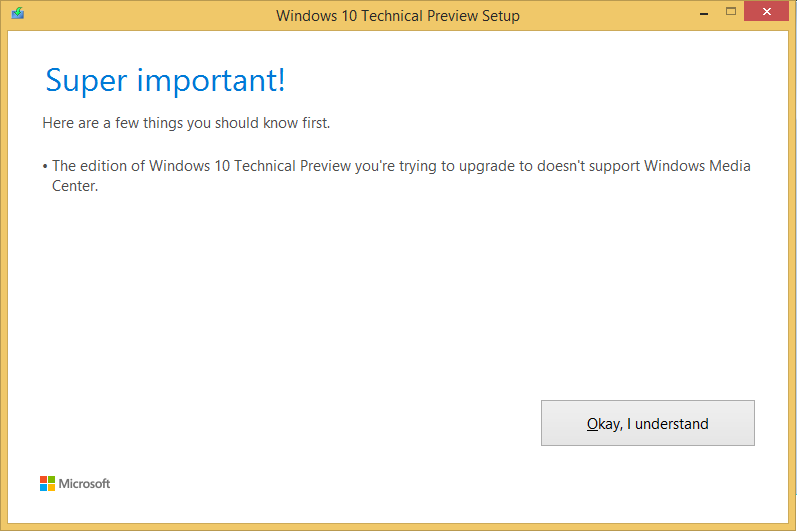
Я буду показывать процесс обновления для русской Windows 7 Professional, английской Windows 8.1 Single Language и английской 8.1 Professional with MediaCenter. Сразу скажу, медиацентр не переживёт обновления, — текущая версия Windows 10 Technical Preview его не поддерживает и обновит на обычный Windows 10 Professional TP. Тем, кому важен Windows MediaCenter рекомендую дождаться Consumer Preview или более новых сборок. Вот они на начальный момент:
Если для Windows 7 и Windows 8.1 Professional with MediaCenter я создал тестовые виртуальные машины, то для проверки обновления Windows 8.1 Single Language я воспользовался физическим ноутбуком, который было не очень жалко. Обращаю внимание на OEM брендирование.
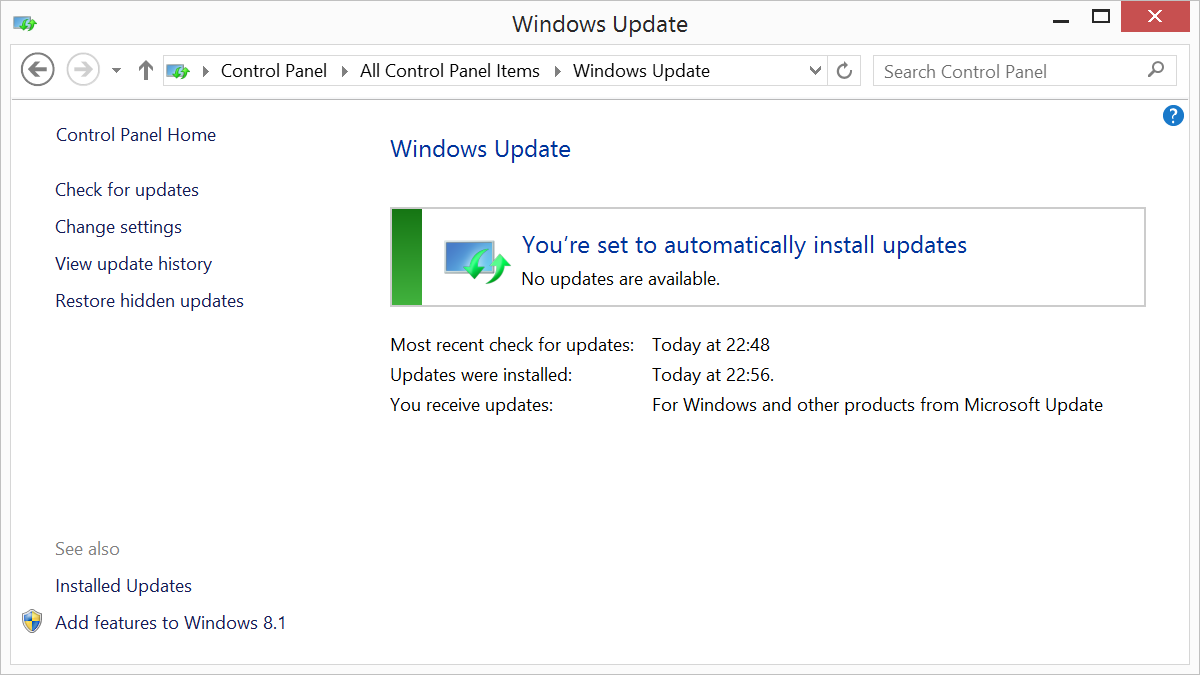
В качестве предварительного шага я установил все обновления Windows Update на системы, — не уверен, что это необходимо для обновления, но точно не помешает, — и позволит заметить один интересный момент.
Загрузив утилиту Prepare, я устанавливаю её на все три системы, которые планирую обновить.
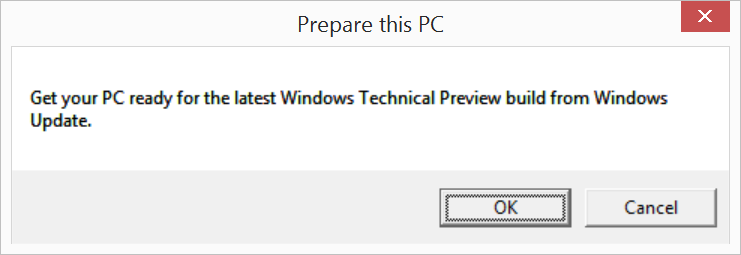
Через несколько секунд получаю от неё поздравления – я готов к обновлению.

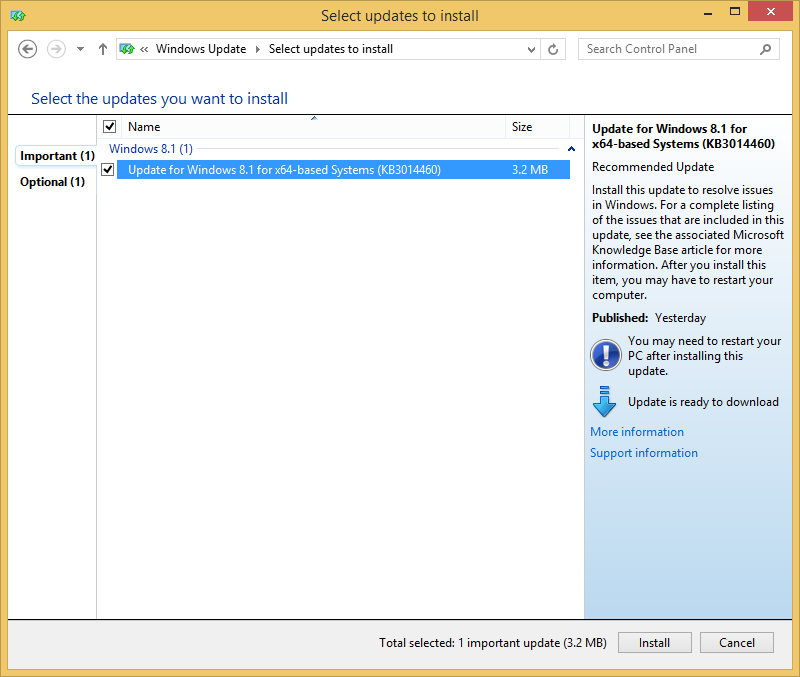
Бегу в Windows Update, проверяю – и вижу отдельное новое обновление, видимо, пререквизит для обновления:
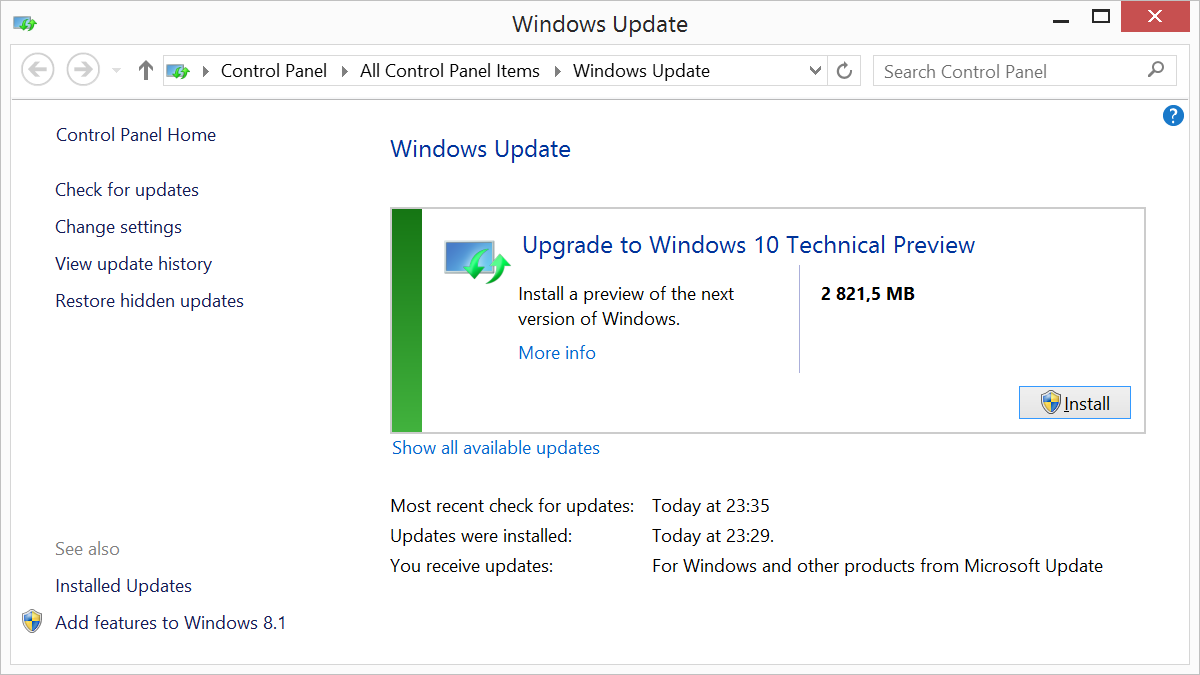
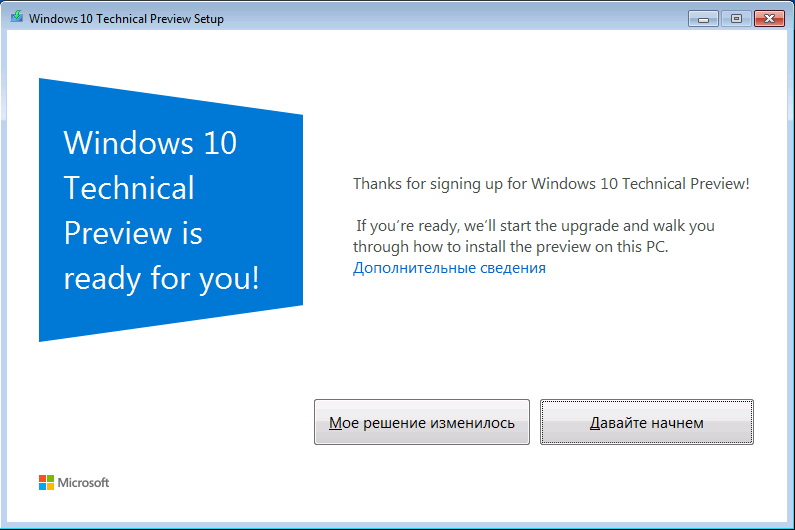
После установки и перезагрузки опять захожу в Windows Update, и, о счастье, вижу:

При этом на Windows 8.1 with MediaCenter я вижу предупреждение:
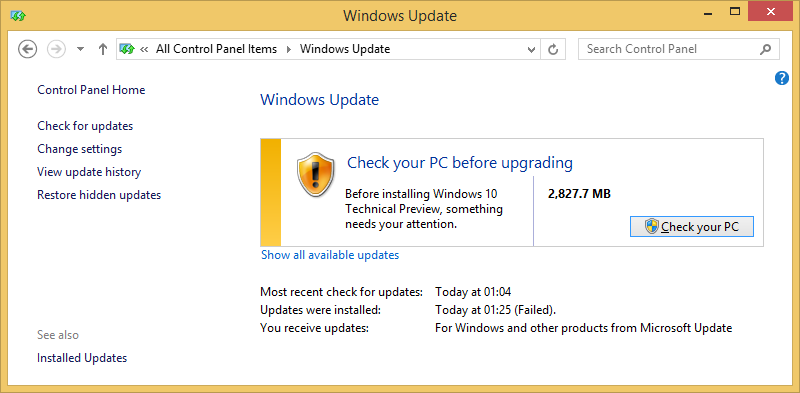
Проверив, я вижу что MediaCenter я при обновлении потеряю:
На Windows 7 и Windows 8.1 Single Language проверка проходит без проблем:
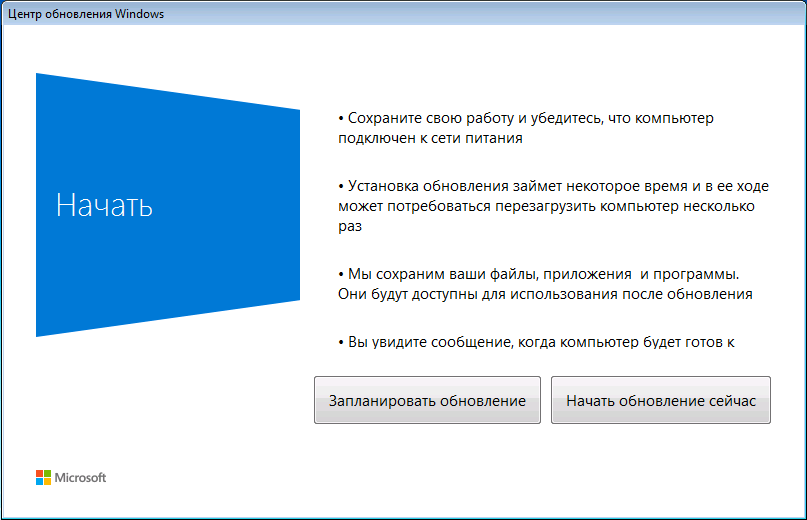
Когда я выберу начать процесс, система запустит процесс обновления.
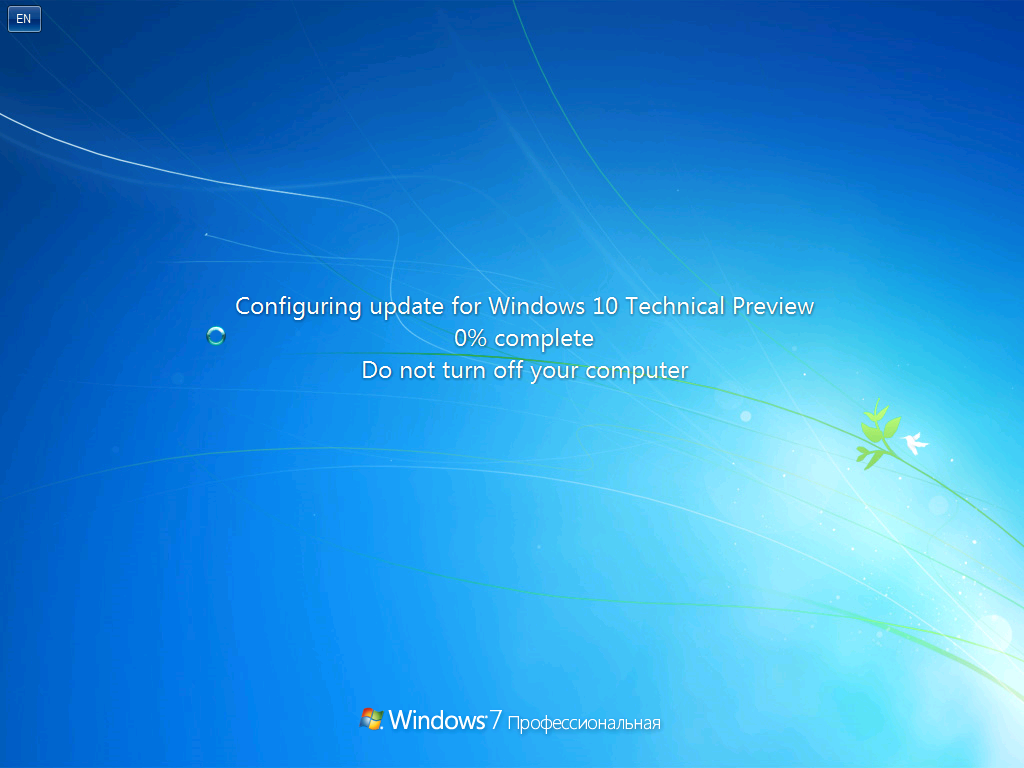
В зависимости от скорости вашего жесткого диска минут через 20-40 получу приглашение в обновлённую ОС:
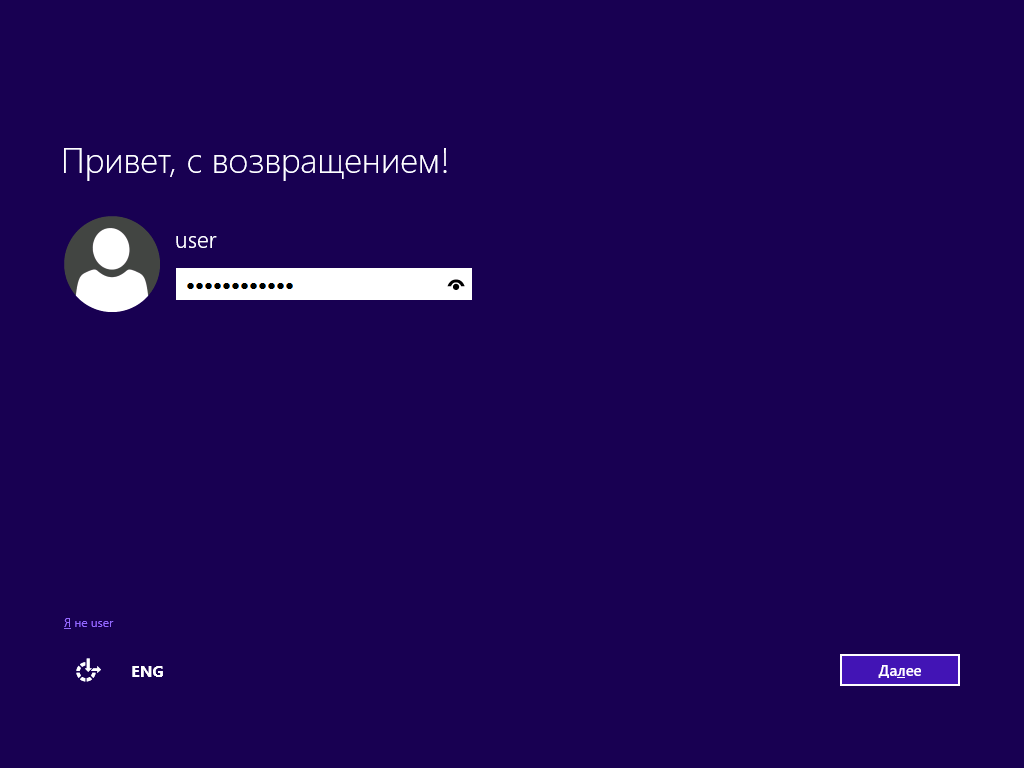
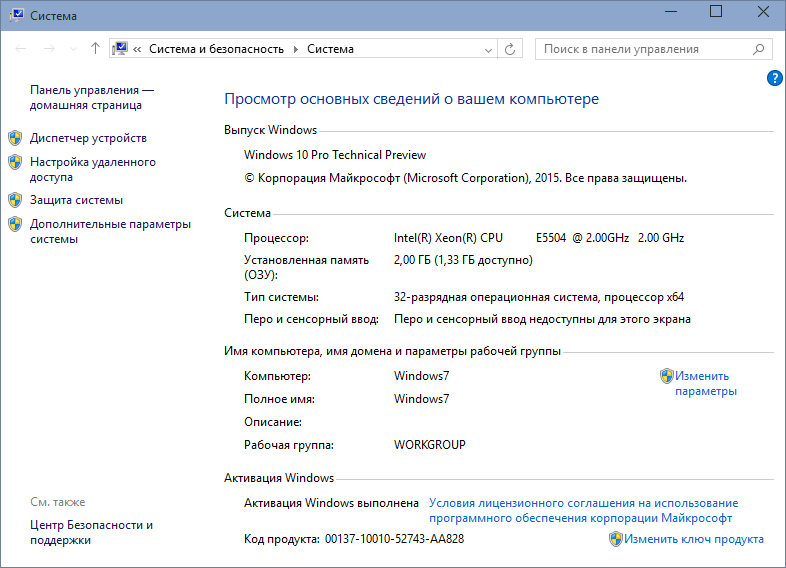
Это приглашение от Windows 7 в контексте того локального пользователя, который работал в системе последним. Начиная с Windows 8 обычно используются учетные записи связанные с Microsoft ID, и зайдя такой записью я получу старые настройки даже на совсем новом ПК, не только на обновлённом напрямую.
Система сразу активирована, срок действия январского Preview до 1 октября 2015. Windows 7 Professional и Windows 8.1 Professional with MediaCenter обновился до Windows 10 Technical Preview Professional:
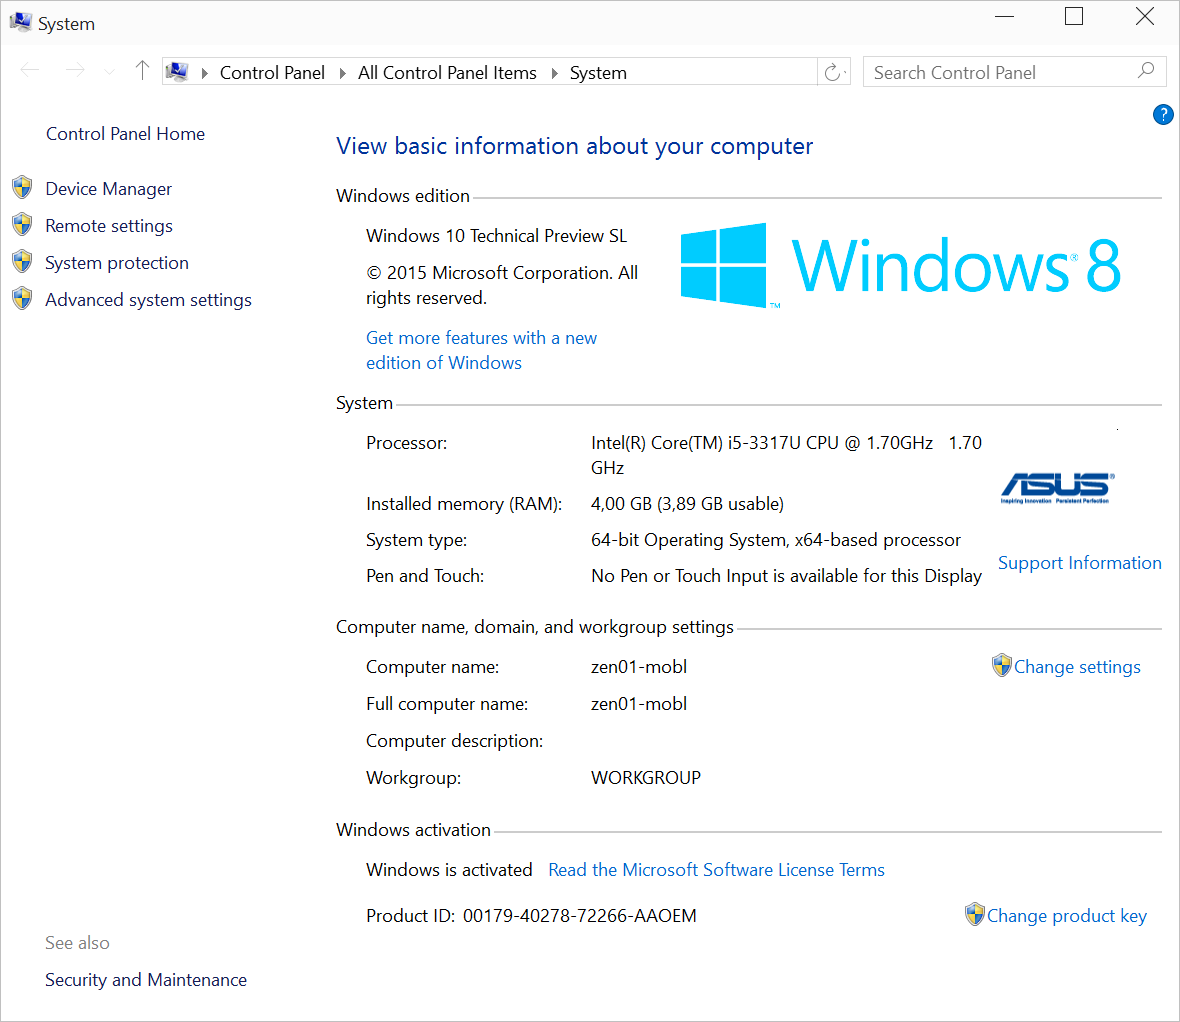
Windows 8.1 Single Language обновился до Windows 10 Technical Preview Single Language – обратим внимание на сохранившиеся логотипы – их устанавливал OEM производитель:
Как я уже на днях рассказывал в заметке про изменение изданий Windows 8.1 и Windows Server 2012 R2, в Windows 10 можно изменить издание на лету. Например, Windows 10 Technical Preview Professional можно обновить до Enterprise и для Professional with MediaCenter.
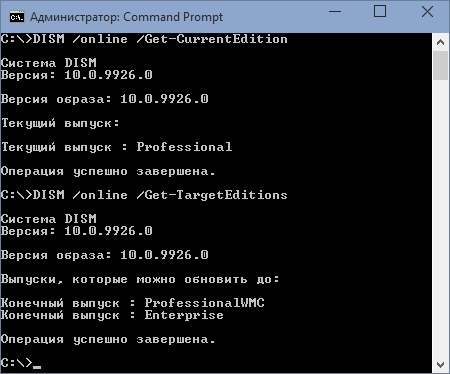
Последнее, однако, как я понимаю, не работает в сборке 10.0.9926. А вот ключи для Enterprise версии есть на страницах TechNet. Попробую изменить версию на лету, запустив оснастку из панели управления:
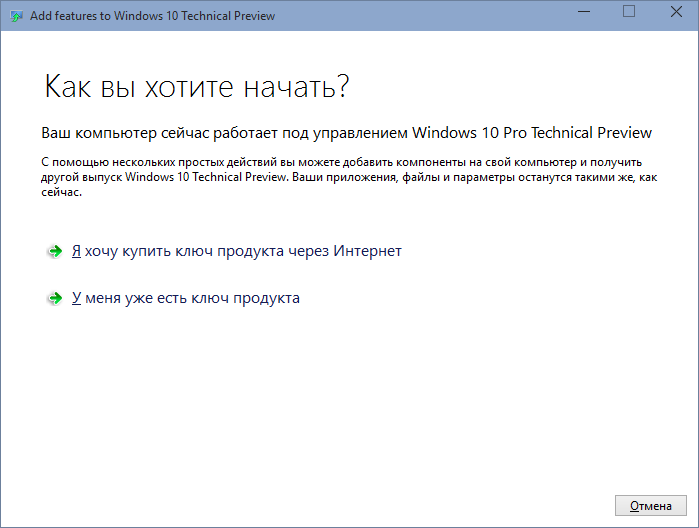
Ввожу серийный номер, указанный на TechNet в качестве ключа для восстановления:
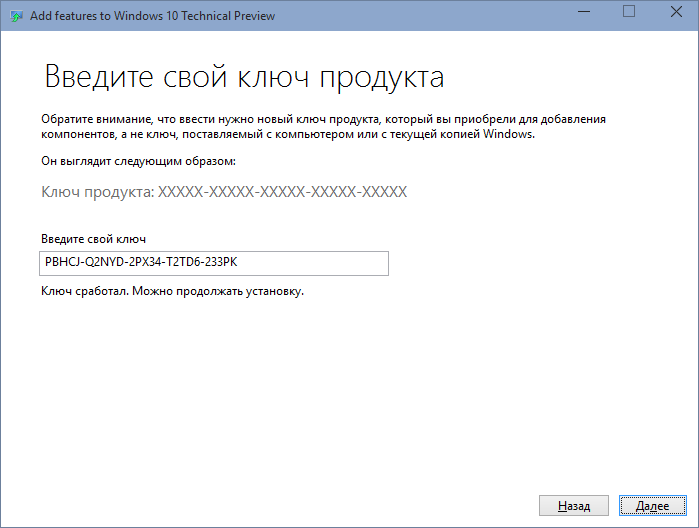
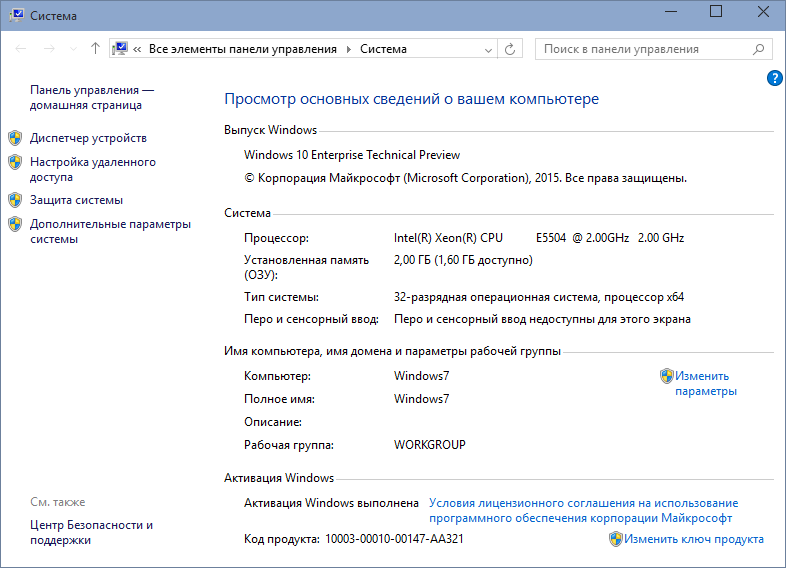
Жду минут 15, перезагружаюсь и вижу Windows 10 Technical Preview Enterprise!
В завершение можно зайти в приложение Settings, в котором настраиваются параметры обновления ОС, в том числе обновления сборок Windows. Я выбираю Быструю установку, чтобы долго не ждать при появлении следующих сборок.

Не забудьте и об Insider Hub приложении, в котором можно читать все новости о свежих сборках и получать информацию о сроках, возможностях и обновлениях ОС.
Удачного тестирования!
I had a similar problem here and found a solution to mine today. But I was not upgrading from Windows 7 to Windows 10, only from Windows 10 1607 to 1703. It might help you or not. I’m not sure.
If the 1703 upgrade is synced into WSUS before KB3159706 was installed, then after performing the necessary update of KB3159706 and its post-installing servicing (link), we still need to follow the instructions here:
https://social.technet.microsoft.com/Forums/en-US/b1165b9d-bad3-4ce3-9fc1-0fe3876df5c6/0xc1800118-with-1506301703171834rs2esd-after-kb3159706-manual-steps-the-decryptionkey-in?forum=winserverwsus
There are basically 4 steps to be performed:
1 — Remove packages synced before KB3159706 is installed. Via WSUS server’s powershell:
Get-WsusClassification | Where-Object -FilterScript {$_.Classification.Title -Eq "Upgrades"} | Set-WsusClassification -Disable
$s = Get-WsusServer
$1703Updates = $s.SearchUpdates("version 1703")
$1703Updates | foreach { $_.Decline() }
$1703Updates | foreach { $s.DeleteUpdate($_.Id.UpdateId) }
Get-WsusClassification | Where-Object -FilterScript {$_.Classification.Title -Eq "Upgrades"} | Set-WsusClassification
2 — Delete from WSUS databse the bad contents about upgrade 1703, run from database. Mind: remove the trailing semi-colon from the SQL script in the post. They might result in the error of «table variable not declared»
declare @NotNeededFiles table (FileDigest binary(20) UNIQUE)
insert into @NotNeededFiles(FileDigest) (select FileDigest from tbFile where FileName like '%15063%.esd'  except select FileDigest from tbFileForRevision)
delete from tbFileOnServer where FileDigest in (select FileDigest from @NotNeededFiles)
delete from tbFile where FileDigest in (select FileDigest from @NotNeededFiles)`
3 — Restart syncing by WSUS GUI or powershell command, on WSUS server.
$s = Get-WsusServer
$sub = $s.GetSubscription()
$sub.StartSynchronization()
4 — Repair client computers that has the error, on client computer:
Control Panel->Troubleshooting->Windows Update->Try troubleshooting as an administrator
During all these activities, no reboot is required. Then, retry and good-luck!
This article describes the different use cases to upgrade from Windows 10 1607 (or higher) to a new Windows 10 or Windows 11 version with Check Point Full Disk Encryption(FDE) in-place during the upgrade phases. [3]
With version E80.71 or higher, configurations can be made to support seamless OS upgrade with FDE in-place using the SetupConfig.ini file.
For Endpoint Clients version E86.40 and above: When Full Disk Encryption is installed but switched off Windows update can be performed as usual.
This is possible due to changes made by Microsoft in Windows 10 1607. The changes allow third party software to have pre-configured parameters stored in the SetupConfig.ini file.
Note: Using the Windows 10 Media Creation Tool upgrade option is not supported. This upgrade option is not intended for upgrade scenarios where additional configurations are required like the SetupConfig.ini file.
UEFI-based installation
FDE support two ways of bootstrapping the UEFI boot loader (BOOTMGFW and BCDBOOT). The boot mode can be changed using the fdecontrol.exe utility [1]. BOOTMGFW is the default set boot mode for new installations using E82.30 and below. BCDBOOT is used in E82.40 and higher. Upgrading the FDE version do not change the already set boot mode.
When BCDBOOT mode is enabled in FDE, Windows Update or Windows Server Update Services (WSUS) can be used to upgrade Windows from one major version to another. The SetupConfig.ini file will then be automatically included in the upgrade process. Using any other way of upgrading, for example by using software management products like SCCM or by ISO-file, will require additional configuration to include the SetupConfig.ini file in the upgrade process.
Switch to bootmode BCDBOOT.
If you installed or upgraded from an earlier version than E82.40 you might be running bootmode BOOTMGFW and you need to switch to BCDBOOT.
If you installed E82.40 and later and have not changed the bootmode you can skip this section.
- The current bootmode can be checked by running
«fdecontrol.exe get-uefi-bootmode» [1]
If the output shows BCDBOOT you are all set and can skip this section.
If the output shows BOOTMGFW you need to continue to change the bootmode. - To change the bootmode to BCDBOOT, run
«fdecontrol.exe set-uefi-bootmode bcdboot» [1] - Reboot the machine at least once to make sure it is compatible with 3rd party applications via Microsoft BCD Store
Upgrade Windows via Windows Update or WSUS
When the machine is using bootmode BCDBOOT as described in the previous section FDE and is ready for upgrading seamlessly via Windows Update or WSUS.
The Windows upgrade will automatically find the SetupConfig.ini file and use it’s configuration during the upgrade.
Upgrade Windows via ISO-file (SCCM)
Starting with E86.60 there is no longer a need to issue the command line below. Note however that if the Windows installation was done without a Windows recovery partition the Windows upgrade procedure will create a new Windows recovery partition. Using the below command line will prevent Windows to perform the creation of the Windows recovery partition.
When upgrading via SCCM or manually by executing the Windows setup program, we need to add the path to the SetupConfig.ini file so its configuration is used during the upgrade of Windows.
- Make sure the machine uses bootmode BCDBOOT as described in the earlier section.
- To start the Windows setup program to start the upgrade
Run:setup.exe /ConfigFile "%SystemDrive%UsersDefaultAppDataLocalMicrosoftWindowsWSUSSetupConfig.ini" - Windows is now upgraded with FDE in-place.
Note: When FDE is in BOOTMGFW mode, a file is replaced on the EFI System Partition (ESP) that will invoke the FDE’s Preboot loader and OS, which then chainload Windows after a successful authentication.
We have seen issues with this feature in the past and certain Windows Updates that interfere with this approach. That is why we introduced the alternative BCDBOOT feature, which relies on bootstrapping via Windows BCD store instead. This is the recommended way from Microsoft.
The only problem with using the BCD store is that we have seen firmware (HP, Dell, Lenovo, etc.) that do not honor third party bootloaders in the UEFI environment. However, we are working actively with all major UEFI-firmware vendors to make them aware of this problem.
Exception for Dell Latitude Laptops running Windows 7:
Before installing Windows 7 May 2019 updates (KB4499164/KB4499175/KB2992611) on Dell Latitude laptops the boot mode should be changed to BCDBOOT mode: «fdecontrol.exe set-uefi-bootmode bcdboot».
Important Note About Enabling BCDBOOT:
After enabling BCDBOOT using the fdecontrol.exe utility, a reboot is required so that the Full Disk Encryption boot record is injected first into the boot order in the firmware and the boot mode of the machine is successfully changed from BOOTMGFW to BCDBOOT.
BIOS-based installation
The BCD based boot is not necessary on BIOS installation since FDE is booting through the Partition Boot Record instead of the BCD.
Windows Update or Windows Server Update Services (WSUS) can be used to upgrade Windows from one major version to another. The SetupConfig.ini file will then be automatically included in the upgrade process. Using any other way of upgrading, for example by using software management products like SCCM or by ISO-file, will require additional configuration to include the SetupConfig.ini file in the upgrade process.
Upgrade Windows via Windows Update or WSUS
- Install or upgrade to E80.71 or higher.
- FDE is now ready for in-place upgrade via Windows Update or WSUS.
Upgrade Windows via ISO-file (SCCM)
- Install or upgrade to E80.71 or higher.
- Then run
setup.exe /ConfigFile "%SystemDrive%UsersDefaultAppDataLocalMicrosoftWindowsWSUSSetupConfig.ini" - Windows is now upgraded with FDE in-place.
[1]: The utility fdecontrol.exe is installed in the directory «%ProgramFiles(x86)%CheckPointEndpoint SecurityFull Disk Encryption» on 64-bit Windows and in «%ProgramFiles%CheckPointEndpoint SecurityFull Disk Encryption» on 32-bit Windows.
[2]: The current UEFI boot mode can be determined by running «fdecontrol.exe get-uefi-bootmode» and will output either «BOOTMGFW» or «BCDBOOT«
[3]: Recent Windows updates on UEFI systems write to the boot area similar to Windows upgrades and will require the «BCDBOOT» to be configured to allow the update process to complete successfully.
[4]: The current UEFI boot mode can also be determined by the following cmd looking at the CheckPoint FDE ‘UEFIInstallationMode’ Registry Key:
REG QUERY «HKLMSOFTWAREWOW6432NodeCheckPointEndPoint SecurityFull Disk Encryption» /v UEFIInstallationMode
*** Note that the CheckPoint FDE ‘UEFIInstallationMode’ Registry Key may not exist. If the Registry Key do not exist, the used boot mode is BOOTMGFW. ***